Under-Sink Kitchen Cabinet Organization Ideas That Fit Around Pipes
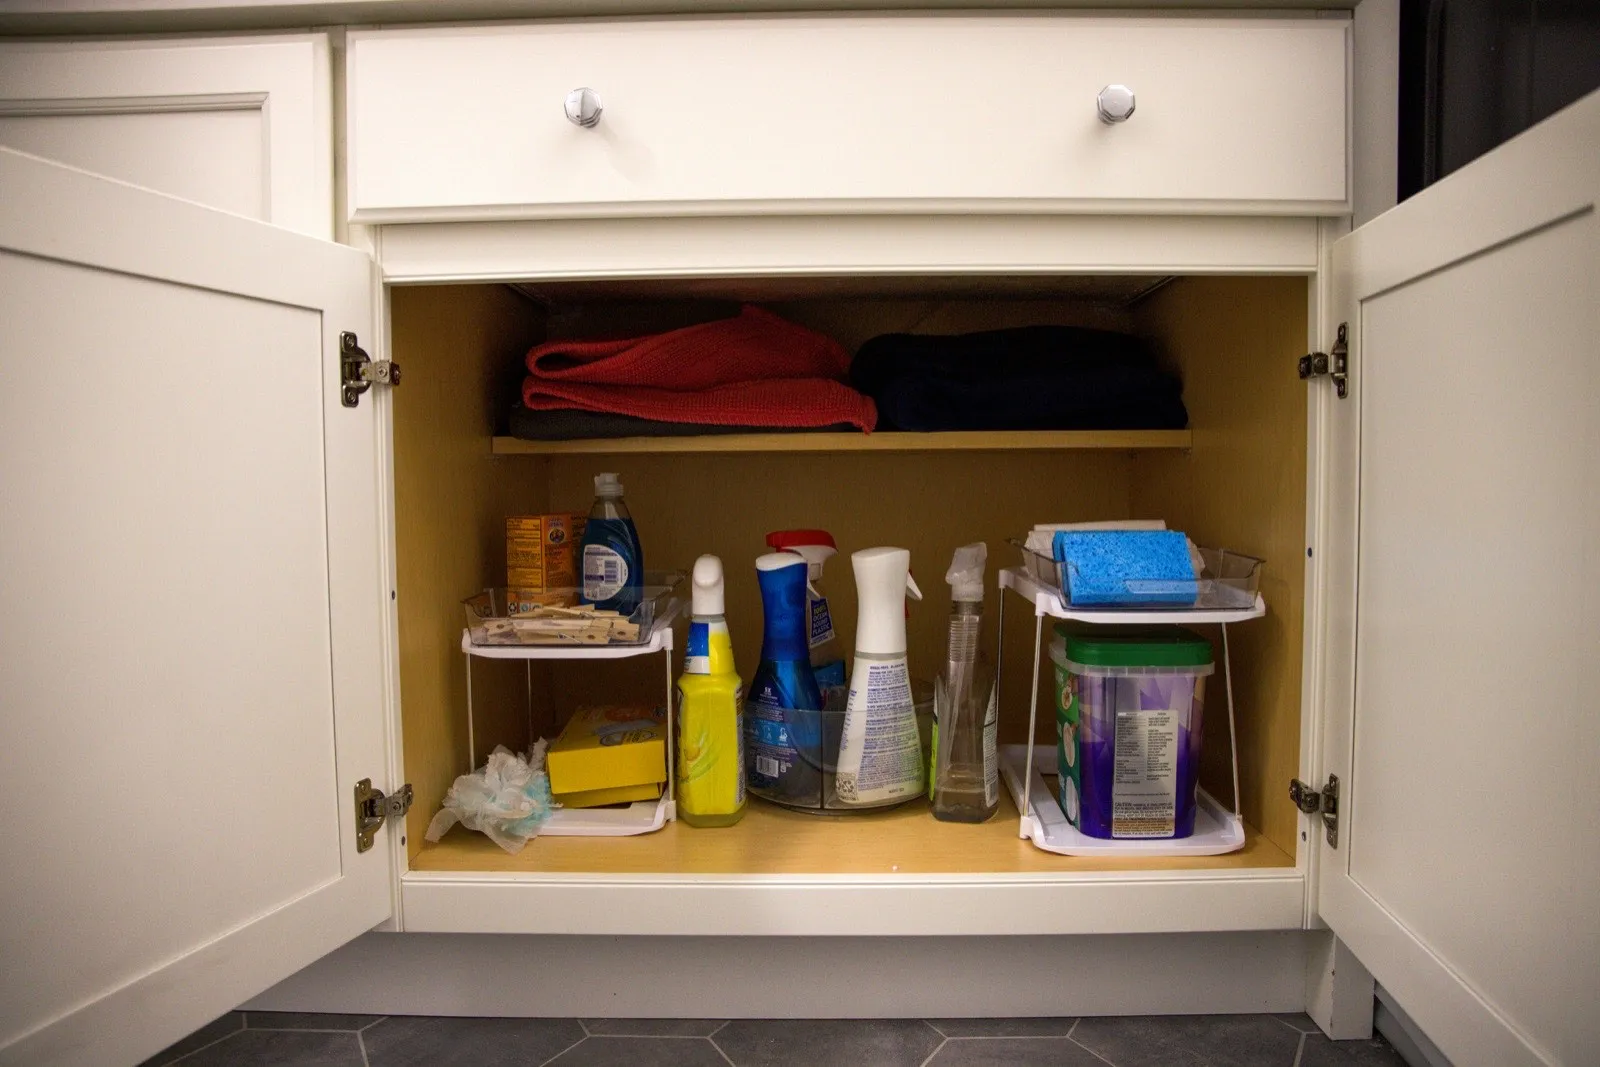
The cabinet under the kitchen sink is the one spot most people give up on. A drain pipe runs down the middle, shutoff valves stick out on both sides, and the garbage disposal eats whatever room is left. Nothing square fits, so nothing ever gets put away properly.
That cabinet is usually 24 to 36 inches wide and 20 or more inches deep. In a small kitchen, that is a serious amount of square footage to write off. The fix is not a better bin. The fix is measuring the odd shape you actually have, then choosing organizers that work around the plumbing instead of pretending it is not there.
Measure before you buy anything
Empty the cabinet, wipe it out, and take four measurements with a tape measure. Write them on your phone.
- Total interior width, wall to wall at the floor of the cabinet.
- Clear width on each side of the drain pipe. Measure from the side wall to the nearest edge of the P-trap. On a standard 30-inch sink base you will often get 9 to 12 inches on one side and less on the other, because the drain is rarely centered.
- Clear height under the lowest obstruction. The bottom of the P-trap or the underside of the disposal is your real ceiling, not the top of the cabinet. This is often only 10 to 14 inches on the pipe side.
- Depth from the back of the door frame to the back wall. The face frame of the cabinet is narrower than the box behind it. A bin that fits the interior may not fit through the opening.
That fourth number is what sends most organizers back to the store. Check the opening, not the box.
1. Two sliding bins, sized to each side of the drain
Under sink organization works best when you stop thinking of the cabinet as one space and start treating it as two narrow zones split by the drain.
Pull-out or sliding bins that ride on a low rail bring the back of the cabinet to you instead of making you kneel and reach. Look for bins around 8 to 11 inches wide so they clear the plumbing, and confirm the bin height is under your lowest-obstruction measurement.
Load the left and right bins by frequency, not by category. The side you reach with your dominant hand gets dish soap refills, sponges, and the sprays you use daily. The far side gets backups and the things you touch once a month.
2. A tension rod turns the pipe zone into hanging storage
The wasted space is the vertical air directly around the P-trap. A small spring-loaded tension rod, set across the cabinet 4 to 6 inches below the pipe, becomes a rail for spray bottles.
Hang each bottle by its trigger so the neck rests on the rod and the body hangs free. Five or six bottles fit on a single rod in a 30-inch cabinet, and the floor underneath stays clear for a bin.
Two notes that matter. Set the rod tight enough that it does not slip when you tug a bottle off, and keep it low enough that the bottles do not knock the drain pipe when the cabinet door swings. Test it by loading it up and closing the door.
3. Stack, but only to your shortest clearance
Stackable bins are the cheapest way to double capacity in the taller half of the cabinet, which is usually the side away from the drain.
Two shallow bins stacked are more useful than one deep bin, because you can pull the top one off and still see what is in the bottom. Clear bins beat opaque ones here, since the cabinet has no light and you will be looking at them from above and at an angle.
Measure once more before stacking. If your clear height is 13 inches, two 6-inch bins fit and two 7-inch bins do not. That inch is the whole difference between a system that works and a stack you have to unload sideways.
4. A turntable in the back corner
Back corners are where things go to be forgotten. A small lazy Susan, 9 to 12 inches across, fixes that with one spin.
Put the things you buy in tall, awkward bottles on it: dish soap refills, all-purpose cleaner, glass cleaner, stainless polish. A raised lip on the turntable keeps bottles from walking off the edge when you spin it.
If the corner is behind a shutoff valve, choose the smaller diameter. A 9-inch turntable that spins freely beats a 12-inch one that catches on a valve handle every time.
5. Use the back of the cabinet door
The inside face of the cabinet door is free real estate about 20 inches wide and completely flat. An over-the-door caddy that hooks over the top edge of the door frame, or an adhesive-mounted basket, holds sponges, dish brushes, scrub pads, and rubber gloves.
Two things to check. First, the caddy has to be shallow, roughly 4 inches or less, or it will collide with the bins inside when the door closes. Second, if you rent, use an adhesive mount rated well above the loaded weight and stick it to a clean, dry, degreased surface. Kitchen cabinet doors carry a film of cooking grease that ruins adhesion. Wipe with rubbing alcohol and let it dry fully before mounting.
6. Put a boot tray or drip liner on the cabinet floor
Under-sink cabinets leak. Not dramatically, usually, but slow drips from a compression fitting or a sweating supply line soak into particleboard and swell it permanently.
A plastic boot tray, silicone mat, or purpose-made under-sink liner sitting on the cabinet floor catches that water and keeps it visible. When you see a puddle in a tray, you catch the leak in a week instead of finding a warped, moldy cabinet floor a year later.
For renters this is not just about tidiness. Water damage to the cabinet base is the kind of thing that comes out of a security deposit, and a cheap tray is inexpensive insurance against it. If you find standing water, tell your landlord in writing right away.
7. A slim vertical holder for trash bags and wraps
Boxes of trash bags, foil, and plastic wrap sit badly. They are long, light, and they tip over.
A narrow vertical rack or a magazine-file-style holder set on its end holds three or four boxes upright in about 4 inches of width. Slide it into the leftover strip between a bin and the cabinet wall.
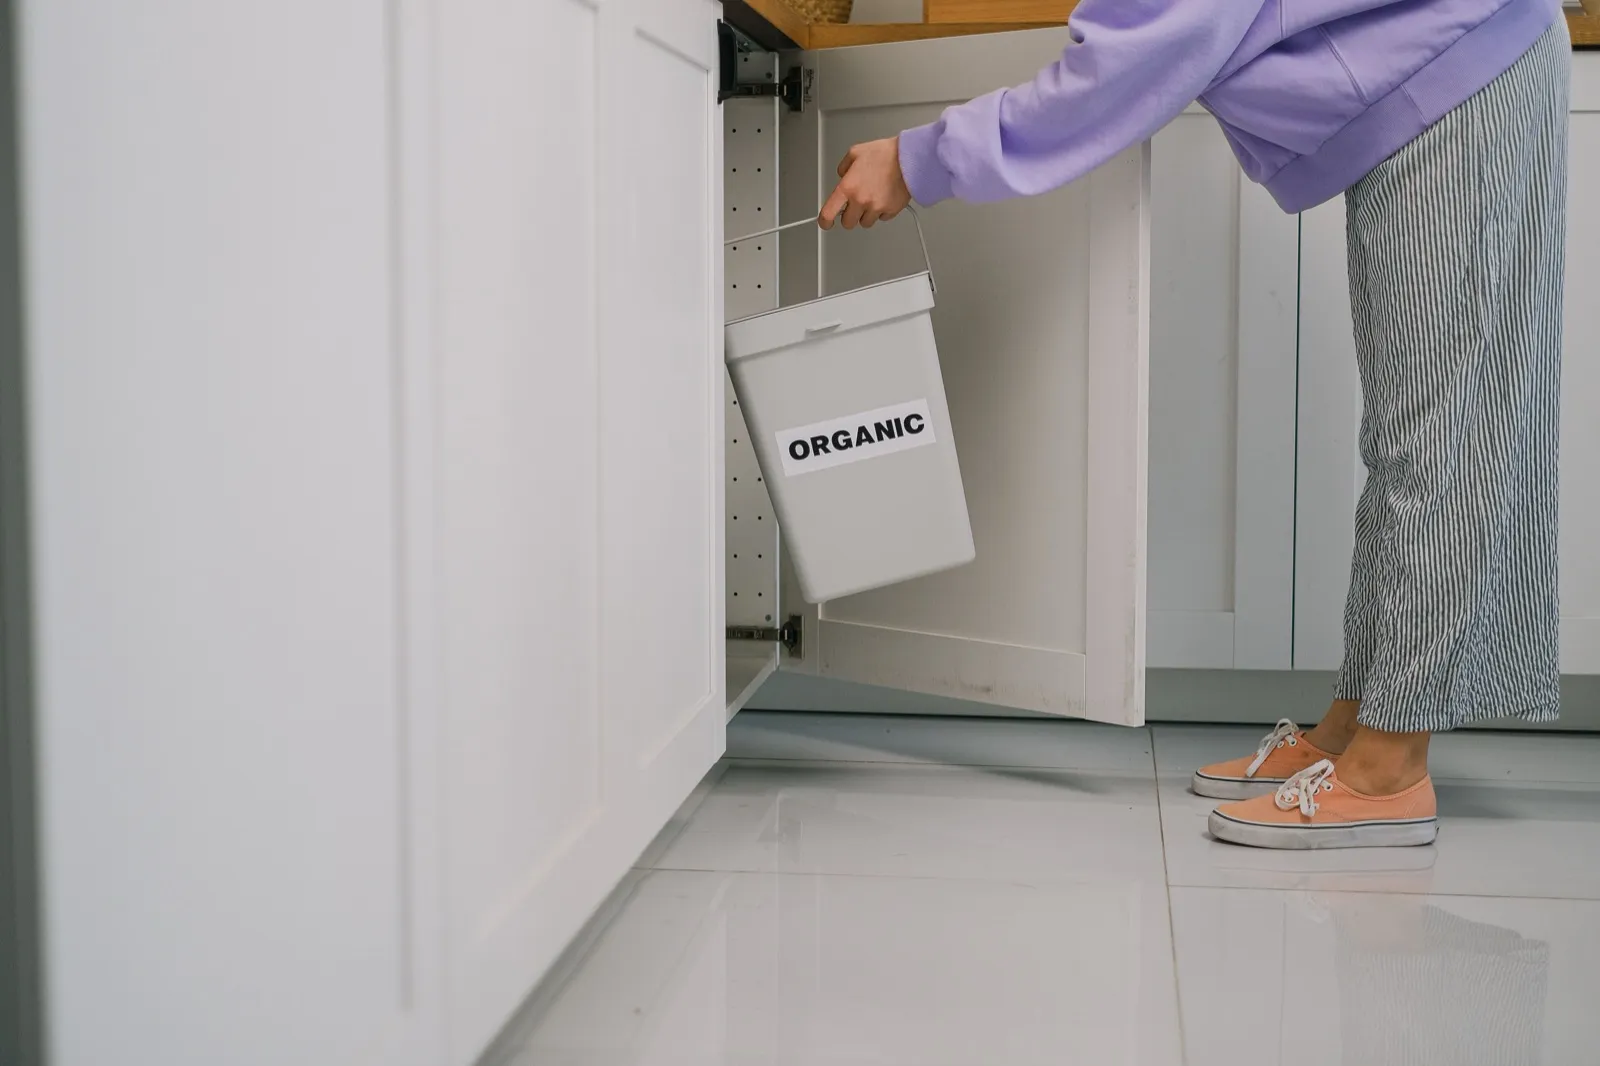
If your trash bags come on a roll rather than in a box, a small basket clipped over the edge of a bin holds the roll and keeps it from unspooling across the cabinet floor. If the bins themselves are the problem — one overflowing can with no room to sort — our guide to under-sink trash and recycling setups covers how to fit two streams in the same cabinet.
Group by task, not by product category
The mistake most people make is sorting under the sink by what things are: all sprays together, all cloths together. That looks tidy and works badly, because a real task needs items from several categories at once.
Group by what you do instead.
- Dish zone: dish soap, sponges, scrub brush, dishwasher pods.
- Wipe-down zone: all-purpose spray, microfiber cloths, paper towel backup.
- Deep-clean zone: bathroom or oven cleaner, gloves, scrub pads. This one lives in the hard-to-reach spot on purpose.
- Supplies zone: trash bags, sponges in reserve, refill bottles.
If the deep-clean group lives in one bin, you carry the bin to the job instead of making four trips back to the cabinet.
Mistakes that make it worse
Buying organizers before measuring. The usual failure is a bin that fits the cabinet interior but will not pass through the narrower door opening.
Choosing one big bin. A single deep bin under a sink becomes a pit. You end up removing six things to reach the seventh.
Storing anything absorbent on the floor. Paper towel rolls, cardboard boxes, and cloth bags act as sponges for slow leaks and start smelling.
Blocking the shutoff valves. You need to reach those in a hurry the day a supply line fails. Keep a clear path to both valves and never stack bins in front of them.
Keeping products you never use. Most people are storing three cleaners for a job they do with one. Clear those out first and you may need half the organizers you thought.
Keep it from sliding back
Set one rule: nothing goes under the sink unless it has a home in a bin. When you buy a new cleaner and there is no room in the right bin, that is the signal to use up or get rid of an old one, not to start a pile on the cabinet floor.
Wipe the tray and check for drips once a month, on the same day you do something else routine. Two minutes of looking is what keeps a small drip from turning into a repair bill.
Once the kitchen sink cabinet is done, the same approach works anywhere the storage is deep and dark. If your dry goods are the next problem, the measuring-and-zoning method carries over directly to small pantry organization. And if you are adding hooks or racks to cabinet doors and walls in a rental, the damage-free mounting rules in our guide to renter-friendly wall storage apply to that cabinet door too.