Under-Sink Storage Ideas for Small Rental Kitchens
The cabinet under a rental kitchen sink is rarely a clean rectangle. It is 19 inches wide instead of the standard 24, the pipe sits dead center instead of to one side, and the door hinge eats another two inches you were counting on. Every organizer at the store is sized for a normal cabinet, so it either doesn’t fit or fits with three inches of dead space on either side. And because it’s a rental, drilling brackets into the cabinet walls or door isn’t an option — that’s a deposit problem waiting to happen.
The instinct is to give up and let the cabinet stay a jumbled floor pile of dish soap, trash bags, and a half-collapsed box of sponges. But a small, odd-shaped cabinet can still be organized well. The tools are just different: nothing that needs a screw, nothing that needs to be a specific size, and everything sized to come back out in one trip on move-out day.
Measure the actual cabinet, not the average one
Before buying anything, get the real numbers. Open the door fully and measure width at the narrowest point, since a lot of rental cabinets taper slightly toward the hinge side. Measure depth from the door to the back wall, and measure height from the floor to the underside of the sink basin — that height is usually uneven, taller on one side than the other because of how the drain trap sits.
Write down all three numbers plus the pipe’s location: centered, offset left, or offset right. A standard base cabinet organizer is built for a 24-to-36-inch width with a side-mounted pipe. If your cabinet is narrower or has a centered trap, that organizer will not sit flat, and forcing it in just wastes the money. Shopping with your own numbers instead of the package’s suggested cabinet size is the single change that prevents the most wasted purchases. If your cabinet happens to be a normal width and you’re free to drill, our guide to under-sink kitchen cabinet organization covers bin and turntable layouts built around a standard pipe; the fixes below are the version for a narrower cabinet and a no-drill lease.
A tension rod turns the pipe gap into hanging storage
The area directly around the pipe is usually the most wasted space in a small cabinet, because most bins are built as solid rectangles that can’t wrap around plumbing. A tension rod fixes this without a single hole. Cut two rods to width — one positioned a few inches above the cabinet floor, one a few inches higher — and wedge them wall to wall on either side of the pipe.
Hang spray bottles by the trigger guard on the lower rod, and use the upper rod for small drawstring bags or a second row of lighter items. Because the rod holds by spring pressure alone, it lifts straight out with no residue, no anchor, and no patch job when you move. If you want more detail on getting the tension right so a rod doesn’t creep loose over a few weeks, our guide to renter tension rod hacks covers the exact grip technique.
Stack the floor space instead of spreading it
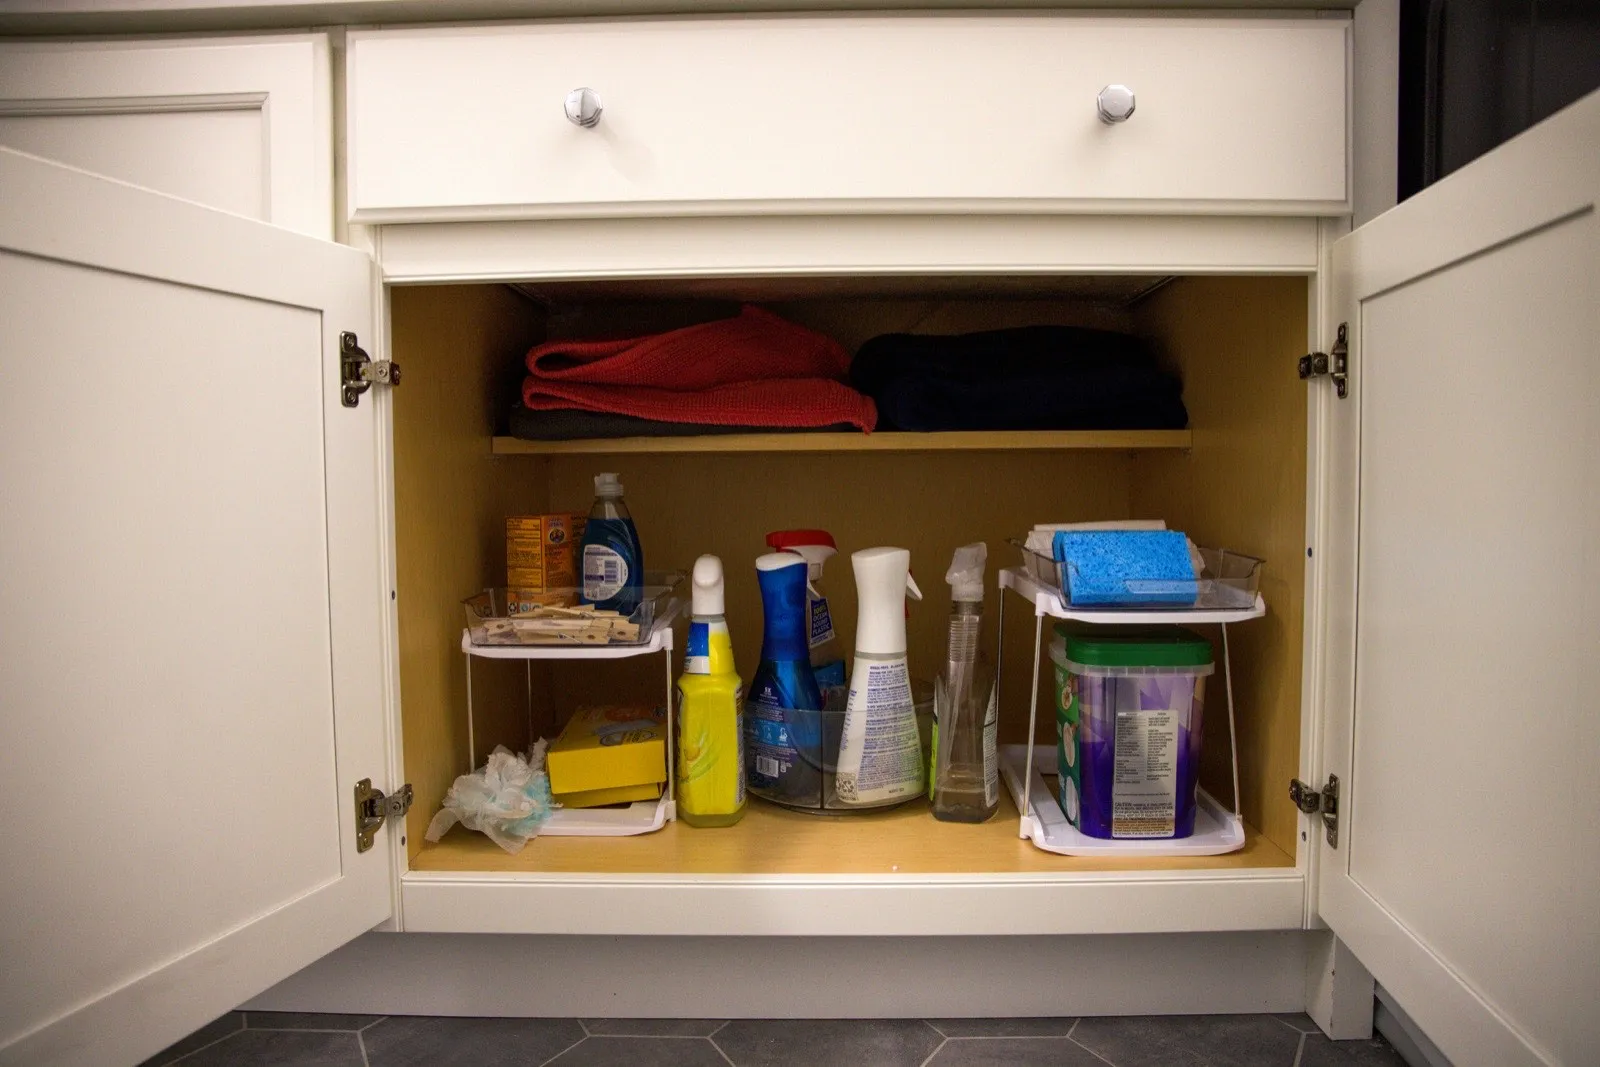
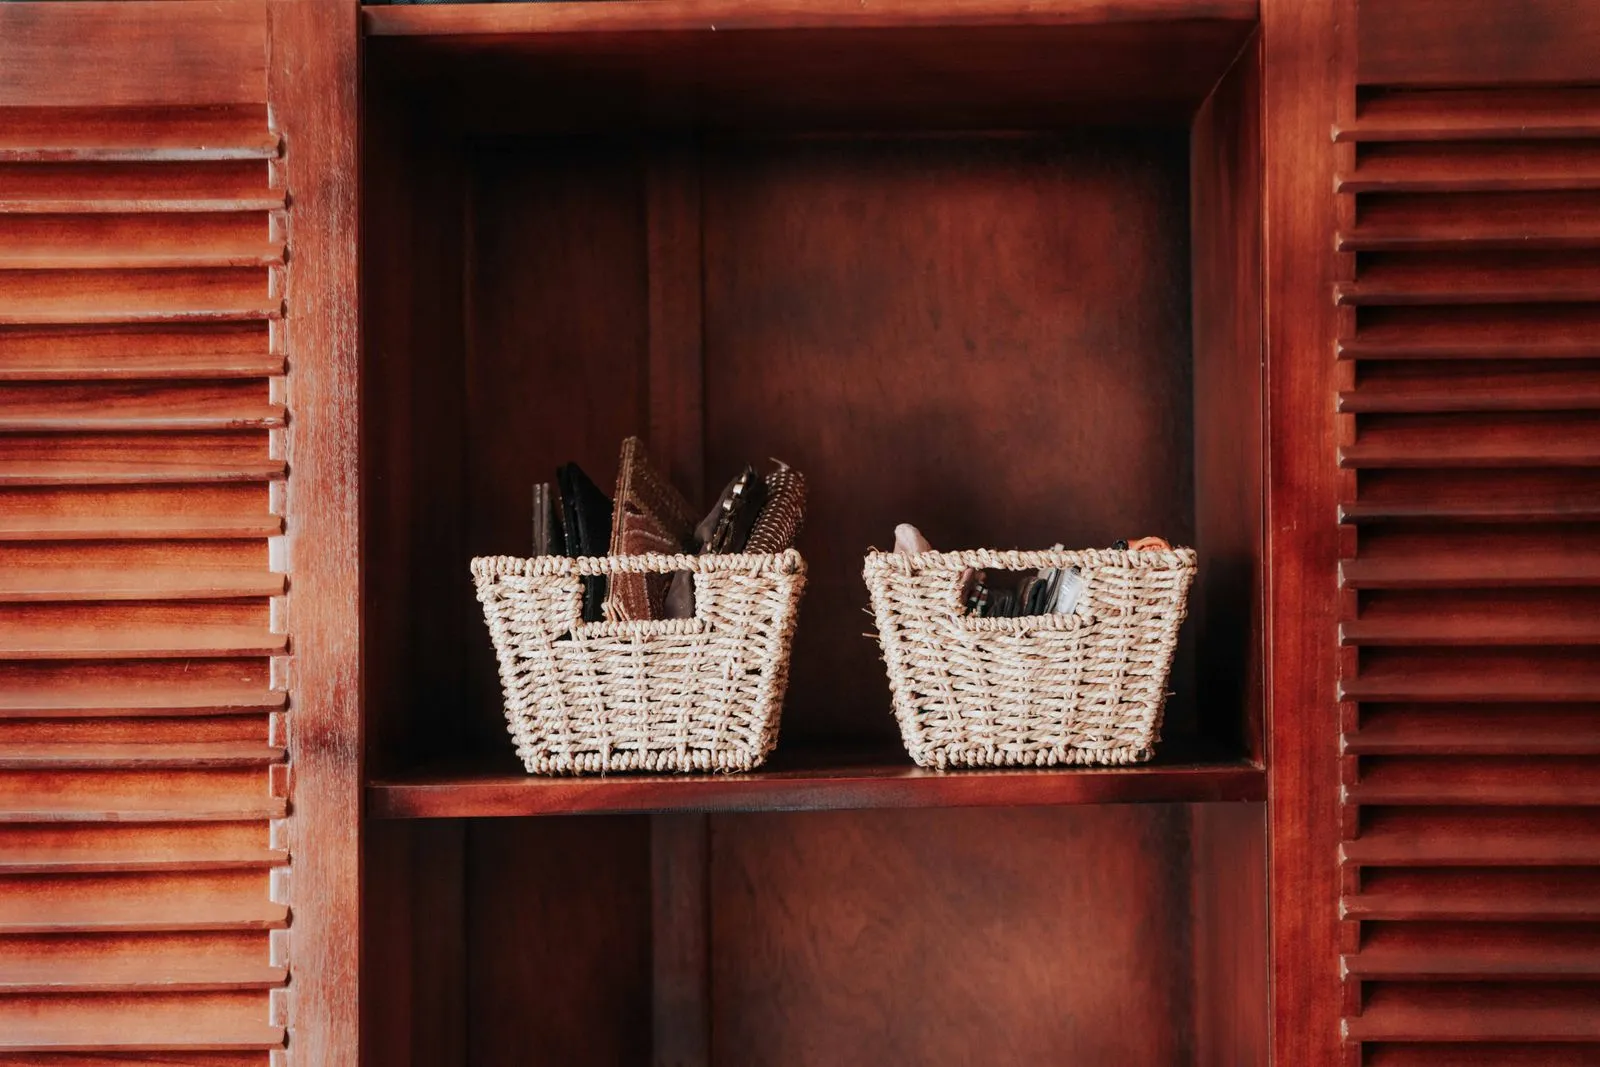
Below the rods, the cabinet floor is usually flat and empty except for whatever got shoved in last. A stackable bin or wire riser doubles that floor space without needing a fixed shelf. Look for stackable bins in the 10-to-12-inch width range, since that’s narrow enough to clear a centered pipe on either side, and choose ones with open fronts so you can see contents without lifting a lid.
Put dish soap refills, trash bags, and a small trash-bag dispenser on the bottom tier, and lighter, less-used items — extra sponges, a backup drain strainer — on the top tier. Because the bins simply stack rather than bolt together, you can reconfigure the stack in seconds if the cabinet’s uneven height means one side needs a shorter stack than the other.
Skip brackets — use adhesive hooks rated for the weight
Some items don’t belong in a bin at all: a dish brush, a small squeegee, a spare scrub sponge that needs to air out. These do better hanging on the inside of the cabinet door, but a rental door can’t take a screwed-in hook. A removable adhesive hook rated for at least 2 pounds handles this instead, and the good ones come off cleanly with a slow, flat pull on the tab rather than yanking straight out.
Stick two or three low on the door, below the midline, so a hanging brush doesn’t hit shelving when the door closes. Wipe the door surface with rubbing alcohol first and let it dry fully — adhesive that goes on a dusty or damp surface loses most of its rated hold and will drop the hook within a week, not because the hook is bad but because the surface wasn’t ready.
Zone by how often you touch it, not by category
With a rod, a bin stack, and a couple of door hooks in place, the last step is deciding what goes where. Zone the cabinet by frequency of use rather than by product type. Daily items — dish soap, one sponge, the trash bags you grab every night — go at the front, at floor level, no bin lid to lift. Weekly or occasional items — backup supplies, a drain unclogging tool, seasonal cleaners — go on the upper tension rod or the top bin tier, since reaching those less often means the extra half-second of digging doesn’t matter.
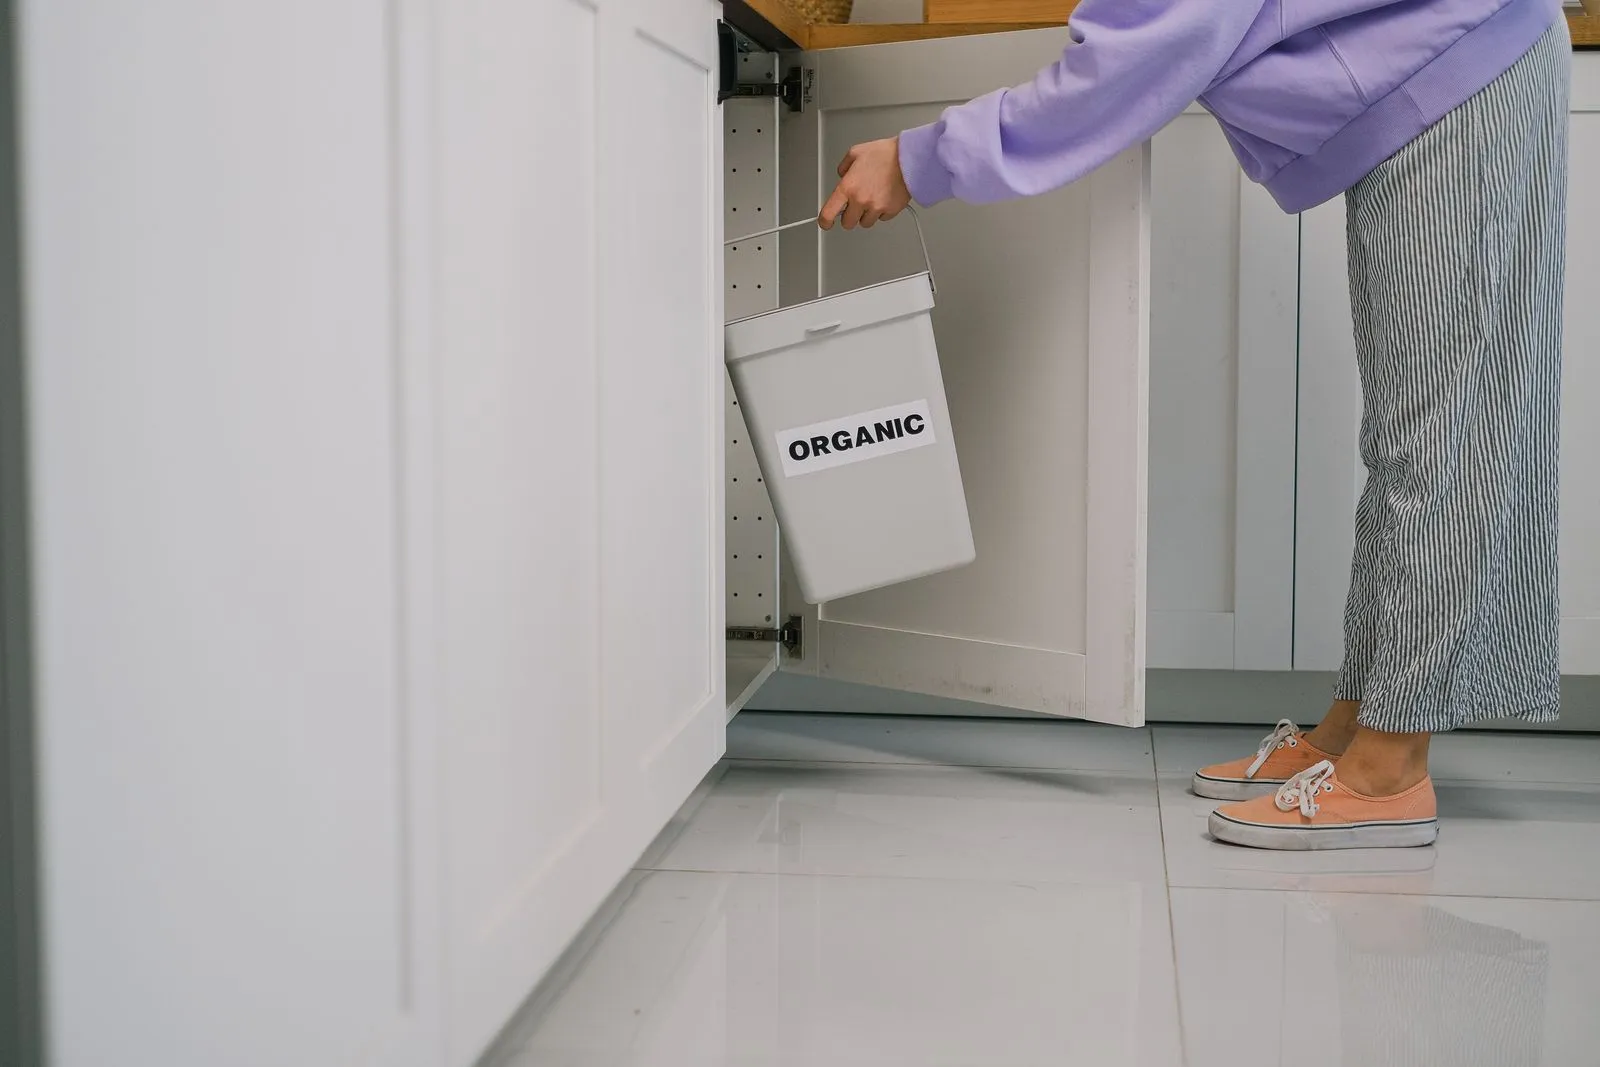
This also protects the system from creeping back into a pile. Emptying a small daily-use bin, the way you’d lift a compost or trash liner straight out of a low cabinet for a quick dump, only works if it has an obvious, uncluttered path out — which is exactly what frequency zoning guarantees.
If everything is zoned by how often a hand reaches for it, there’s an obvious wrong answer when a new item shows up: it either has a frequency it fits, or it doesn’t belong under this sink at all.
Keep every piece removable on purpose
Every choice above shares one requirement: nothing leaves a mark. Tension rods release with a twist and a pull. Stackable bins lift straight out. Adhesive hooks are rated as “removable,” which means the adhesive is designed to release cleanly rather than tear paint or leave a ghost outline. Before buying any hook, check the packaging specifically for “removable” or “no-residue” — a hook that’s just labeled “strong hold” without that word is built to stay, and prying it off a rental cabinet door is how a $3 hook turns into a $40 touch-up charge.
Keep the boxes or a small zip bag with the tension rods, spare hooks, and any leftover adhesive strips somewhere easy to find, like the top of the bin stack. That way the whole system — not just the visible bins, but the rods and hooks holding everything up — travels with you instead of getting left behind for the next tenant.
The five-minute reset that survives a move
A rental storage system earns its keep at two moments: the day you move in and the day you move out. Once a month, take five minutes to pull everything off the rods and out of the bins, wipe the cabinet floor (it collects grit faster than people expect), and check that every hook still has full contact with the door. A hook that’s started to lift at one corner will fail within days, not months, so catching it early means a fresh hook instead of a dropped brush and a sticky residue patch.
When move-out day actually comes, that same five-minute process is the entire teardown: unstack the bins, twist the rods free, peel the hooks slowly and wipe any residue with a little rubbing alcohol. The cabinet goes back to bare, the deposit stays intact, and the whole kit — rods, bins, and hooks — packs into one box for the next kitchen, however oddly shaped it turns out to be.