Small Kitchen Drawer Organization Ideas With Dividers
You push the drawer and it stops two inches short. Something inside has turned sideways, so you jiggle it, shove harder, and it catches again. Somewhere under the takeout chopsticks and the dead batteries there is a can opener you have not seen in a month.
An apartment kitchen usually has three or four drawers total. When one of them turns into the catch-all, you have lost a quarter of your accessible storage, and the utensils that should live there get pushed onto the counter into a crock that eats prep space. The fix is not a bigger drawer. It is dividing the drawer you have into compartments sized to what actually goes in them, so nothing can shift, stack, or wedge itself under the drawer front.
Measure the drawer, not the cabinet front
Drawer organizers get returned more than almost any other storage product, and it is nearly always a measurement problem. Take three numbers before you buy anything.
Interior width and depth. Measure the inside of the drawer box, wall to wall and front to back. Not the drawer face, which overhangs on most cabinets by an inch or more on each side. Apartment kitchen drawers are commonly 12 to 21 inches wide and 16 to 20 inches deep.
Usable interior height. Open the drawer and measure from the drawer floor to the underside of the countertop or the cabinet rail above it. This is almost never the same as the depth of the drawer box. A drawer with 4-inch sides may only have 3 1/4 inches of clearance before a tool hits the counter overhang and jams the drawer.
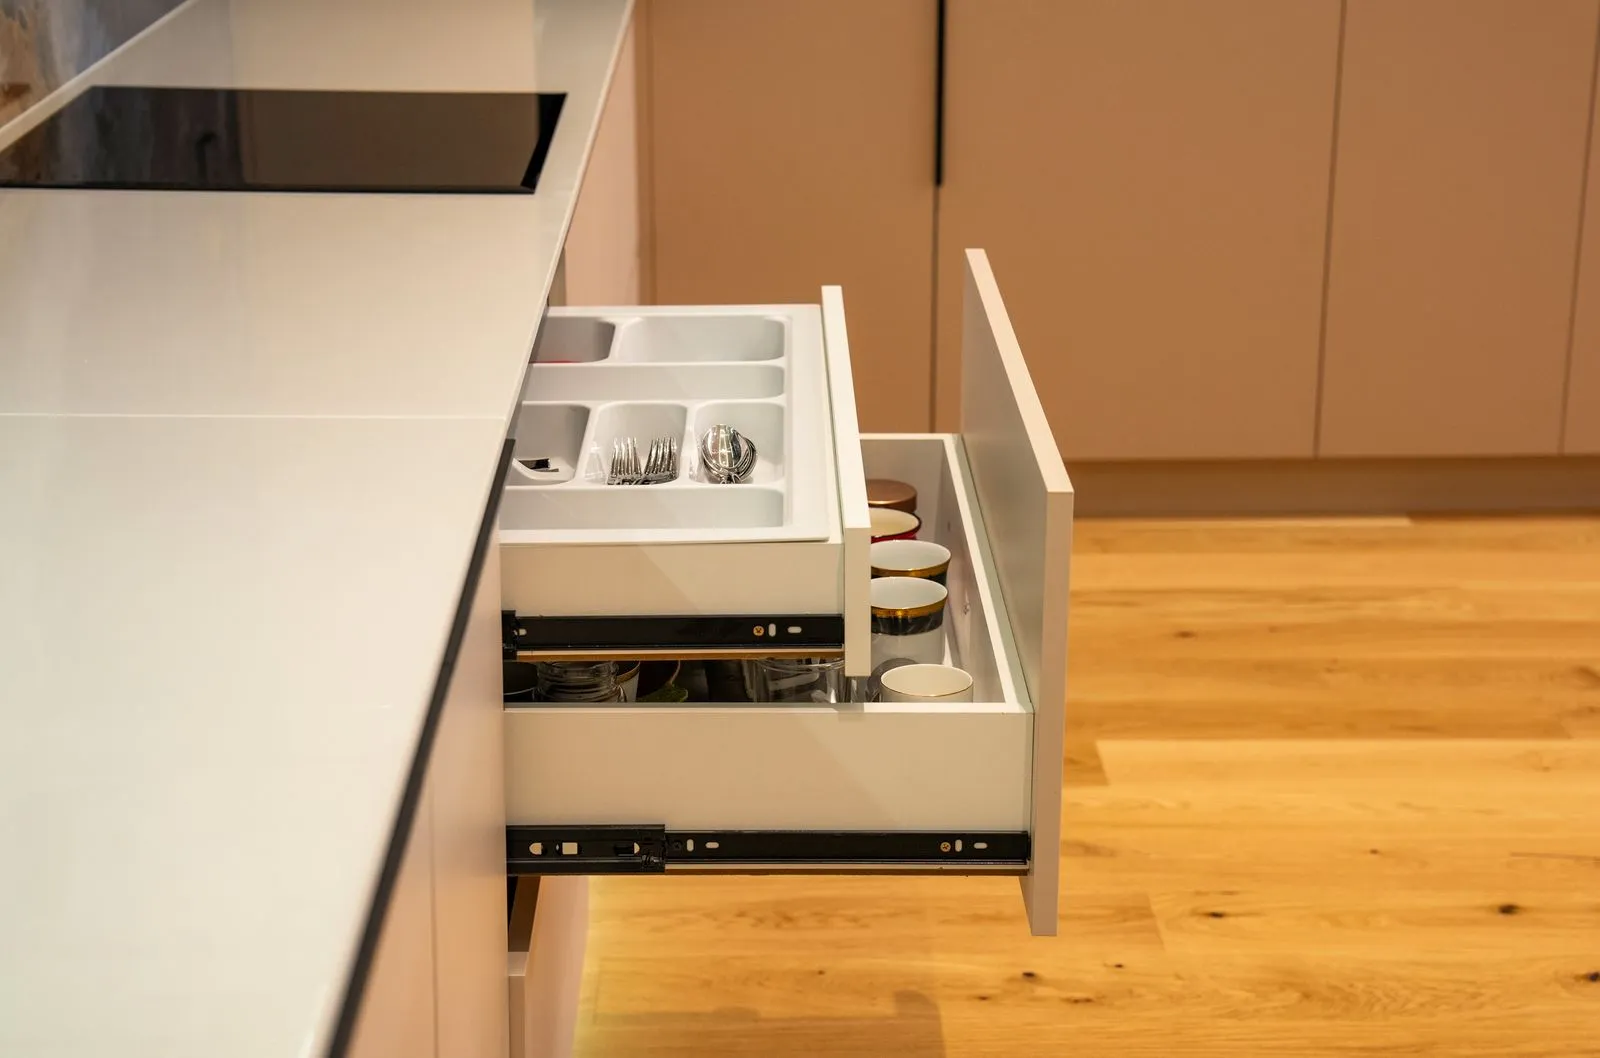
Clearance under the front lip. Some drawers have a lip that hangs down inside the opening. If your organizer is taller than the gap under that lip, the drawer will not close no matter how neatly you pack it.
Write those three numbers in your phone. Every decision below runs off them.
1. Empty the drawer completely and sort by frequency
Do not organize around what is in there. Take everything out onto the counter and put it in three piles.
- Daily and weekly. The spatula, the wooden spoon, the can opener, the peeler, the measuring spoons.
- Monthly. The meat thermometer, the pastry brush, the citrus zester.
- Never. The three extra bottle openers, the takeout utensils, the manual for an appliance you no longer own.
The third pile is usually a third of the drawer. Clear it out before you buy dividers, because you will size the compartments to what remains. Most people find they own five spatulas and use one, and keeping two is worth more square inches than any organizer.
Then decide what the drawer is for. In a small kitchen, one drawer holds cooking utensils and one holds flatware. Neither should also hold batteries, keys, and rubber bands. Those need a spot somewhere else.
2. Adjustable dividers beat a fixed cutlery tray
A molded flatware tray is fine if your flatware happens to match the slot sizes. For everything else, the problem is that the compartments are set at the factory and your tools are not.
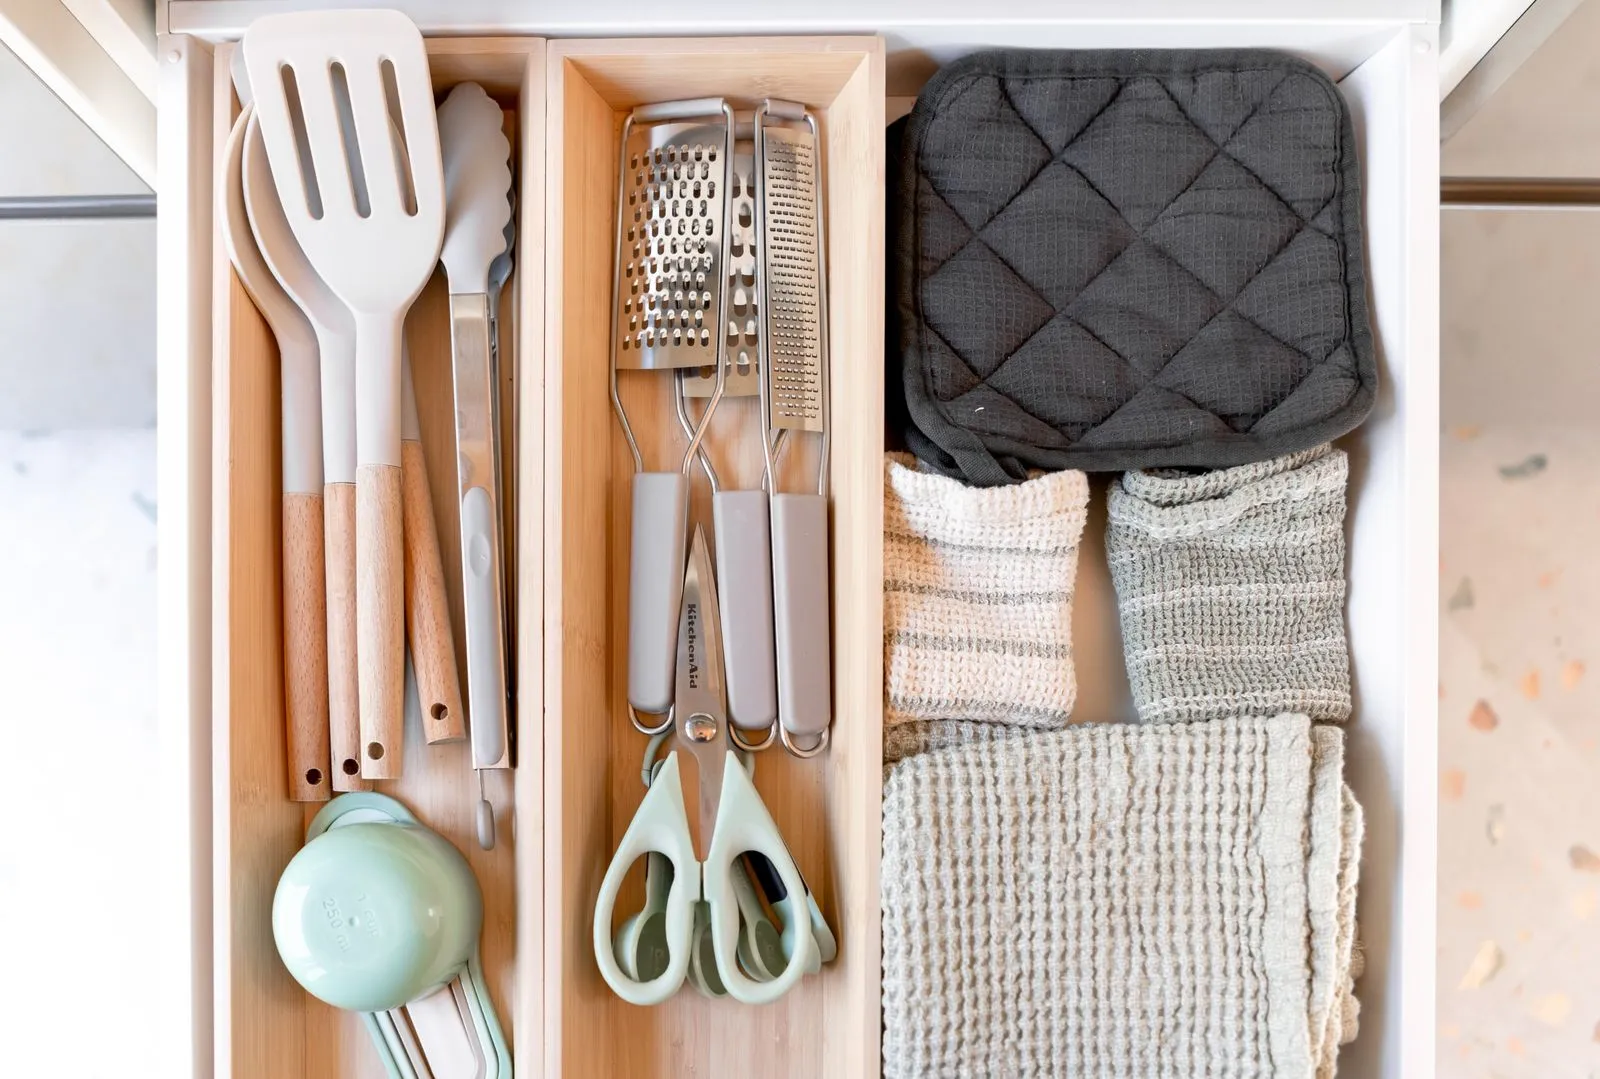
Adjustable dividers solve this. They come in two useful forms. Spring-loaded expandable dividers are single bars with tension ends that press against the drawer walls, and you slide them where you want a wall. Interlocking dividers are notched strips, usually bamboo or plastic, that snap together into a grid you build yourself.
Buy for your measured interior height. A 2-inch divider in a 4-inch drawer lets tall handles flop over the top and tangle. Bamboo dividers hold their position under load and look better. Plastic ones cost less and wipe clean faster, which is the right call near the range.
3. Size each compartment to the tool, not to a round number
This is the step that turns a divided drawer into one where things stay put. Lay the utensils out on the counter in the arrangement you want, group by group, and measure each group at its widest point. Then set the dividers to that width plus about half an inch.
Some working numbers from a typical apartment utensil drawer:
- Flatware slots: 2 to 2 1/2 inches wide each for forks, spoons, and knives stacked in a row.
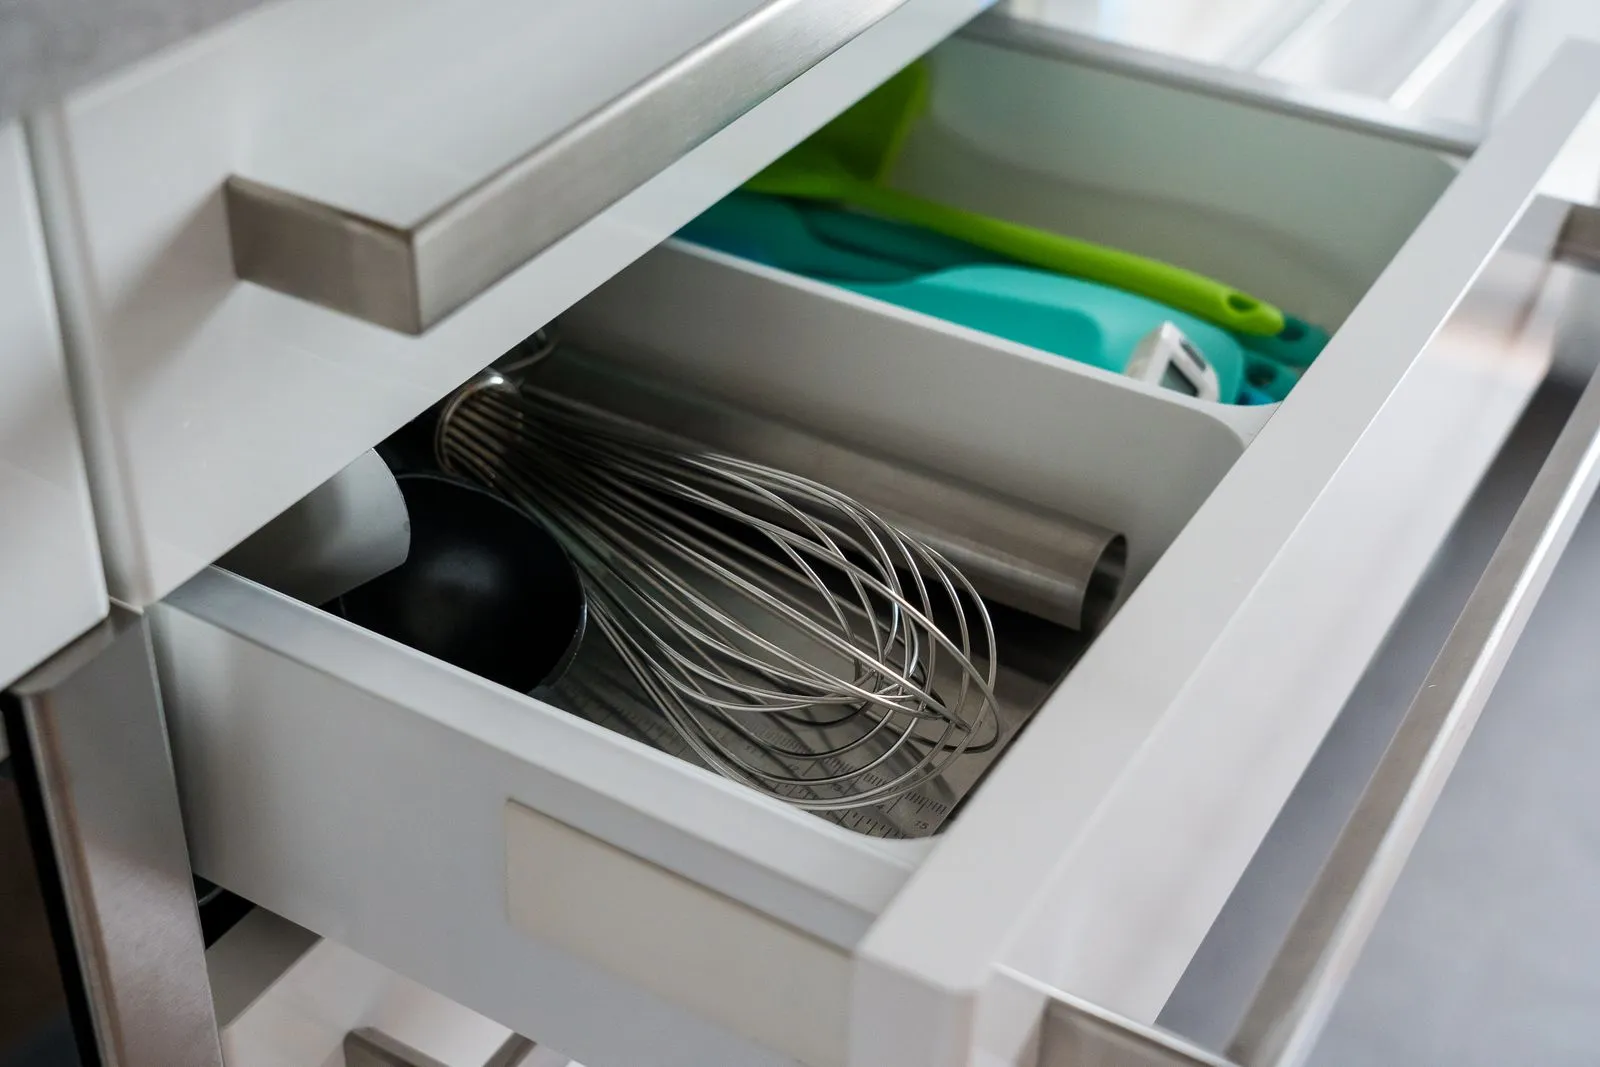
- Large cooking utensils: one lane 4 to 5 inches wide holds the spatula, tongs, and slotted spoon lying flat.
- Small tools: a 3-inch square section for the peeler, corkscrew, and can opener.
- Measuring spoons and cups: a shallow 4 by 4 inch box, or a small clip inside the divider.
Extra space is what causes the mess. A tool in a compartment 3 inches wider than it needs slides forward every time you close the drawer, ends up crosswise, and jams the whole thing. Snug compartments hold their contents through a hundred slams.
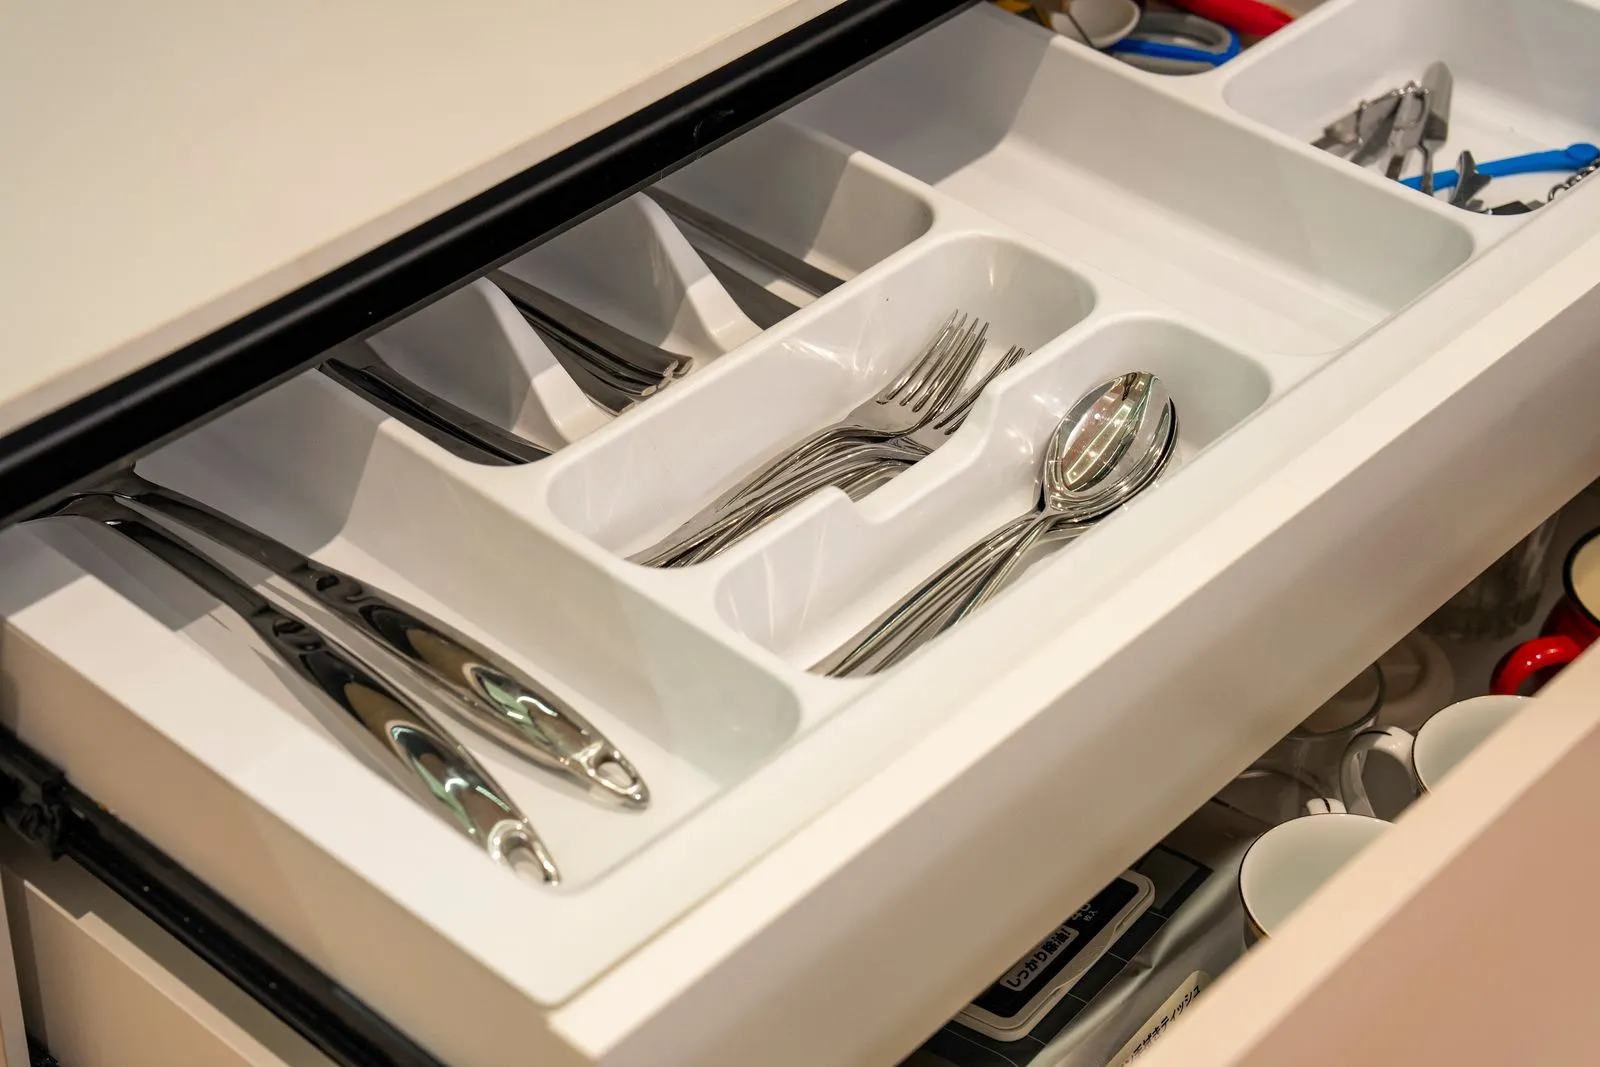
4. Label the compartments, at least for the first month
Labels sound excessive for a drawer only you open. A system fails when something goes back in the wrong place, and in a small kitchen that someone is you, in a hurry, with wet hands.
Small labels on the front face of each divider, or removable tape on the drawer floor at the front of each compartment, do the job. Write the category, not the item. “Spatulas” survives buying a new spatula. “Blue silicone spatula” does not. After a month you will not need to read them, but leave them if you share the kitchen, because a roommate who can see where the tongs go will put the tongs there.
5. Assign drawers by where you stand
In a kitchen with four drawers, which drawer gets which job matters as much as the dividers inside it.
The drawer closest to the stove holds cooking utensils: spatulas, tongs, wooden spoons, the thermometer. The drawer nearest the dishwasher or drying rack holds flatware, because that is where it lands when you unload. The drawer closest to your prep surface holds knives, the peeler, and measuring tools.
Anything used a few times a year should not be in a drawer at all. Put it in a labeled bin in the upper cabinet you need a step stool to reach. Drawer space is the easiest storage to reach, so it should hold what you reach for most.
6. Add a liner so nothing slides
A divided drawer still rattles if the dividers themselves creep. A non-adhesive liner, the thin rubbery grip kind, stops both the organizers and the utensils from sliding when you open the drawer fast. Cut it to the interior width and depth with scissors and lay it in flat.
In a rental this matters twice over, since it also keeps knife tips and metal edges from scoring the drawer bottom. Skip adhesive shelf paper, which bonds to the finish over a couple of years and comes up in strips.
7. Use the vertical space in a deep drawer
Deep drawers, the 6-inch and 8-inch kind, are usually half empty air. Stand items on edge rather than stacking them. Cutting boards, sheet pans, and pot lids all fit upright between two tall dividers spaced 1 1/2 to 2 inches apart, and standing them means you take the one you want instead of unstacking four to reach the bottom one.
For the tallest drawer, a shallow tray that rides on the drawer’s top rail gives you a second level for small tools while leaving the space below for bulk items.
Mistakes that keep the drawer messy
Buying organizers before emptying the drawer. You end up sizing compartments around things you were about to throw out.
Ignoring the interior height. The single most common return. A 4-inch organizer in a drawer with 3 1/4 inches of clearance does not close, and no amount of rearranging fixes it.
One large open tray. It becomes the junk drawer again within three weeks. Compartments are the whole mechanism.
Compartments that are too generous. Loose contents slide, turn sideways, and jam the drawer front.
Mixing categories in one drawer. The moment batteries and tape go in with the tongs, sorting stops happening and the pile restarts.
Set up one drawer in forty minutes
Do the worst drawer first and do it in this order. Empty it completely onto the counter. Wipe it out. Sort into daily, monthly, and never, and remove the never pile from the kitchen entirely. Measure the interior width, depth, and usable height, and write the numbers down. Lay the remaining tools out in groups and measure each group. Only then buy dividers, cut the liner, and set the compartments to your measured group widths.
Live with it for two weeks before doing the next drawer. Whatever you keep setting on the counter instead of putting away is telling you a compartment is the wrong size or in the wrong drawer, and it is much easier to fix one drawer than to redo four.
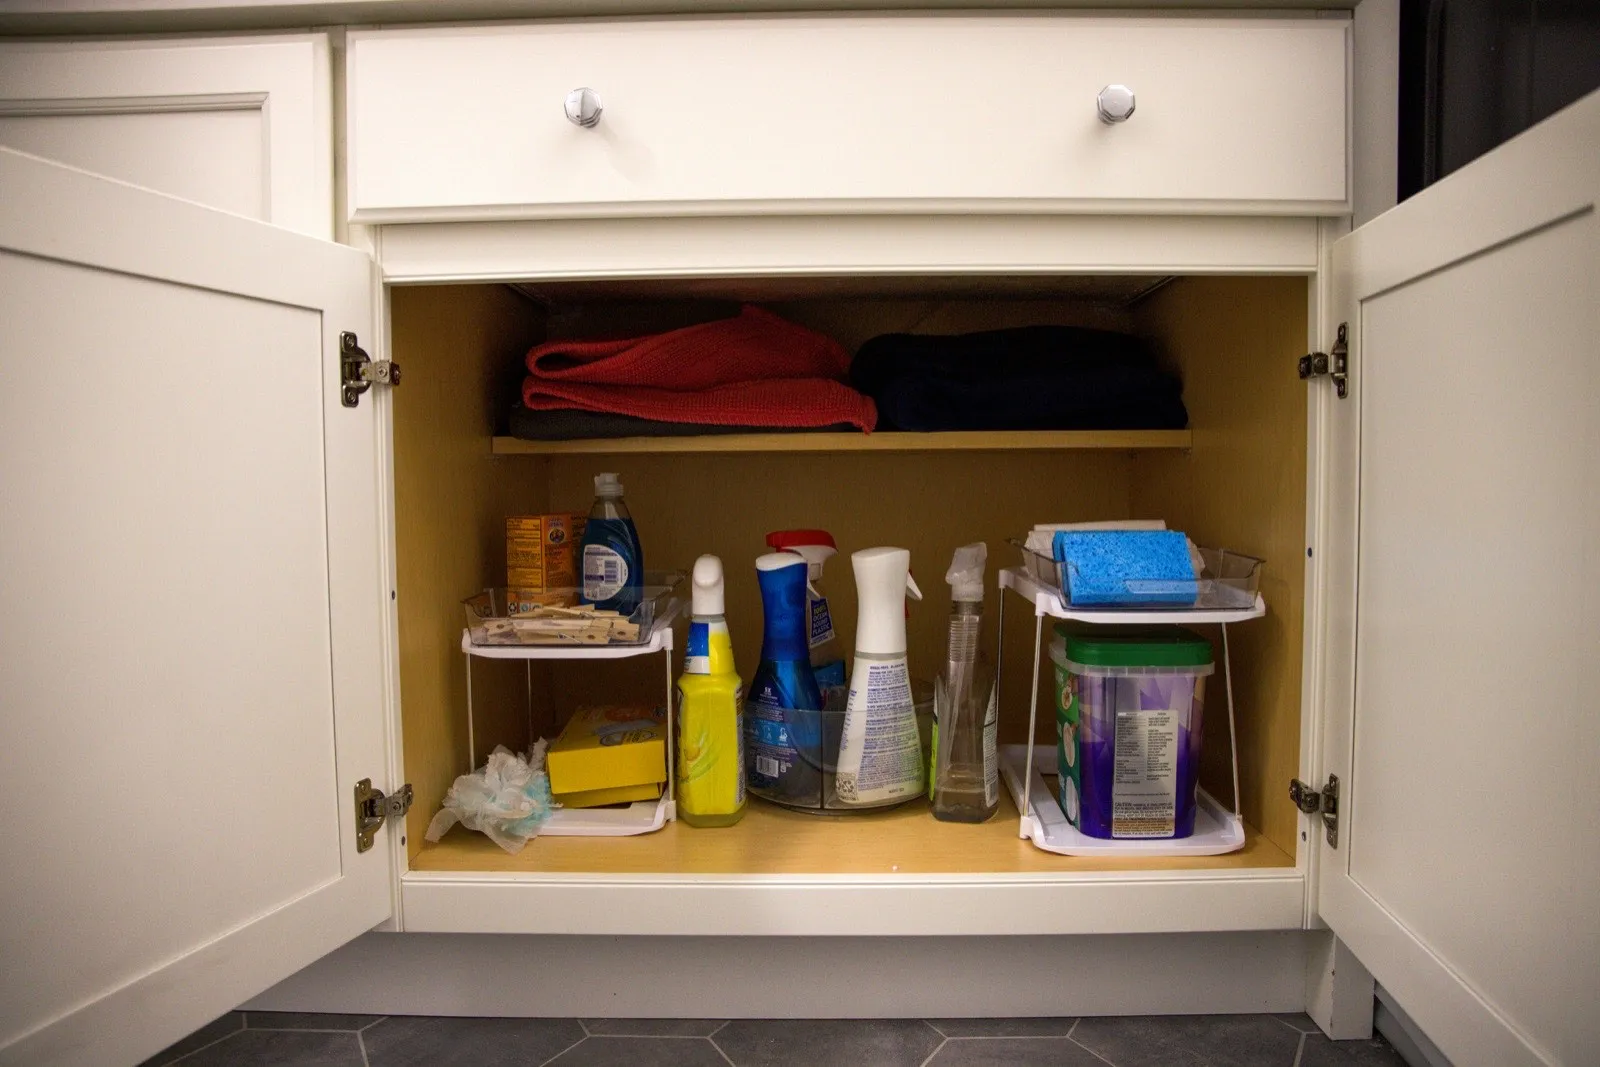
The same measure-first approach carries straight into the cabinet below, and the plumbing workarounds in our guide to under-sink kitchen cabinet organization pick up where the drawers end. If clearing the never pile left you with dry goods and no place for them, small pantry organization covers the shelf side of the same kitchen.