Peel-and-Stick Shelf Liner Ideas for a Renter-Friendly Kitchen
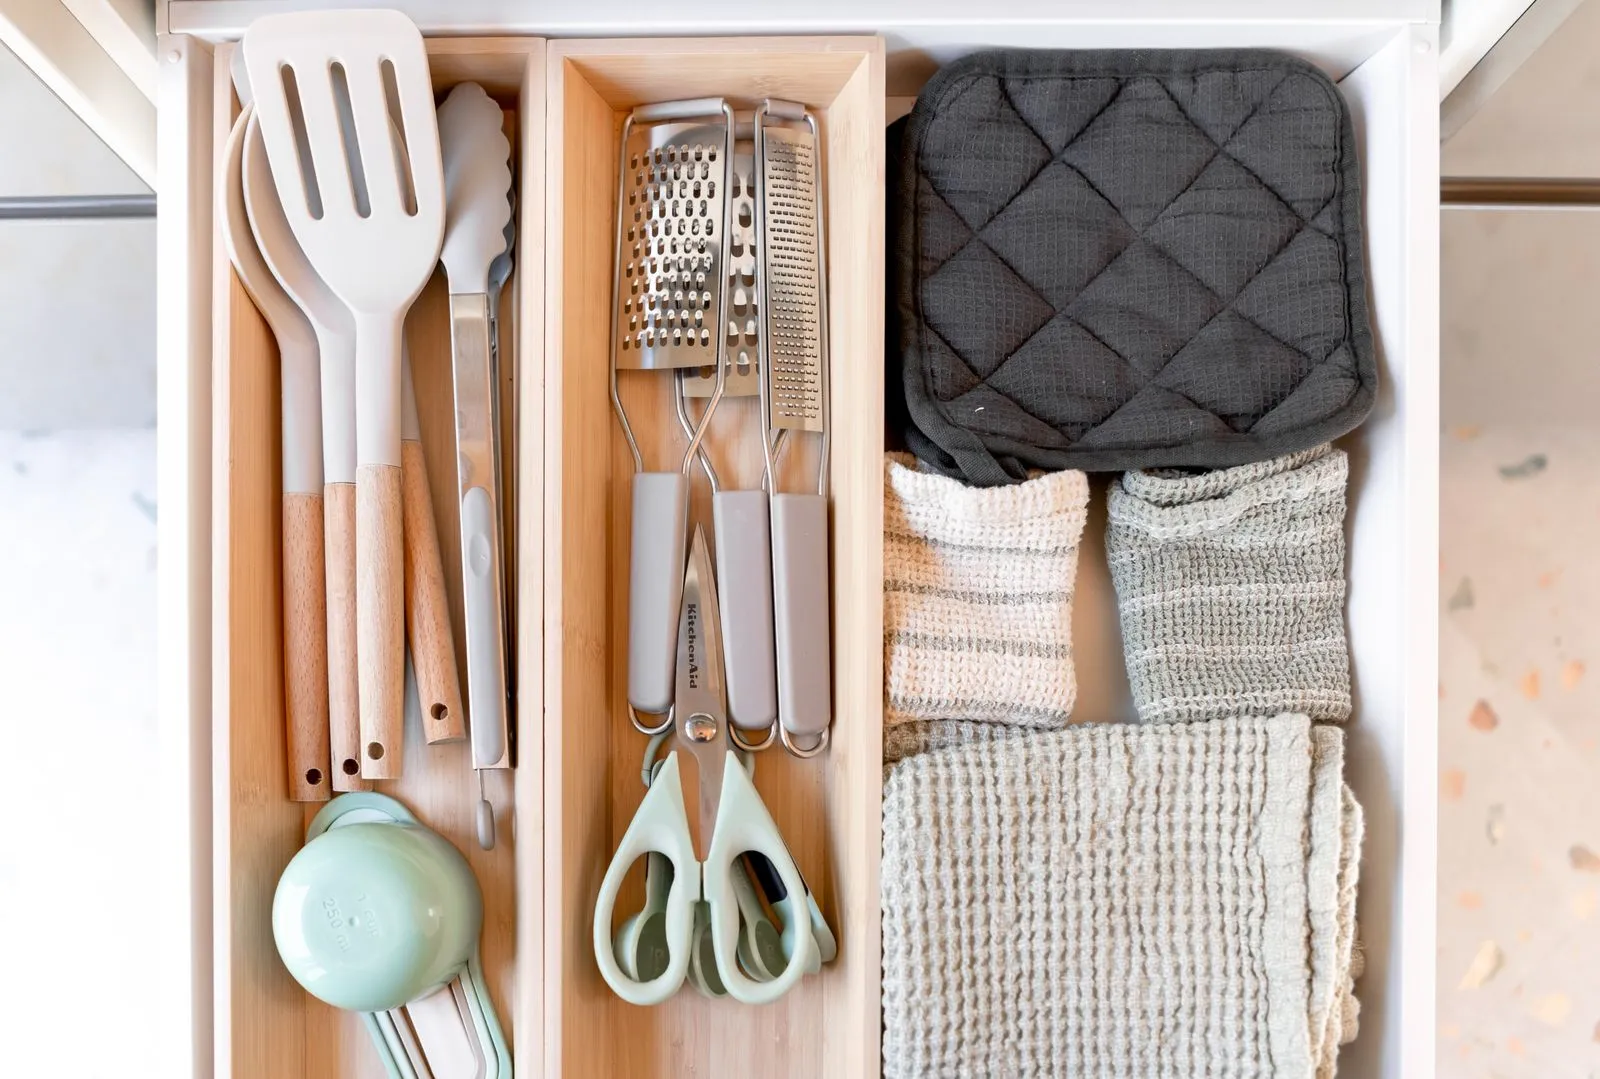
Open any rental kitchen drawer for the first time and you get the same view: bare, stained plywood or a sheet of yellowed paper the last tenant left behind, and a jumble of whatever silverware and gadgets a previous move-in dumped in. Nothing about it makes you want to open the drawer, so you don’t, and it becomes the place where twist ties and dead batteries go to disappear.
Shelf liner fixes the surface. Dividers fix the chaos on top of it. Together they turn a mismatched drawer into a system that looks intentional, and because none of it involves a screw or a staple, all of it comes back out clean when you move. The materials below run three to fifteen dollars a roll, and a full kitchen’s worth of drawers, shelves, and the fridge runs about 40 to 60 dollars total.
Adhesive vs. non-adhesive: pick the one your lease allows
Peel-and-stick liner, the kind sold as contact paper, bonds to the surface with a real adhesive layer. It lies dead flat, it will not shift when you slide a heavy pot across it, and it comes in patterns that actually look decorated rather than merely covered. The tradeoff is the bond itself: on old painted wood or laminate that has started to lift, pulling contact paper back off at move-out can take a layer of finish with it. That is a deposit risk on a surface you do not own.
Non-adhesive liner is the safer default for anything you did not paint yourself. EVA foam liner and cork-backed liner hold their position through grip and weight rather than glue, so friction, not tack, keeps them put. Set a sheet in a drawer and it will not shift during normal use, but you can lift a corner and peel the whole thing out in one motion, no residue, no test of the paint underneath. Cork-backed versions add a little cushioning, worth it for a silverware drawer where metal clatters against metal.
The practical split: use adhesive liner only on surfaces you are certain can take it (bare sealed wood, laminate in good shape, never on cabinetry the landlord has flagged as original or vintage), and default to non-adhesive everywhere else, including every drawer bottom and wire shelf. When in doubt, non-adhesive gets your deposit back with zero conversation.
Measure once, cut clean: the template method
Cutting liner freehand inside the drawer wastes material and leaves ragged edges that curl at the corners. Do it with a paper template instead.
Pull the drawer out and set it on a flat surface. Lay a sheet of newspaper or kraft paper inside it, press into the corners, and trace the outline with a pencil, marking around any fixed dividers or drawer-slide hardware that sticks up. Cut the template about a quarter inch inside your trace line so the liner sits shy of the walls rather than curling up them. Lay the template on the liner roll, trace it, and cut with sharp household scissors or a utility knife against a straightedge.
US kitchen base-cabinet drawers commonly run 20 to 22 inches deep and 14 to 30 inches wide, with utensil drawers on the shallow end at 3 to 4 inches tall and pot drawers running 8 to 10 inches. A standard 18-inch-wide liner roll covers most drawers in a single strip; anything wider needs a seam, placed along a hidden edge rather than down the visible center.
Wire shelves and wood pantry shelves get the same template treatment, but skip the shy-of-the-wall trim there since a shelf liner that runs edge to edge catches more spills. On wire shelving specifically, non-adhesive liner is the only real option, since there is no flat surface for adhesive to grip evenly and it will bubble between the wires.
Zone the drawers with liner plus dividers
Liner alone still leaves you with a pile. The dividers are what actually organize the drawer, and liner is what keeps them from sliding around on a bare surface.
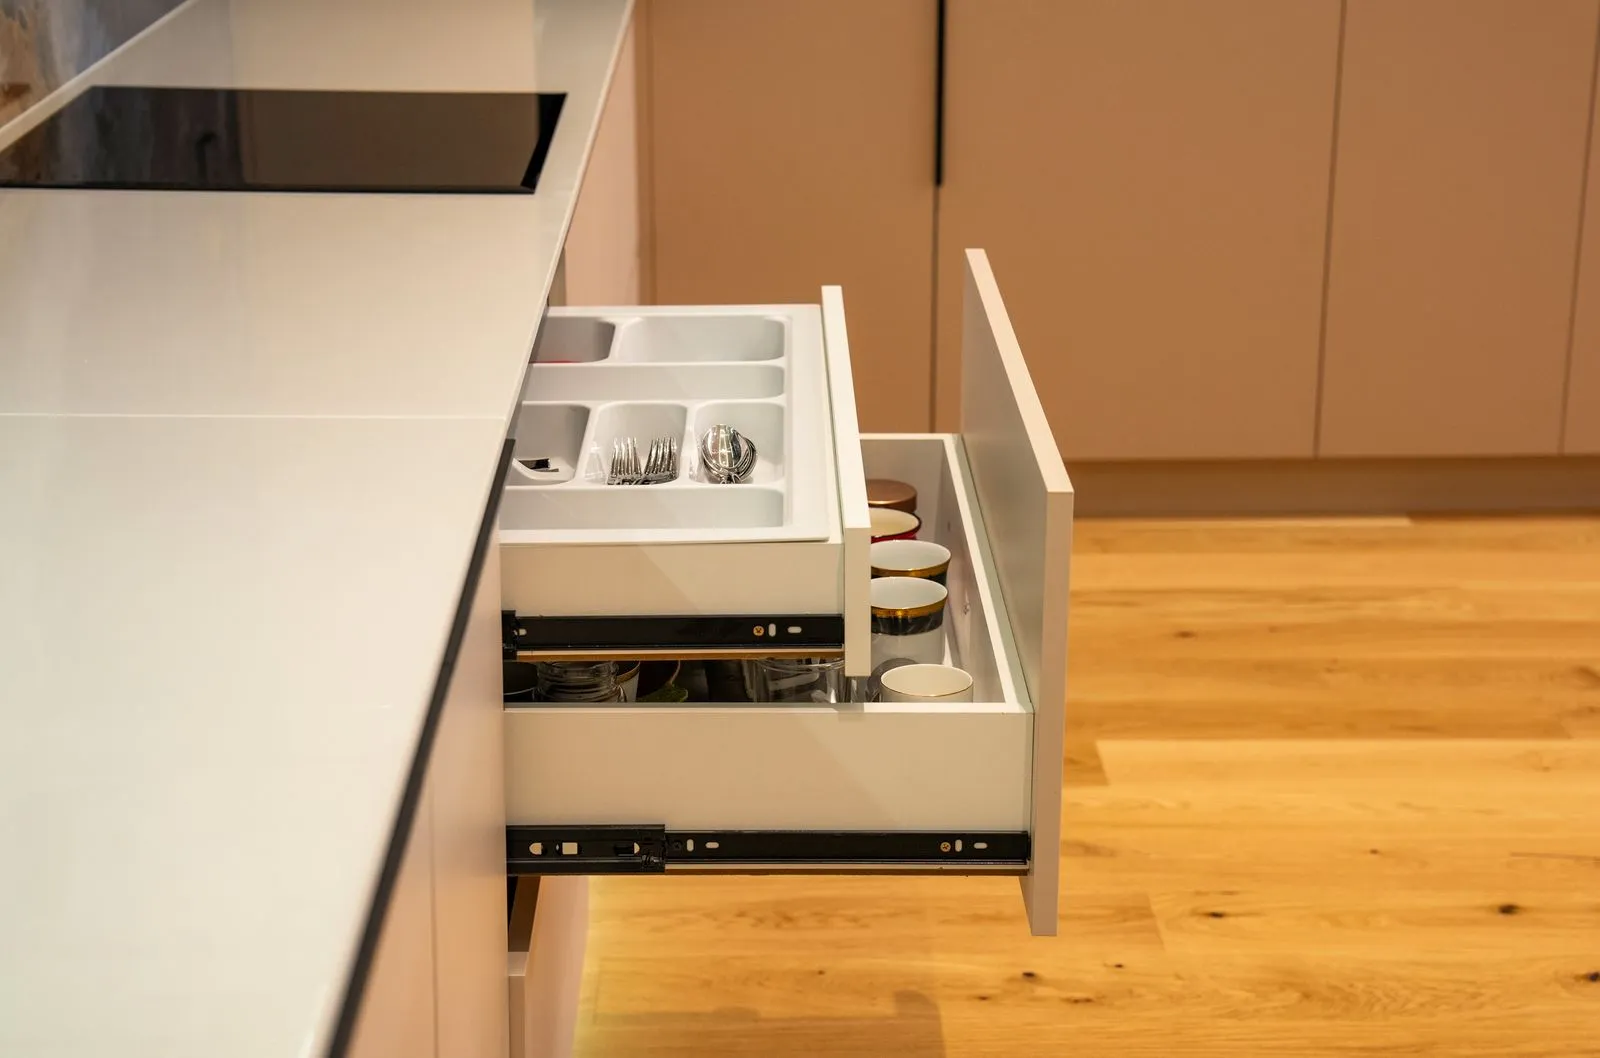
Expandable spring-loaded dividers, the same kind used for bakeware, work in any drawer at least 3 inches deep. Set two or three across a utensil drawer to split it into zones: cooking tools in one, everyday flatware in another, gadgets in a third. In a deeper drawer, stack a shallow mesh or bamboo tray on top of the liner for small items, with the liner keeping the tray from sliding when the drawer opens fast.
Removable hook-and-loop dots (the kind rated for walls, not the permanent industrial version) pin a divider tray in place without gluing it to the drawer bottom. Peel a divider up at move-out and the strip comes with it, leaving the liner underneath untouched.
Group by frequency of use, not by category. The spoon you use twice a day belongs in the front zone even if the rest of your serving spoons live in the back. A drawer organized by how often you reach for something stays tidy longer than one organized by a tidy-looking system that fights how you actually cook.

Beyond drawers: the fridge and under the sink
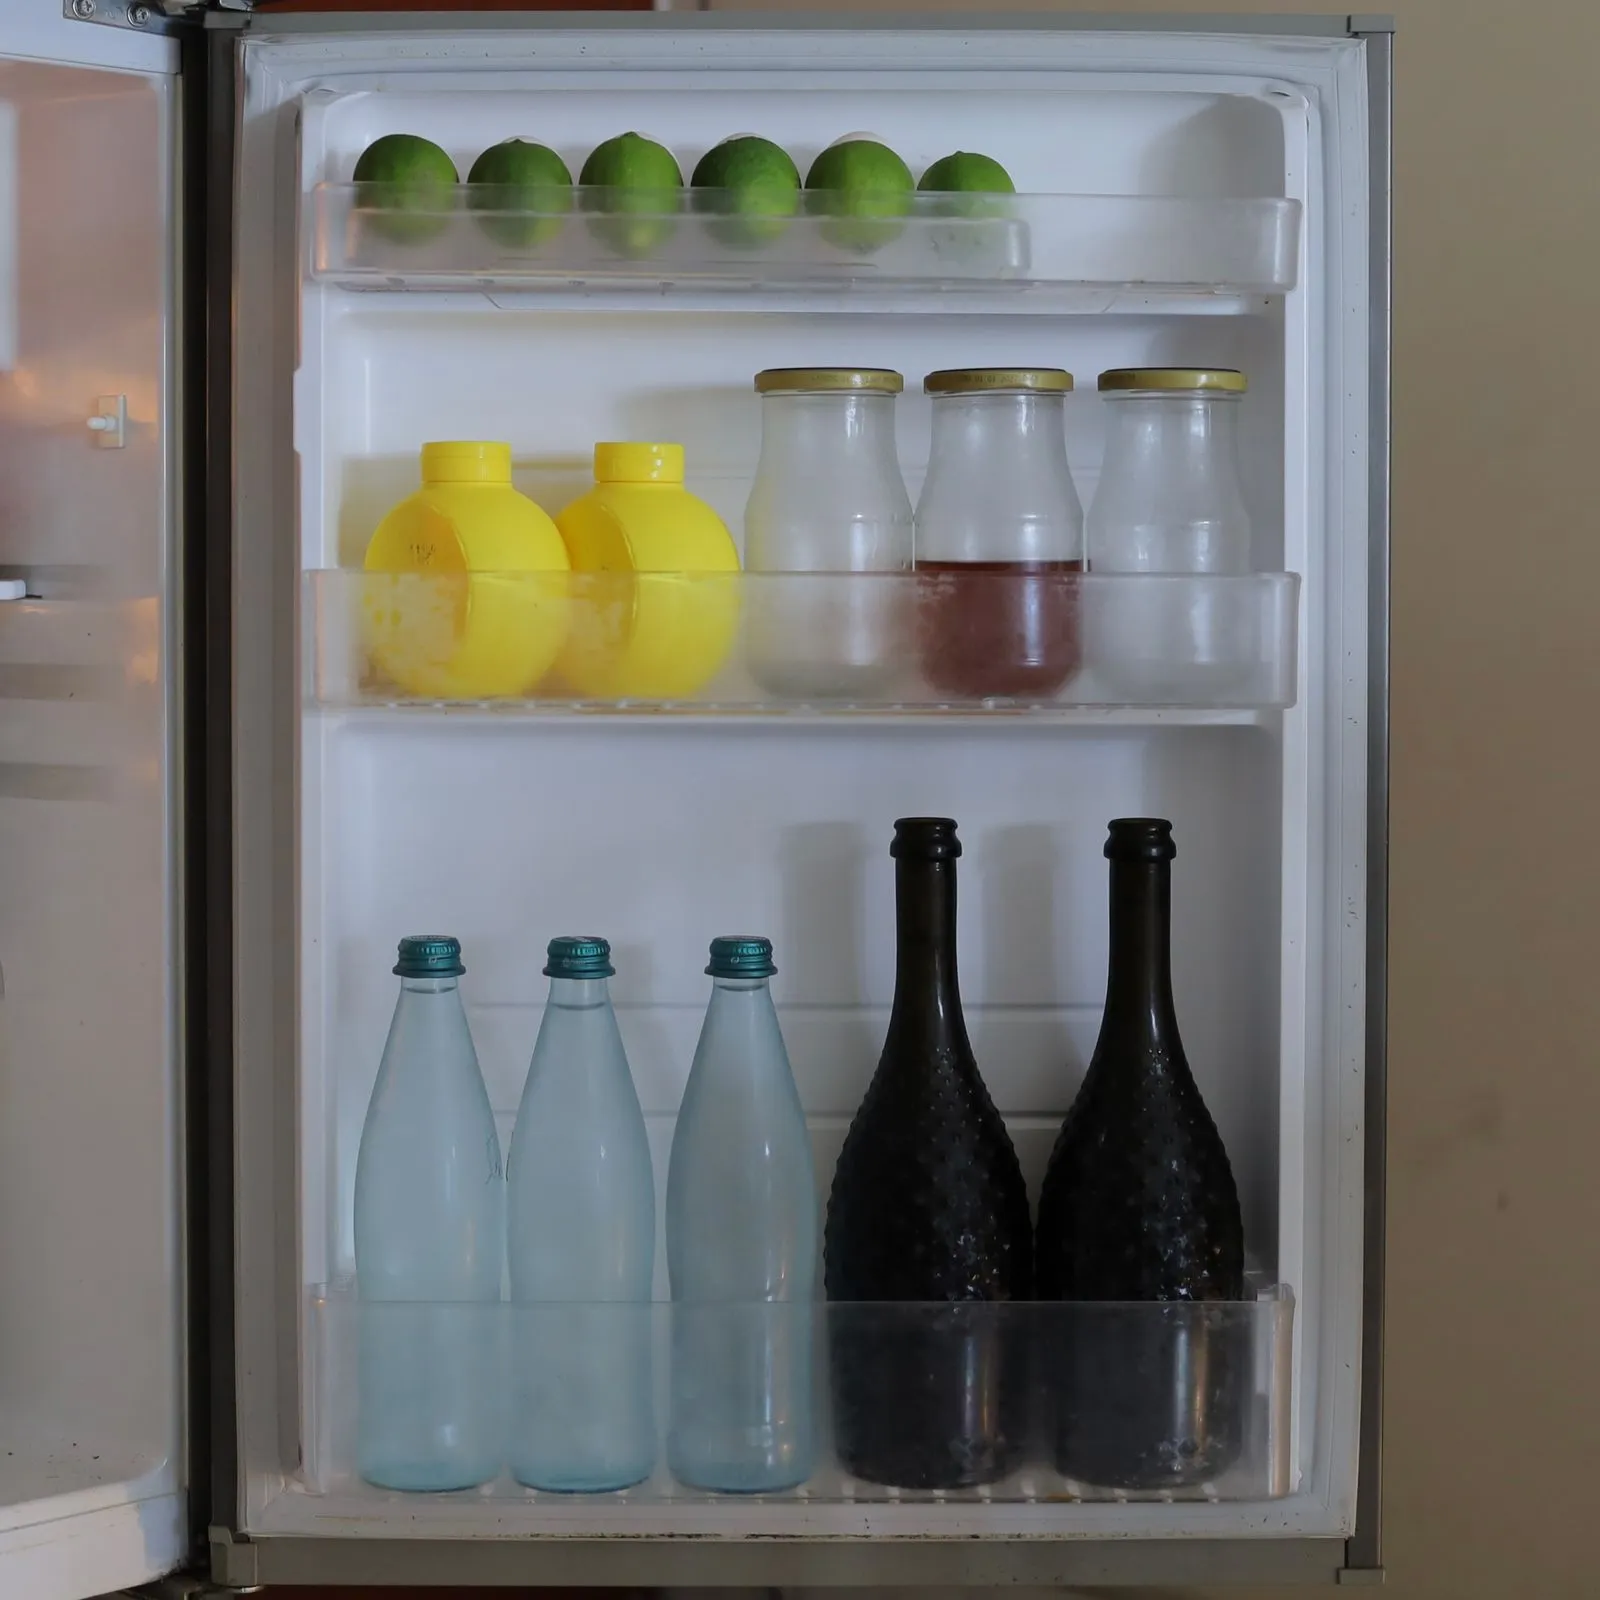
The same non-adhesive logic extends past the drawers. Refrigerator shelf liner, cut from the same EVA or cork roll, sits under produce and jars to catch drips before they reach the glass shelf underneath. Because it is not adhered, it lifts straight out for a rinse whenever something leaks, so the shelf never needs a full scrub-down. Cut it to match the shelf depth rather than the whole footprint; refrigerator shelves typically run 18 to 20 inches deep, and a liner cut a half inch short on each side still catches most spills while leaving room to lift it one-handed.
Under the sink, non-adhesive liner goes down first, then a shallow bin or two on top for cleaning supplies. It protects the cabinet floor from the ring a bottle leaves behind and turns wiping up a leak into a thirty-second job. Skip adhesive liner here entirely; the humidity under a sink is exactly the condition that makes contact-paper adhesive give up early and peel at the edges on its own.
Costs and coverage math
Adhesive contact-paper-style liner runs about 8 to 12 dollars for an 18-inch by 20-foot roll, roughly 30 square feet, enough for four or five standard drawers plus a shelf or two. Non-adhesive EVA liner costs a bit more per square foot, typically 10 to 15 dollars for a 12-inch by 10-foot roll, about 10 square feet, since the material is thicker and does the cushioning job plain paper does not.
A full plan for an average rental kitchen: one roll of non-adhesive liner for drawers (10 to 15 dollars), one roll for the fridge and under-sink cabinet (10 to 15 dollars), a three-pack of expandable dividers (8 to 12 dollars), and a pack of hook-and-loop dots (5 to 8 dollars). That totals 35 to 50 dollars and covers every drawer, both fridge shelves, and the under-sink cabinet, with material left over for a bathroom drawer or two.
Buy for the drawers first and live with them for a week before lining the fridge and cabinets. It is easier to judge whether cork or foam suits your habits on a surface you touch daily than to guess from the roll.
Getting it all off clean at move-out
Non-adhesive liner is the easy case: lift a corner and it comes straight out, no residue, no tools. Adhesive liner takes more care if you used it anywhere.
Warm the edge with a hair dryer on low heat for 20 to 30 seconds before you start peeling. Heat softens the adhesive and lets it release from the surface in one long strip instead of shredding into a hundred small pieces that each leave a bit of glue behind. Pull slowly and at a low angle, close to parallel with the surface, rather than straight up, which stresses the bond less and reduces tearing.
For any adhesive residue left behind, work a length of unwaxed dental floss flat against the surface and saw it gently under the sticky patch, which lifts the residue without scratching the finish the way a scraper or a knife can. A cloth dampened with a small amount of cooking oil or a dab of rubbing alcohol handles what the floss leaves, applied in small amounts and wiped immediately so nothing pools on painted wood. Test any solvent on a hidden corner first, since some finishes react differently than others.
Do the adhesive-liner drawers a few at a time over your last week, not all at once the night before a walkthrough. Rushed removal tears the surface; unhurried removal gets the deposit back.
Once the liners are down, the drawers they protect still need internal order. The divider math in our guide to small kitchen drawer organization picks up where this leaves off, and every divider in it sits loose on top of the liner you just cut.