Small Pantry Organization Ideas With Canisters and Labels
In most apartments the pantry is not a room. It is one cabinet, maybe two, with shelves too deep to see into and no logic to what goes where. You buy a second bag of rice because you cannot find the first one, and the cereal box tips over every time you open the door.
A cramped cabinet pantry can be genuinely well organized, but not by buying matching containers first. The order matters: empty it, measure it, zone it, then decant into canisters and label. Do it backwards and you end up with expensive jars and the same problem.
Empty the cabinet completely
Pull everything out onto the counter or table. This takes fifteen minutes and it is the step people skip.
Sort into four piles as you go.
- Expired or stale. Check dates on baking powder, nuts, oils, and spices. These go stale silently.
- You will not eat it. Be honest. A jar of something you bought for one recipe two years ago is not pantry inventory.
- Duplicates. Combine the two open bags of the same thing.
- Keep.
Now wipe the shelves and look at what you actually have. Most small pantries hold noticeably less than you think once the dead stock is gone, which changes what you need to buy.
Measure the three numbers that decide everything
Shelf depth. Standard kitchen cabinets are 12 inches deep for uppers and 24 for a full pantry cabinet. Anything past about 12 inches is where items disappear.
Vertical clearance between shelves. Usually 11 to 15 inches. This is the number that tells you what canister height fits and whether a riser will go in.
Width, and the door opening width. The opening is often 2 to 3 inches narrower than the interior on each side because of the face frame. Bins are bought to the opening, not the interior.
Write all three down before you shop.
Zone the pantry by height and reach
Shelves are not equal. Assign them by how often you reach for something, not by category alone.
- Eye level: daily items. Coffee, cereal, bread, snacks you actually eat.
- Waist to chest level: weekly cooking staples. Pasta, rice, canned goods, oils.
- Top shelf: backups and bulk. Extra paper goods, the second bag of flour, seasonal baking supplies.
- Bottom shelf: heavy and bulky. Large bags, cases of drinks, appliances you use occasionally.
If you have kids, add a fifth zone: one low shelf or one bin at their height with the snacks they are allowed to take. That single move stops them from excavating the rest of the pantry.
Decant into clear canisters, but only where it pays off
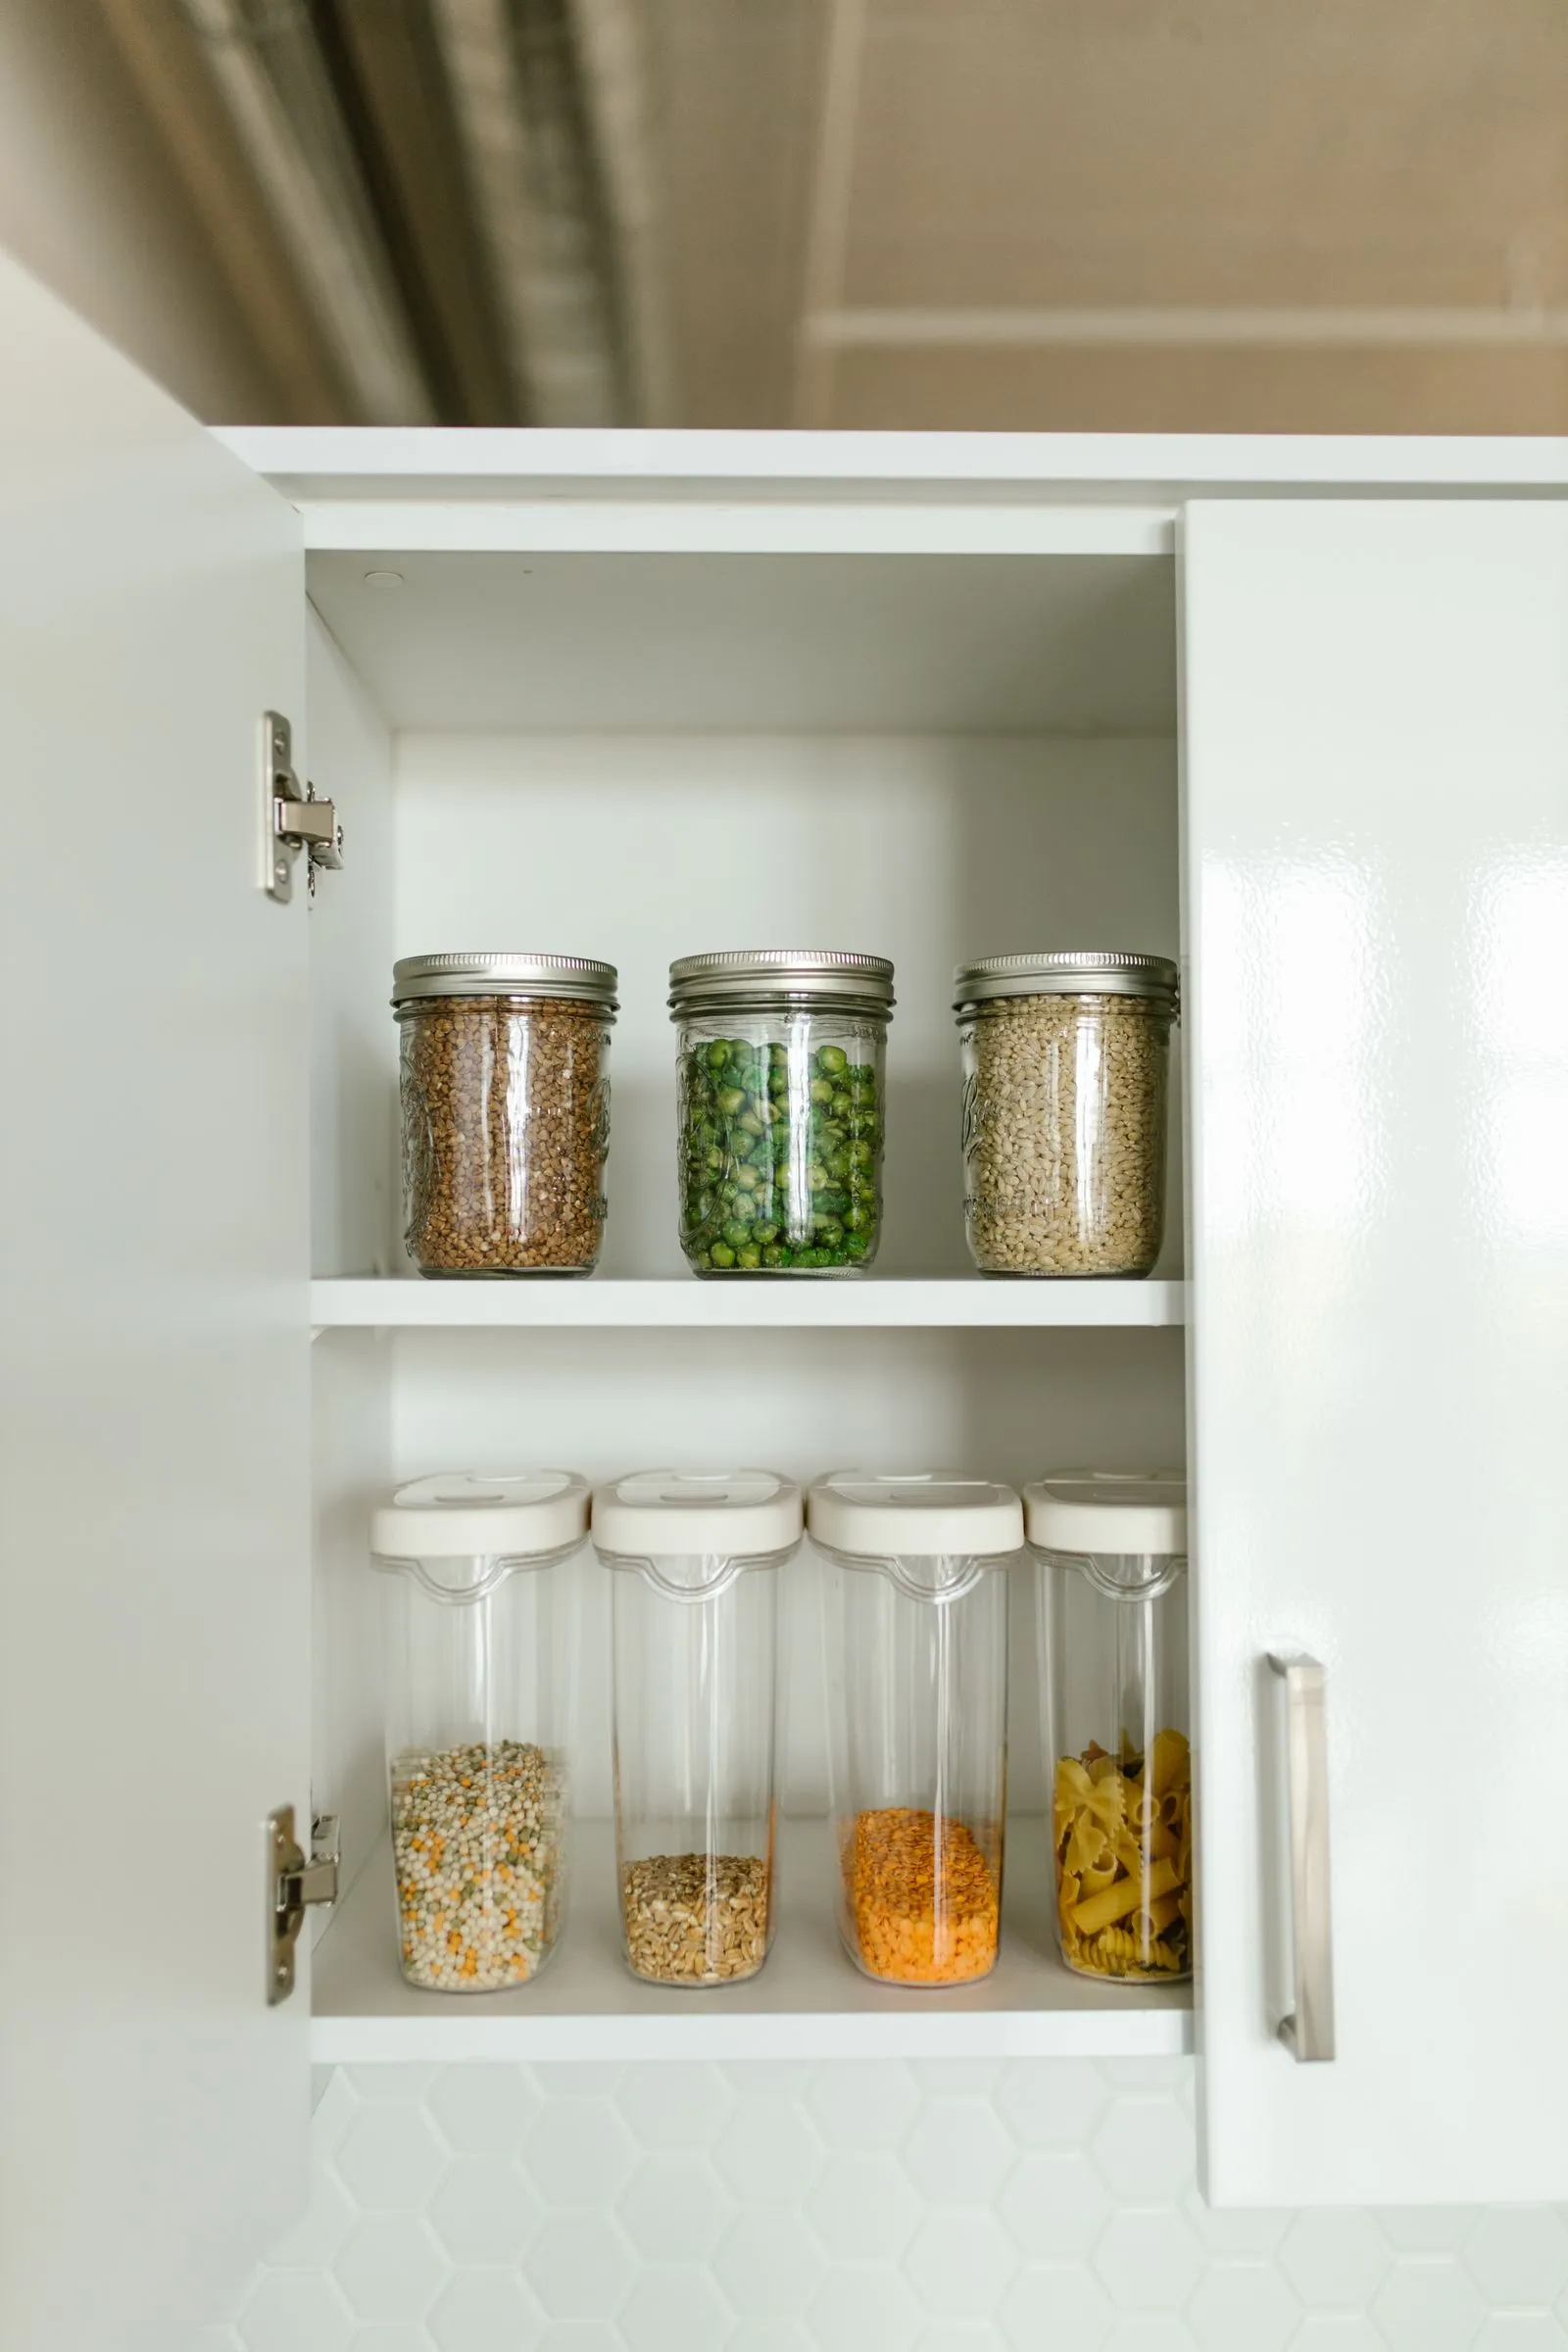
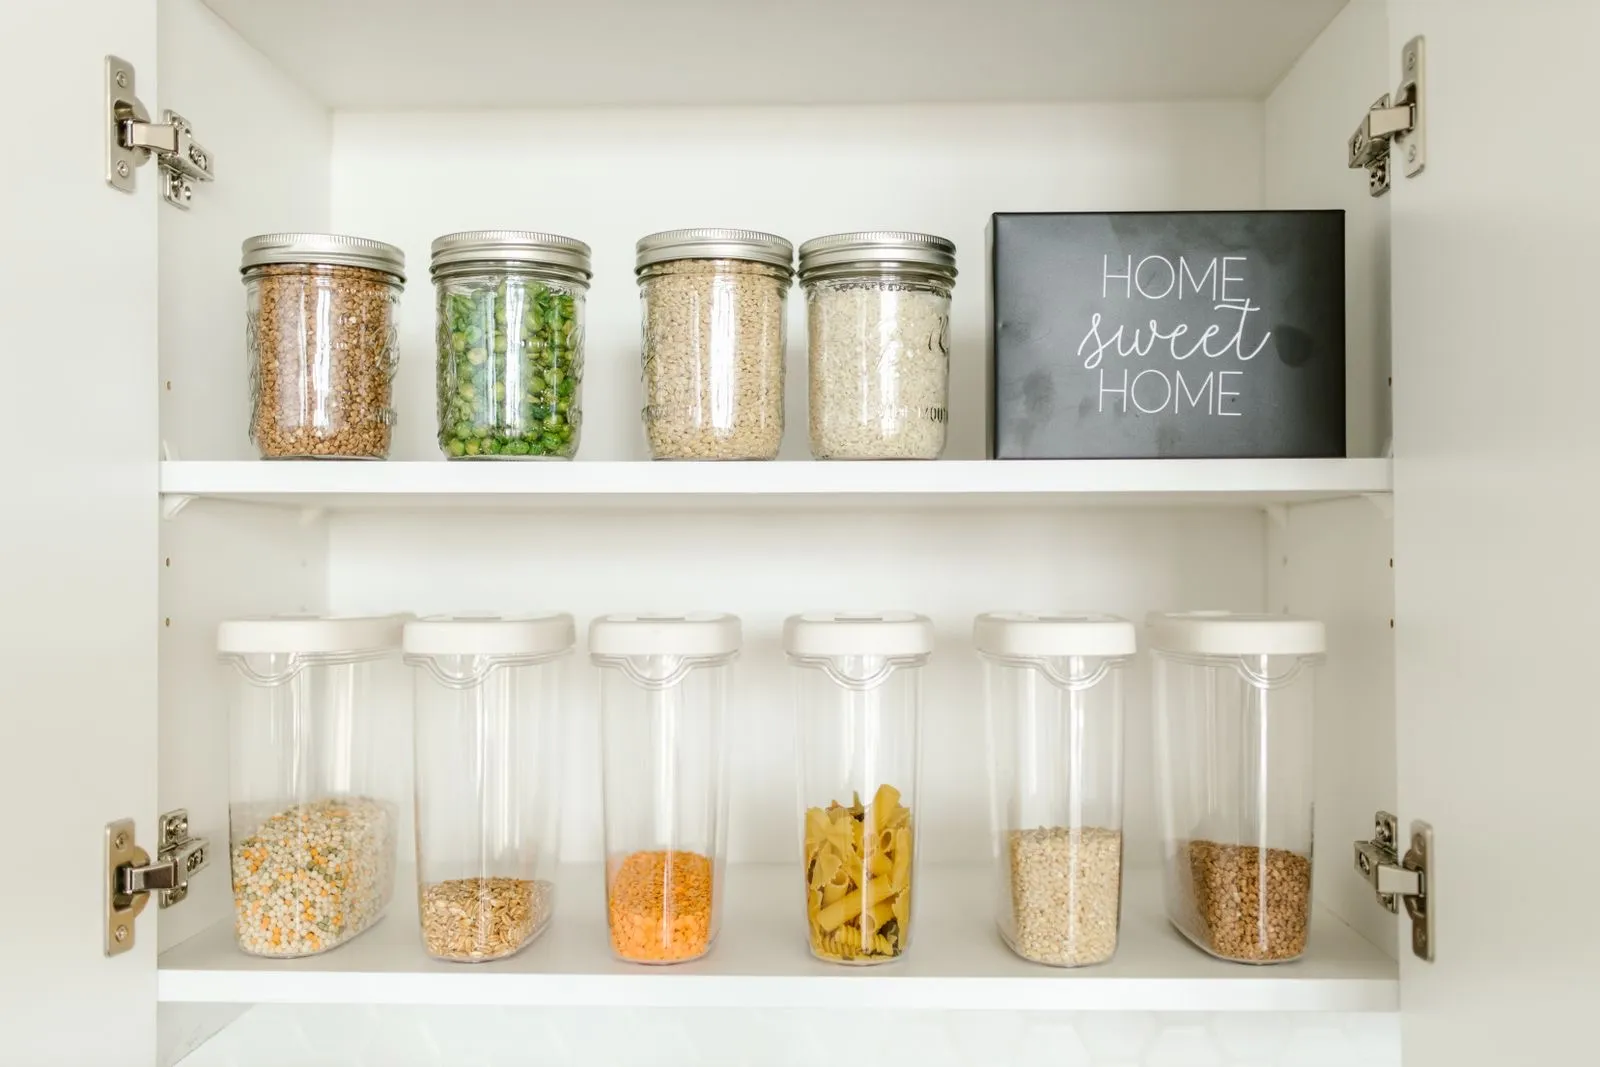
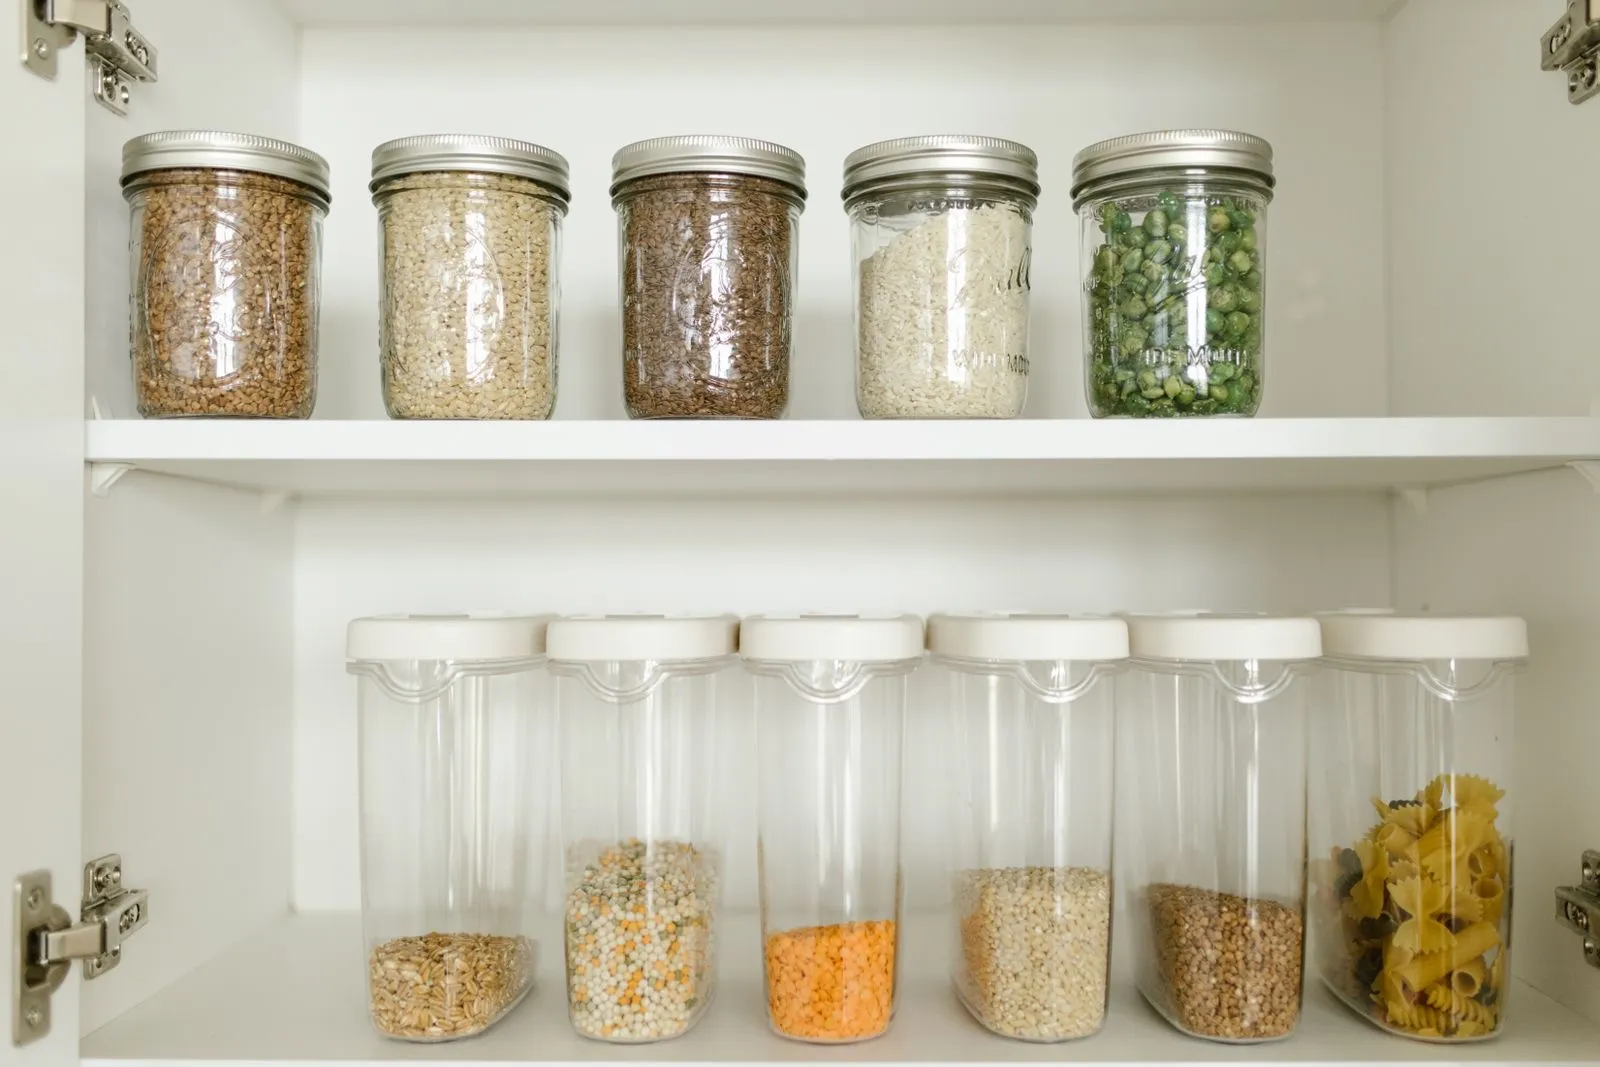
Clear pantry canisters do three real jobs. They stack squarely where bags do not, they show you your quantity at a glance, and they keep things fresh.
They are worth it for:
- Flour, sugar, rice, oats, and other dry goods bought in floppy bags
- Pasta, beans, and lentils
- Cereal, granola, and snacks in tall boxes that waste vertical space
- Coffee, tea, and anything that goes stale from air exposure
They are not worth it for canned goods, jarred sauces, or anything in a rigid container that already stacks. Moving those into new containers costs money and buys nothing.
Sizing matters more than looks. Measure your shelf clearance and buy canisters at least 2 inches shorter so you can lift them out without tilting. Square or rectangular canisters fit more per shelf than round ones, since round jars waste the corners. And buy fewer, larger canisters rather than many small ones if your shelves are deep, because a wall of tiny jars is hard to scan.
Write the cooking instructions on the container
The most common regret after decanting is throwing away the box with the cook time on it.
Fix it at the moment you fill the canister. Cut the instruction panel off the original packaging and drop it inside the canister, or write the ratio and time directly on the back of the label. Rice, steel-cut oats, and dried beans are the ones people always need.
Also note the expiration or purchase date somewhere on the container. A piece of masking tape on the bottom with a month and year works fine and costs nothing.
Build a label system you will actually maintain
Pantry labels fail when the system is too fussy to keep up. Three rules keep it going.
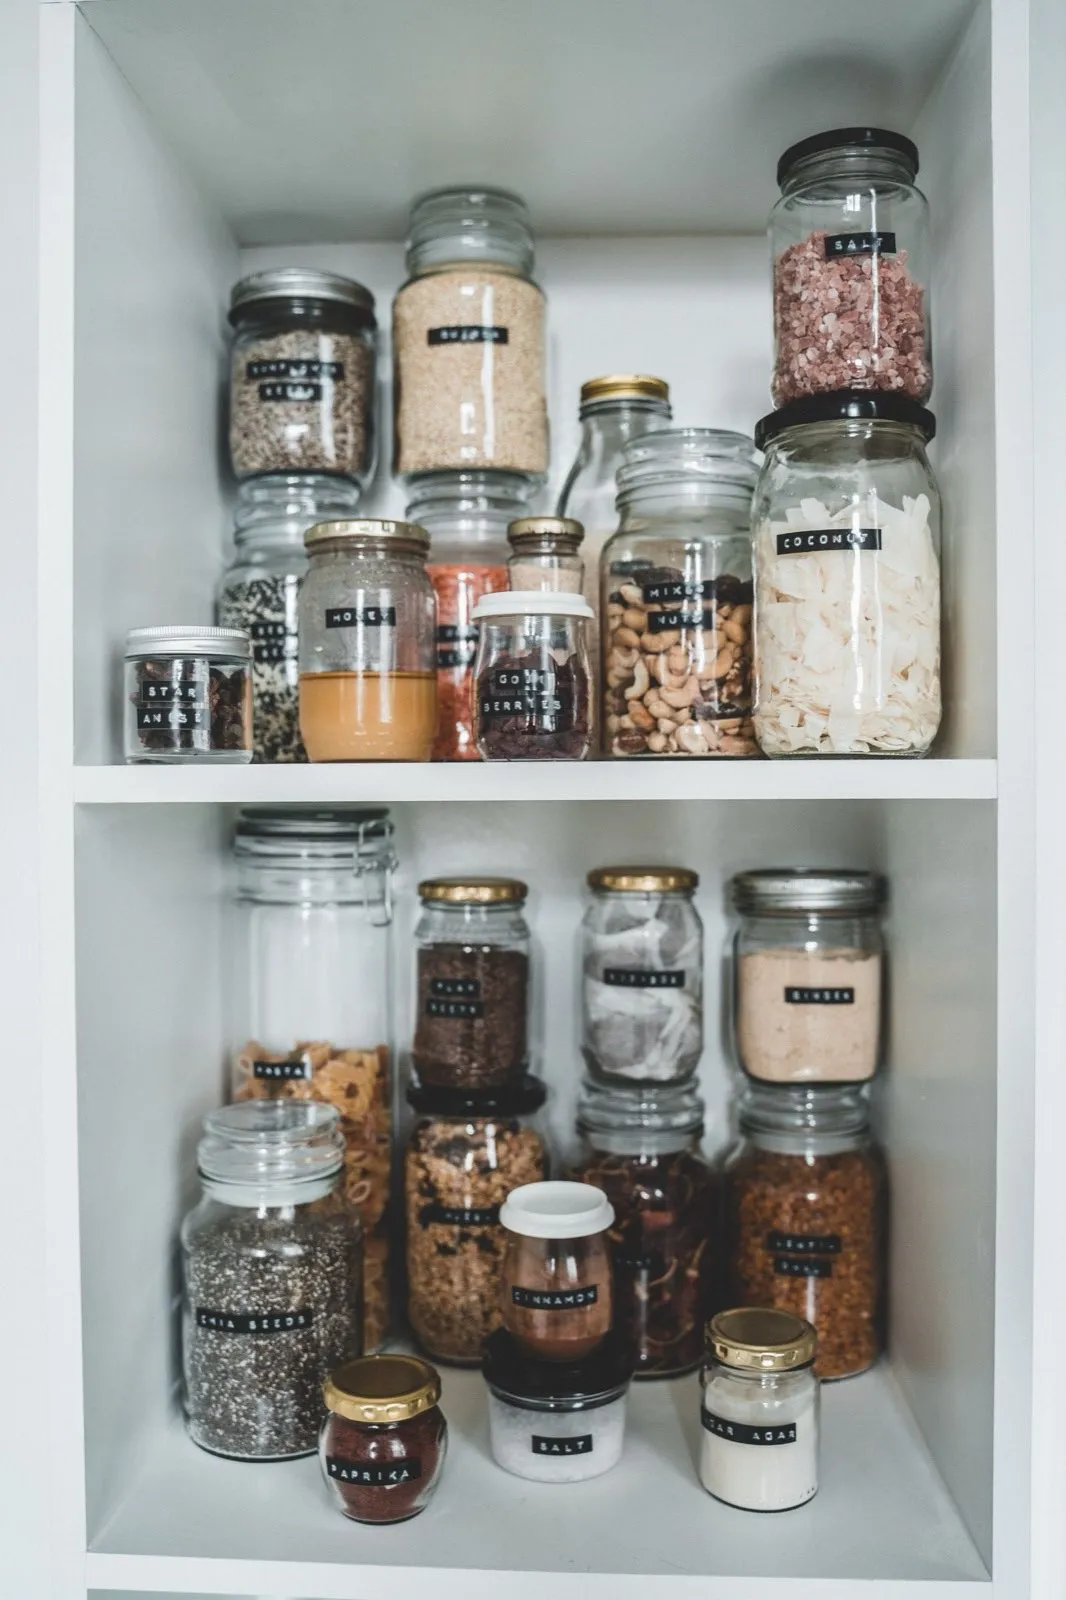
Pick one style and stick to it. One font, one label size, one placement, all facing the same direction. Consistency is what makes a shelf read as organized from across the room. The specific style matters far less than picking one.
Label the container, not the contents. “Flour” stays true forever. “King Arthur AP Flour, opened March” is wrong by April and you will stop updating it.
Make relabeling easy. If changing a label requires a machine you keep in another room, you will not do it. Removable adhesive labels and a marker you store in the kitchen beat a perfect printed system you never touch again.
Put labels on the front face at a consistent height, and add a small label on the top of any canister you store on a high shelf, since from below you see the lid first.
Corral the loose stuff in bins
Not everything decants. Snack packets, spice refills, tea bags, oatmeal packets, and gravy mixes are small, light, and slide everywhere.
Group them into open bins, one bin per category, sized to the shelf depth. On a 12-inch shelf, a bin about 10 inches deep leaves room to grab it. Pull the whole bin out, take what you need, slide it back. That is faster than reaching past three things and it stops the back of the shelf from becoming a graveyard.
Label the bins the same way you labeled the canisters. Four to six bins covers most small pantries: snacks, breakfast, baking, packets and mixes, and one for whatever is specific to how you cook.
Add a riser or a turntable for the back of the shelf
Two cheap items fix the visibility problem on deep shelves.
Shelf risers create a stepped second level so cans in the back sit higher than cans in the front. You can read every label without moving anything. Look for risers under your vertical clearance, typically 3 to 5 inches tall.
A turntable in a corner or on a deep shelf brings the back around with one spin. Nine to twelve inches across works in most cabinets. Use it for oils, vinegars, and sauces, which are tall and awkward, and put a small tray under it if the bottles drip.
Common mistakes
Buying containers before purging and measuring. This is the expensive mistake. You end up with a beautiful set that does not fit the shelf.
Decanting everything. Canned goods do not need jars. You are spending money to make an already-stackable item stackable.
Filling every inch. A pantry at 100 percent capacity is one where nothing can be put back easily. Aim for about 80 percent so groceries have somewhere to land.
Using opaque bins on high shelves. If you cannot see in and the label is on the front face you cannot read from below, you will forget what is in there.
Organizing by aesthetic instead of by use. Alphabetizing spices looks great and helps nobody who is cooking. Group by how you reach for things.
Keeping it organized past week two
Most pantries look great for a week and then slide back. Two habits prevent it.
Refill canisters at unpacking, not later. When groceries come in, decant right then. The bag never enters the pantry, so there is never a bag to deal with later.
Do a five-minute front-facing pass once a week. Push everything to the front of the shelf, turn labels forward, and note what is running low. That is also your shopping list.
If the pantry is done and the cabinet under the sink is the next disaster, the same measure-then-zone approach works there, with the added complication of plumbing. Our guide to under-sink kitchen cabinet organization covers working around the pipes. And if the labeled bin system clicked for you here, it transfers straight to the shelf above the rod in small closet organization.