Under-Sink Trash and Recycling Ideas for Small Kitchens

The trash can sits in the corner where the counter ends, and every kitchen has learned to walk around it. Open the dishwasher and the can is in the swing path. Pull a chair out and a hip catches the lid. In a small kitchen, that one can and its recycling sidekick can claim two to three square feet of floor that has nothing to do with cooking, and the room never quite forgives it.
The fix is not a smaller can. It is moving the whole job behind a door that is already there. The cabinet under the kitchen sink has more usable width than most people give it credit for, and a pair of slim bins sized to fit it does the same sorting job a floor-standing pair does, minus the floor space. Getting there takes a tape measure, a decision about how the bins move, and a plan for odor before the first liner goes in.
Measure the cabinet, not the bins you already own
Before shopping for anything, empty the cabinet and take three numbers. Total interior width, at the floor, wall to wall. Clear width on each side of the drain pipe, since the P-trap is rarely centered and usually leaves 9 to 12 inches on one side and less on the other. And door opening width, measured at the frame rather than the cabinet box behind it, because that opening is what any bin actually has to pass through during installation and every time it’s pulled for a deep clean.
A standard sink base runs 24 to 36 inches wide and about 20 inches deep. That is real capacity, but it is split by the drain into two narrow zones rather than one wide one, which is exactly why a single wide can never worked well back there in the first place. Two slim bins, one per side of the pipe, use that shape instead of fighting it.
Choose door-mounted, pull-out, or freestanding
Three mechanisms handle the “slim bins behind a door” job, and they are not interchangeable.
Door-mounted bins hang on brackets screwed to the inside of the cabinet door and swing out with it. They’re the most compact option, since they add no footprint to the cabinet floor, but they cap out around 4 to 6 gallons per bin and put real weight on the door hinges. Check the door’s hinge weight rating before loading two full bins onto it, and expect to add a soft-close hinge if the stock one wasn’t built for the extra pull.
Pull-out bins ride on a bracket or a set of drawer glides mounted to the cabinet’s side walls or floor, and slide toward you when the door opens. This is the format most worth the money in a busy kitchen, because it brings both bins to counter height without a full reach into the cabinet. Look for a frame rated 30 to 40 pounds total and confirm the loaded frame still clears your door-opening measurement, not just the interior width.
Freestanding slim bins simply stand on the cabinet floor, side by side, with no hardware at all. They’re the cheapest option and the only one renters should install without a second thought, since nothing gets screwed to the cabinet. The tradeoff is that you still reach in and lift each one out for emptying, which matters if your cabinet is deeper than about 18 inches.

Size each bin by gallons, not by “whatever’s biggest”
The instinct is to buy the largest bin that physically fits the cabinet. Resist it. A bin that takes up the full available width leaves no room for its own liner to be tied off, and a bin taller than your clear-height measurement to the P-trap won’t clear the pipe when you pull it forward.
For most two-person to four-person households, an 8 to 10 gallon trash bin paired with a 6 to 8 gallon recycling bin covers a normal week without either one overflowing before pickup day. If your cabinet’s clear width per side is under 10 inches, drop to a 6 gallon trash bin and accept a slightly more frequent bag change over a bin that jams against the frame. A bin you have to shove into place is a bin that eventually cracks its own lid hinge.
Split trash and recycling without doubling the footprint
Sorting two streams under one sink only works if each bin has one job and nothing gets tossed into whichever bin is closer. Put the trash bin on the side with more clearance, since it fills faster and gets pulled more often, and put recycling on the pipe-constrained side, since bottles and cans tolerate an awkward reach better than a full bag does.
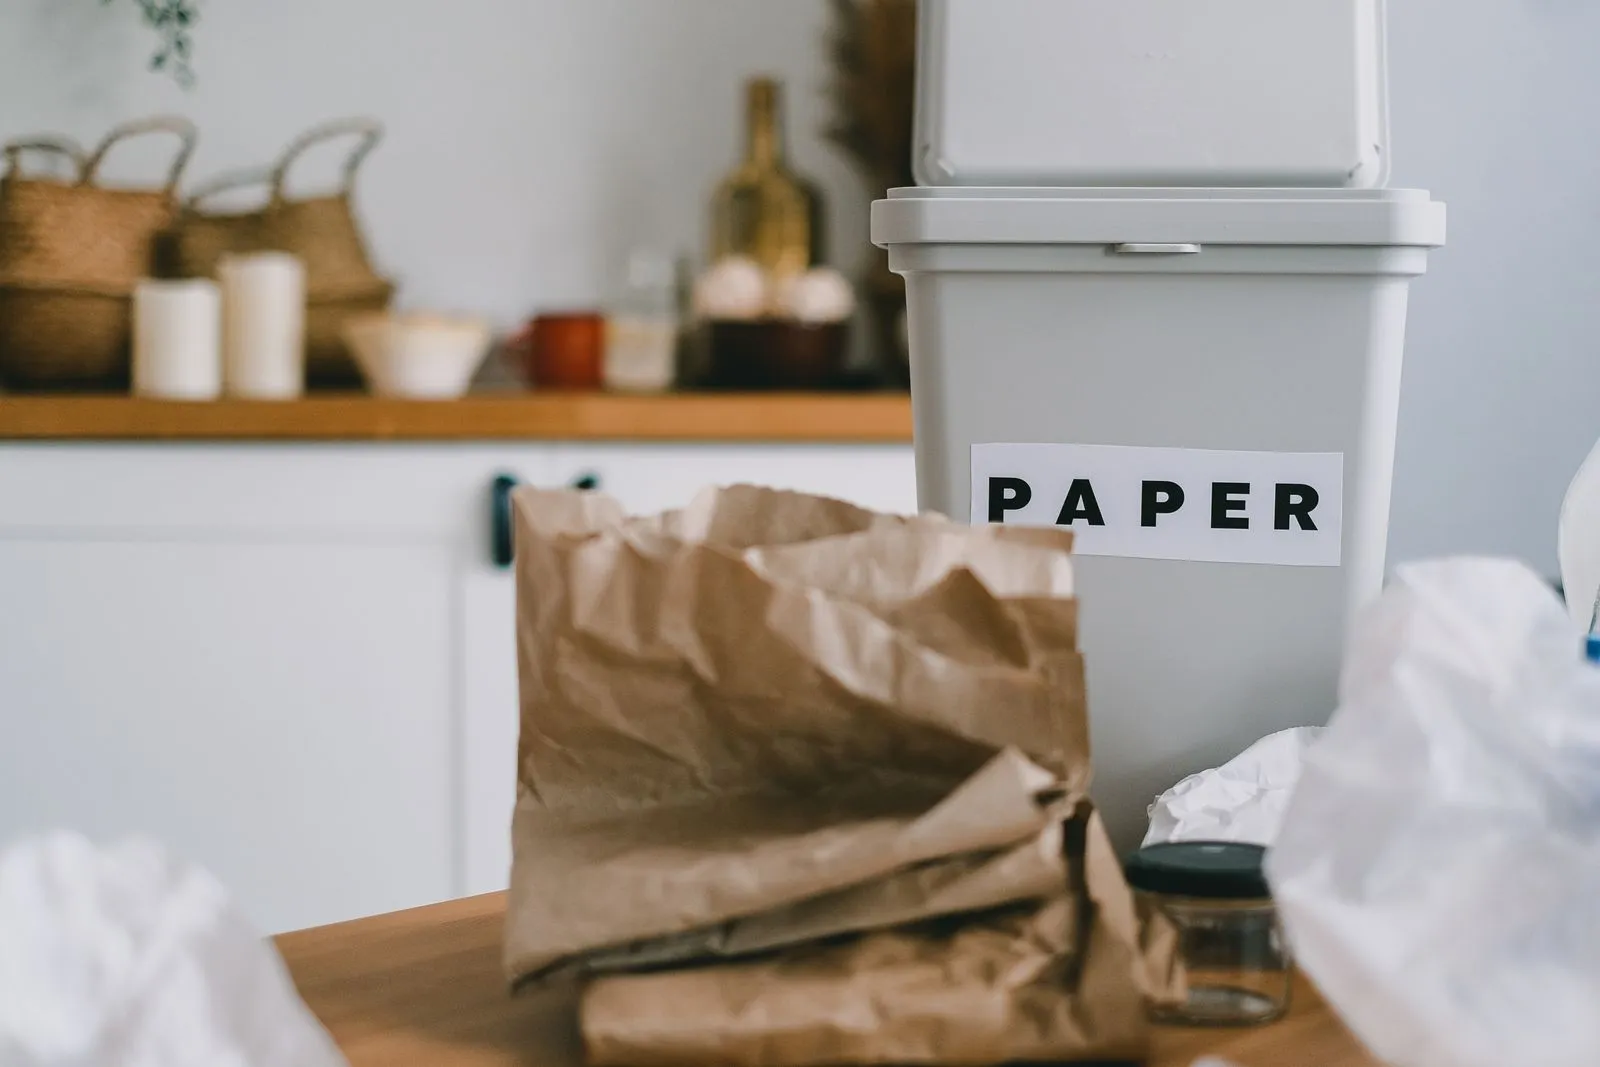
Label each bin by material rather than by “trash” and “recycling” alone if your municipality separates paper from containers. A bin marked “paper” or “plastic” on the front removes the two-second hesitation that leads to a cardboard box ending up in the trash bin because no one wanted to open the cabinet door twice.
Manage odor before it becomes a liner problem
A closed cabinet traps smell more than an open floor-standing can does, which makes liner discipline non-negotiable once trash moves under the sink. Line both bins even if the recycling bin only ever holds dry material, since a single leaking jar turns a liner-free bin into a cabinet you have to scrub.
Tie off and replace the trash liner at three-quarters full rather than waiting for it to reach the rim; the last quarter of a bag under the sink is also the hardest to cinch shut without a mess given the tight clearance overhead. If odor persists between bag changes, a small box of baking soda tucked behind the bin, replaced monthly, does more good in a sealed cabinet than any scented liner.
Anchor the setup so the door still closes fully
A pull-out or door-mounted system is only as good as its fit against the door’s swing arc. Load both bins to capacity and close the door slowly before calling the install finished. If the door catches or won’t latch, the bracket sits too far forward, or the bins themselves are wider than the clearance allows once loaded, not just once measured empty.
For a rental, a freestanding pair anchored with nothing more than a small non-slip mat under each bin keeps them from sliding forward every time the door opens, without a single screw going into the cabinet.
The weekly reset that keeps two bins in one cabinet
The whole system holds up on one habit: check both bins on trash day, whether or not either looks full. A recycling bin left half-empty for two weeks starts to smell exactly like a full one, since it’s the residue on the containers doing the work, not the volume. Wipe the cabinet floor while both bins are out for pickup, since that’s the only time all week the floor is actually visible.
Do that once a week and the corner that used to hold a floor-standing can and its overflowing recycling bag goes back to being counter space, dish rack space, or just floor a dishwasher door can swing into freely. If the cabinet’s plumbing geometry is what’s fighting you beyond the bins themselves, the measuring and zoning approach in our guide to under-sink kitchen cabinet organization covers the rest of that space. And if your cabinet runs deeper than 18 inches and reaching either bin still feels like a stretch, the track systems in our sliding drawer guide apply just as well to a trash-and-recycling pair as they do to cleaning supplies.