Cabinet Organization Ideas for Small Apartment Kitchens
Open the lower cabinet to grab a saucepan and three lids skid out first, followed by the stockpot lid rolling toward the fridge. Getting dinner started now means a five-minute excavation before a single burner turns on. In a full-size kitchen that cabinet might be one of six. In a small apartment kitchen it is often the only place every pot, pan, and lid in the house has to live, so the pile just keeps growing until the door barely closes.
The problem is not the cookware. It is that a stack of mismatched pots with their lids balanced on top has no structure, so every item is one grab away from a chain reaction. A cabinet that size can actually hold everything a household cooks with, but only if the vertical space gets used on purpose instead of stacked at random.
Pull everything out and sort by how often it’s used
Before anything goes back in, empty the cabinet completely onto the counter or floor. This is the only way to see what is actually competing for space, and in a rental it usually turns up at least one pan that has not been used in a year.
Sort into three piles: cooked with weekly, cooked with monthly, and rarely or never. Anything in that last pile — the turkey roaster used once a year, a duplicate skillet, a warped lid with no matching pot — gets relocated to a higher cabinet, the back of a closet, or donated outright. A standard apartment base cabinet runs about 24 to 30 inches wide and 20 to 24 inches deep, and most of that space disappears fast when it is holding cookware nobody reaches for. Getting the rare-use items out first is what makes the next steps actually fit.
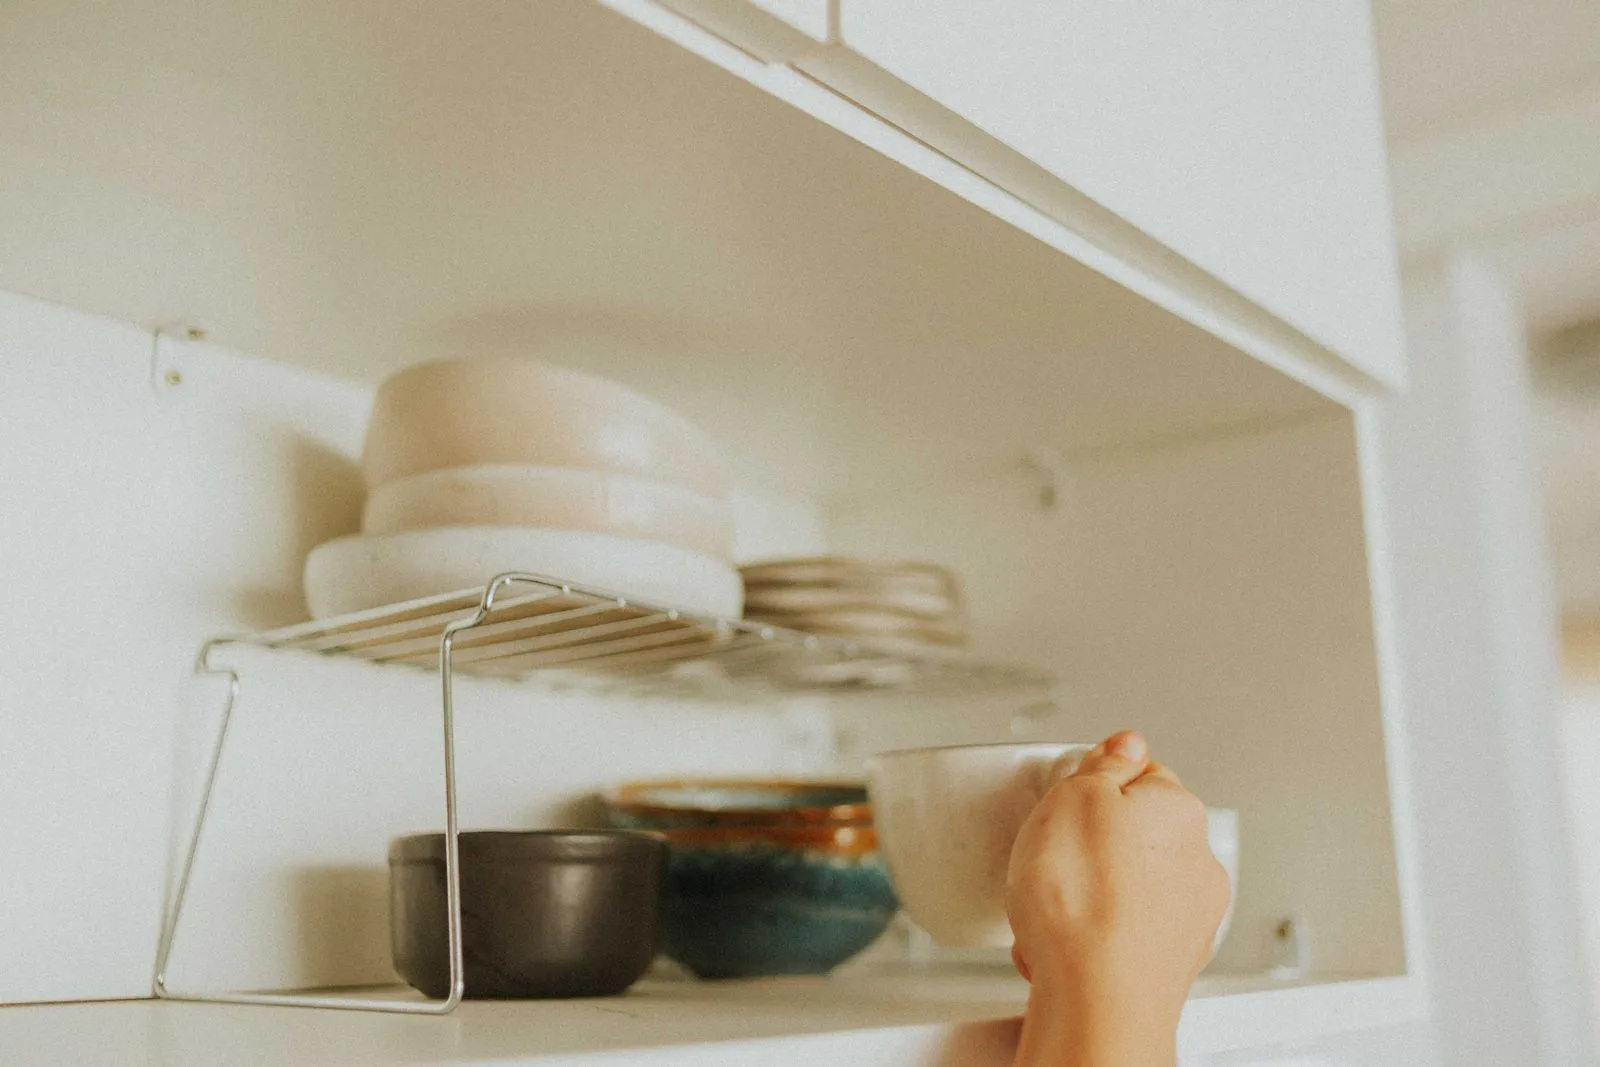
Give pots and pans double the vertical space with a shelf riser
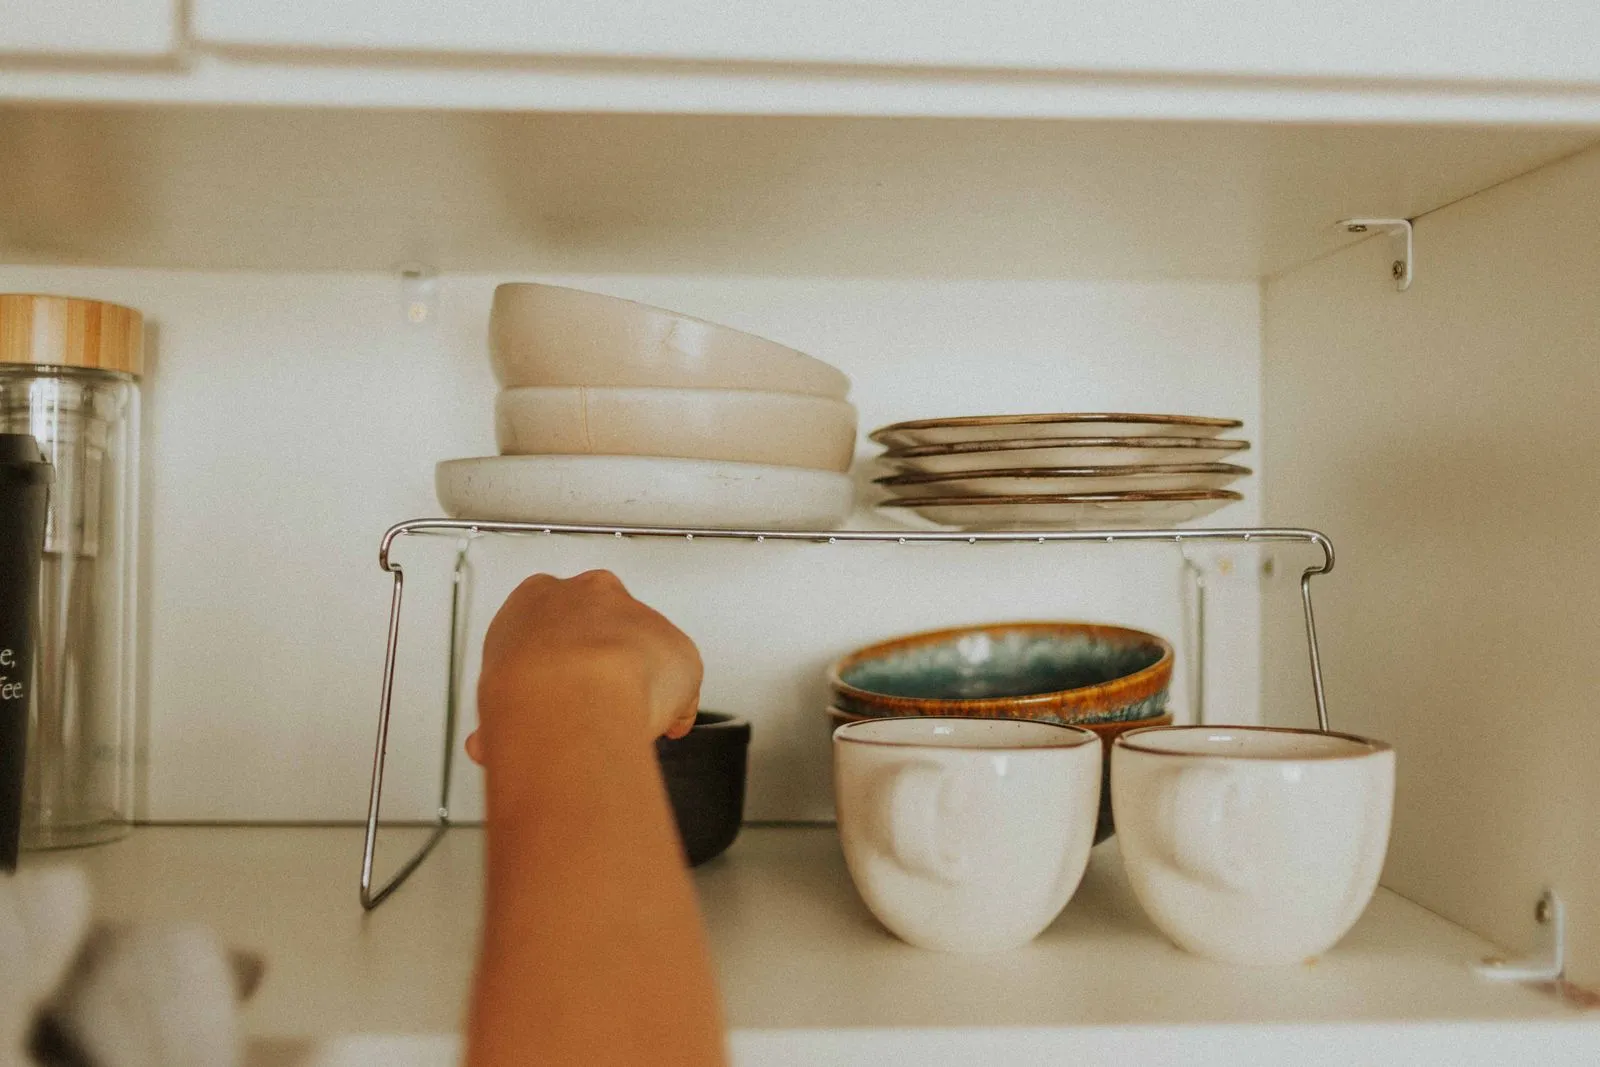
A cabinet with one flat shelf wastes the air above every pot, since a 4-inch saucepan leaves 6 or 7 inches of dead space before the next shelf up. A wire or bamboo shelf riser, typically 4 to 6 inches tall and $12 to $25, sits directly over the shorter cookware and creates a second, independent shelf for lighter items like sheet pans, cutting boards, or a second tier of smaller pots.
Most riser shelves are rated to hold around 20 to 25 pounds, which comfortably covers a stack of bakeware but is not meant for a cast iron Dutch oven — keep the heaviest pieces on the cabinet floor, not balanced on a riser. Measure the tallest item that needs to sit underneath before buying one; a riser that is too short just recreates the same crowding one shelf higher.
Stop lids from becoming their own avalanche
Lids are almost always the actual cause of the avalanche, since a flat lid balanced on top of a pot has nothing holding it in place. A vertical lid organizer — a small wire or plastic rack with 6 to 10 slots, usually 9 to 12 inches wide — stands lids up on their edge instead of stacking them flat, so pulling one out doesn’t disturb the rest.
If a dedicated rack doesn’t fit the cabinet’s width, an adjustable tension rod mounted a few inches below the shelf above works as a low-cost stand-in: lids lean against it in a row instead of sliding around loose. Either option turns a pile that shifts every time the door opens into a row where each lid has one fixed spot.
Nest what stacks, stand what doesn’t
Once lids have their own zone, the pots and pans underneath can actually nest the way they were designed to. Stack pots of the same brand or shape inside each other, largest on the bottom, and slide a thin felt or foam pot protector between any nonstick surfaces so they don’t scratch each other over months of stacking and unstacking.
Skillets and sheet pans that don’t nest well do better standing on edge in a vertical divider — a simple wire file-style rack, often the same one used for baking sheets, works for either. Standing cookware upright means grabbing the one in the middle doesn’t require moving four others first, which is the exact chain reaction that causes the avalanche in the first place.
Zone the cabinet by weight and reach
A small cabinet works harder when it’s split into deliberate zones instead of one undifferentiated stack. Heavy, frequently used cookware — the everyday skillet, the stockpot — belongs on the cabinet floor, front and center, within easy reach without bending or digging. The shelf riser above holds lighter, less frequent items. Lids get their own narrow column, usually along one side where they don’t block the door swing.
This is also where reach matters in an apartment kitchen with limited counter space nearby: keep the pot used almost daily directly in front, not behind the roasting pan used at Thanksgiving. If you’re also fighting clutter that spills onto the counter because the cabinet can’t keep up, the layouts in our guide to small kitchen countertop clutter tackle the overflow that starts once a cabinet like this hits its limit.
Choose renter-friendly hardware
Nothing above requires drilling, which matters in a rental where cabinet interiors usually can’t be modified. Shelf risers rest on the existing shelf under their own weight. Tension rods wedge in place with spring pressure and lift out cleanly at move-out. Lid racks and pot dividers are freestanding, not mounted.
If a landlord’s lease specifically bans even freestanding organizers in cabinetry (uncommon, but worth a quick check on a strict lease), everything here still works loose in a labeled bin instead of screwed to a surface — the zoning and lid-standing principles matter more than the specific hardware. A full renter-friendly system typically runs $30 to $50 total for a riser, a lid rack, and a set of pot protectors, and every piece moves with you to the next apartment.
The 90-second reset that keeps it from sliding back
The system holds only if putting things away is as easy as pulling them out, so the habit that protects it takes under two minutes. After washing dishes, pots go back in their nested stack on the cabinet floor, lids slide into their rack standing up, and anything that doesn’t have an assigned zone gets set aside rather than wedged wherever there’s a gap.
Once a week, do a 90-second check: confirm nothing has been shoved sideways into the lid rack, that the riser shelf hasn’t been overloaded past what it can hold, and that no rarely used pan has crept back down from the high shelf it was moved to. That’s the entire maintenance routine. Skip it for a month and the cabinet drifts back toward a pile; keep it up and opening that cabinet for tonight’s saucepan means lifting out exactly one pot — no avalanche, no five-minute dig, just dinner starting on time.