Gift Wrap Storage Organization Ideas for the Holiday Season
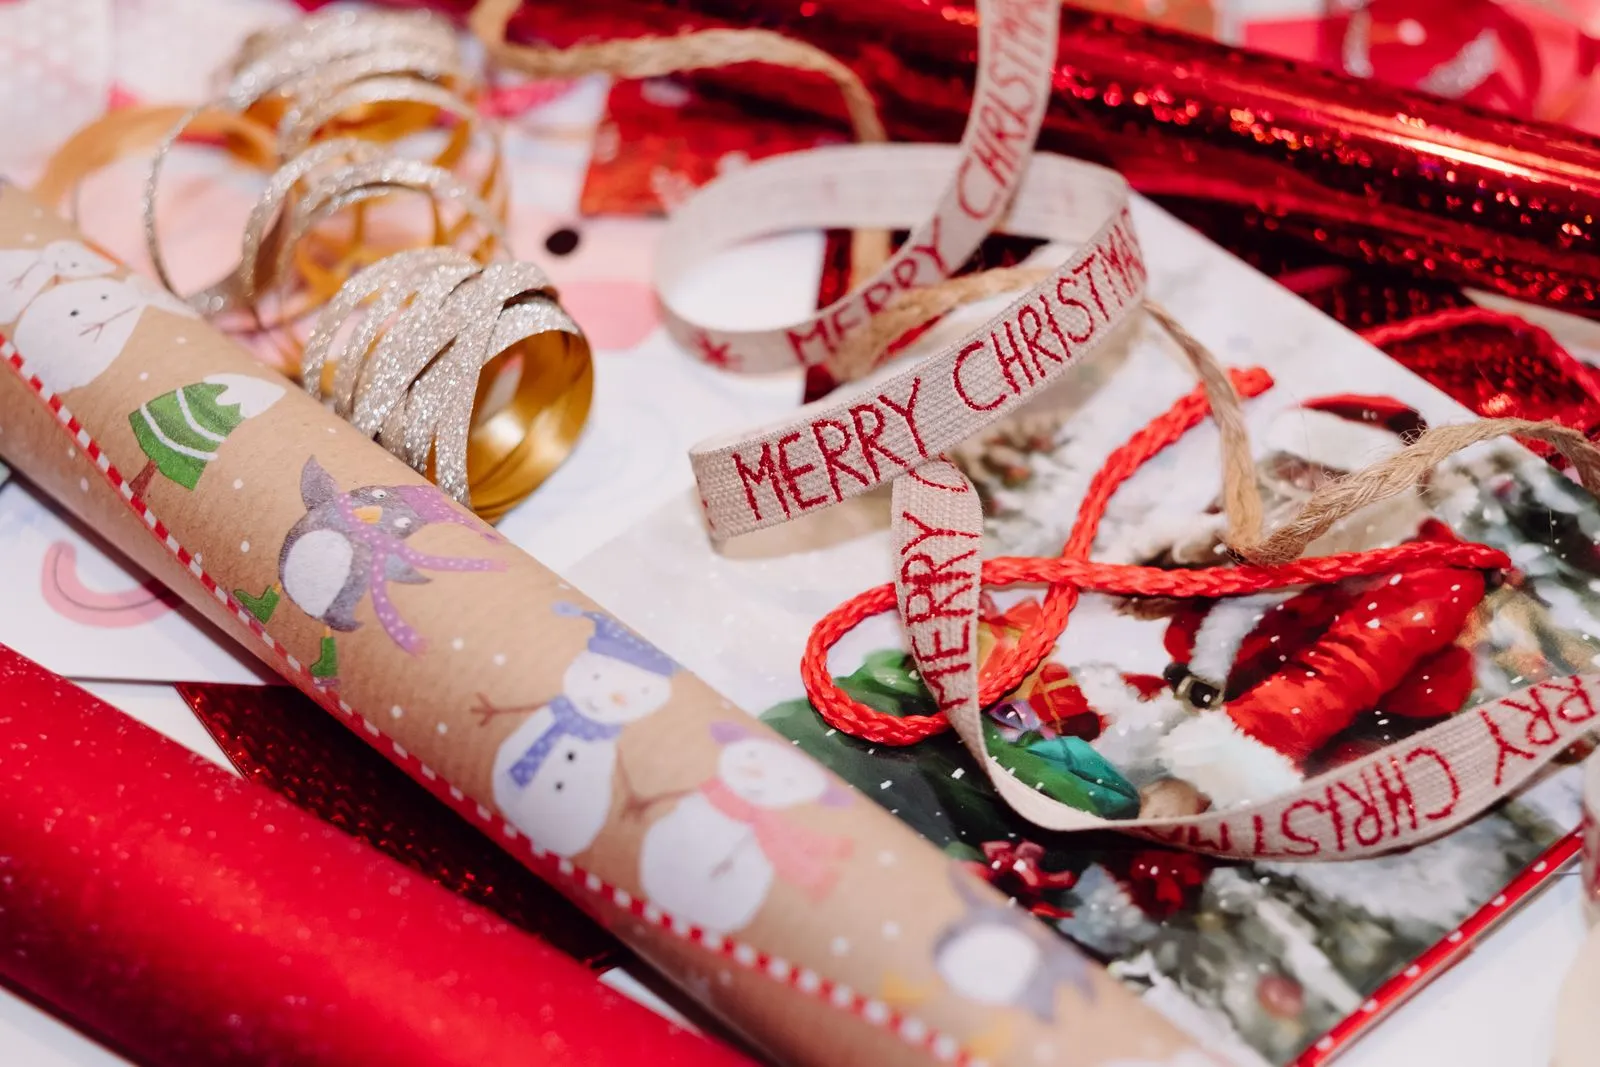
A standard roll of wrapping paper is about 30 inches long and two inches across, and it will not stand up on its own. That is the entire problem. Rolls left on a closet shelf work their way to the back. Rolls stacked in a corner slide flat, fan out, and end up under a laundry basket with a crease running the length of the sheet. Bows get set on top of whatever is nearby and come out flattened. The tape is never in the same place as the scissors.
Most households rebuild this system in the third week of December at eleven at night with six gifts left to wrap. Doing it now takes about forty minutes and costs almost nothing, because you are working with supplies you already own. The goal is one container that holds every roll, bow, and tag, that you can carry to a table in one trip, and that fits somewhere you will actually put it back.
Empty it out and count what you have
Pull every wrapping supply in the apartment into one pile on the floor. Most people find it spread across three places: a closet shelf, a drawer, and a shopping bag behind a door.
Sort the pile into five groups.
- Rolls. Full, half used, and the ones with four inches left.
- Bags and tissue. Flat items that store differently from rolls.
- Bows and ribbon. Anything that gets crushed.
- Tags, cards, and stickers. Small, flat, easily lost.
- Tools. Scissors, tape, a pen that works.
Then cut. Throw out rolls with less than a foot of paper left, since they will not wrap anything larger than a mug and they take up the same slot as a full roll. Toss creased tissue and bows that have already been squashed flat, because a crushed bow does not recover. A third fewer rolls is the difference between a container that closes and one that does not.
Count the surviving rolls. That number decides everything below. Under eight rolls, one upright container handles it. Over fifteen, you are storing off-season paper separately from the current season.
Upright storage, and when to go flat instead
Rolls want to be vertical. Standing on end, a roll takes up about four square inches of floor and cannot slide, unroll, or crease.
An upright wrapping paper organizer is a tall, narrow bin, commonly 14 to 16 inches wide, 8 to 10 inches deep, and 38 to 42 inches tall. Check the height against your rolls before buying anything. Standard rolls run 30 inches; jumbo rolls from warehouse stores run 40 inches and will stick out of a 38-inch bin. A tall kitchen trash can, an umbrella stand, or a lidded hamper does the same job if the interior height clears your longest roll.
Whatever you use needs a rigid bottom. A fabric bin with a soft base collapses inward as you take rolls out, and the remaining rolls fall against the wall of the bin and bend.
The flat alternative is under-bed storage. An under-bed bin sized around 33 to 41 inches long and 6 inches tall holds rolls lying down along with flat gift bags and tissue. This is the better option when you have jumbo rolls, when there is no floor space for a vertical bin, or when you want the whole kit out of sight for ten months of the year. Measure your bed clearance first. Platform beds often give only 6 or 7 inches, standard frames give 11 to 13, and a bin one inch too tall will not slide under.
Do not mix approaches. Half the rolls upright and half loose under the bed means you never know where a given pattern is, and you buy a fourth roll of red because you cannot find the three you own.
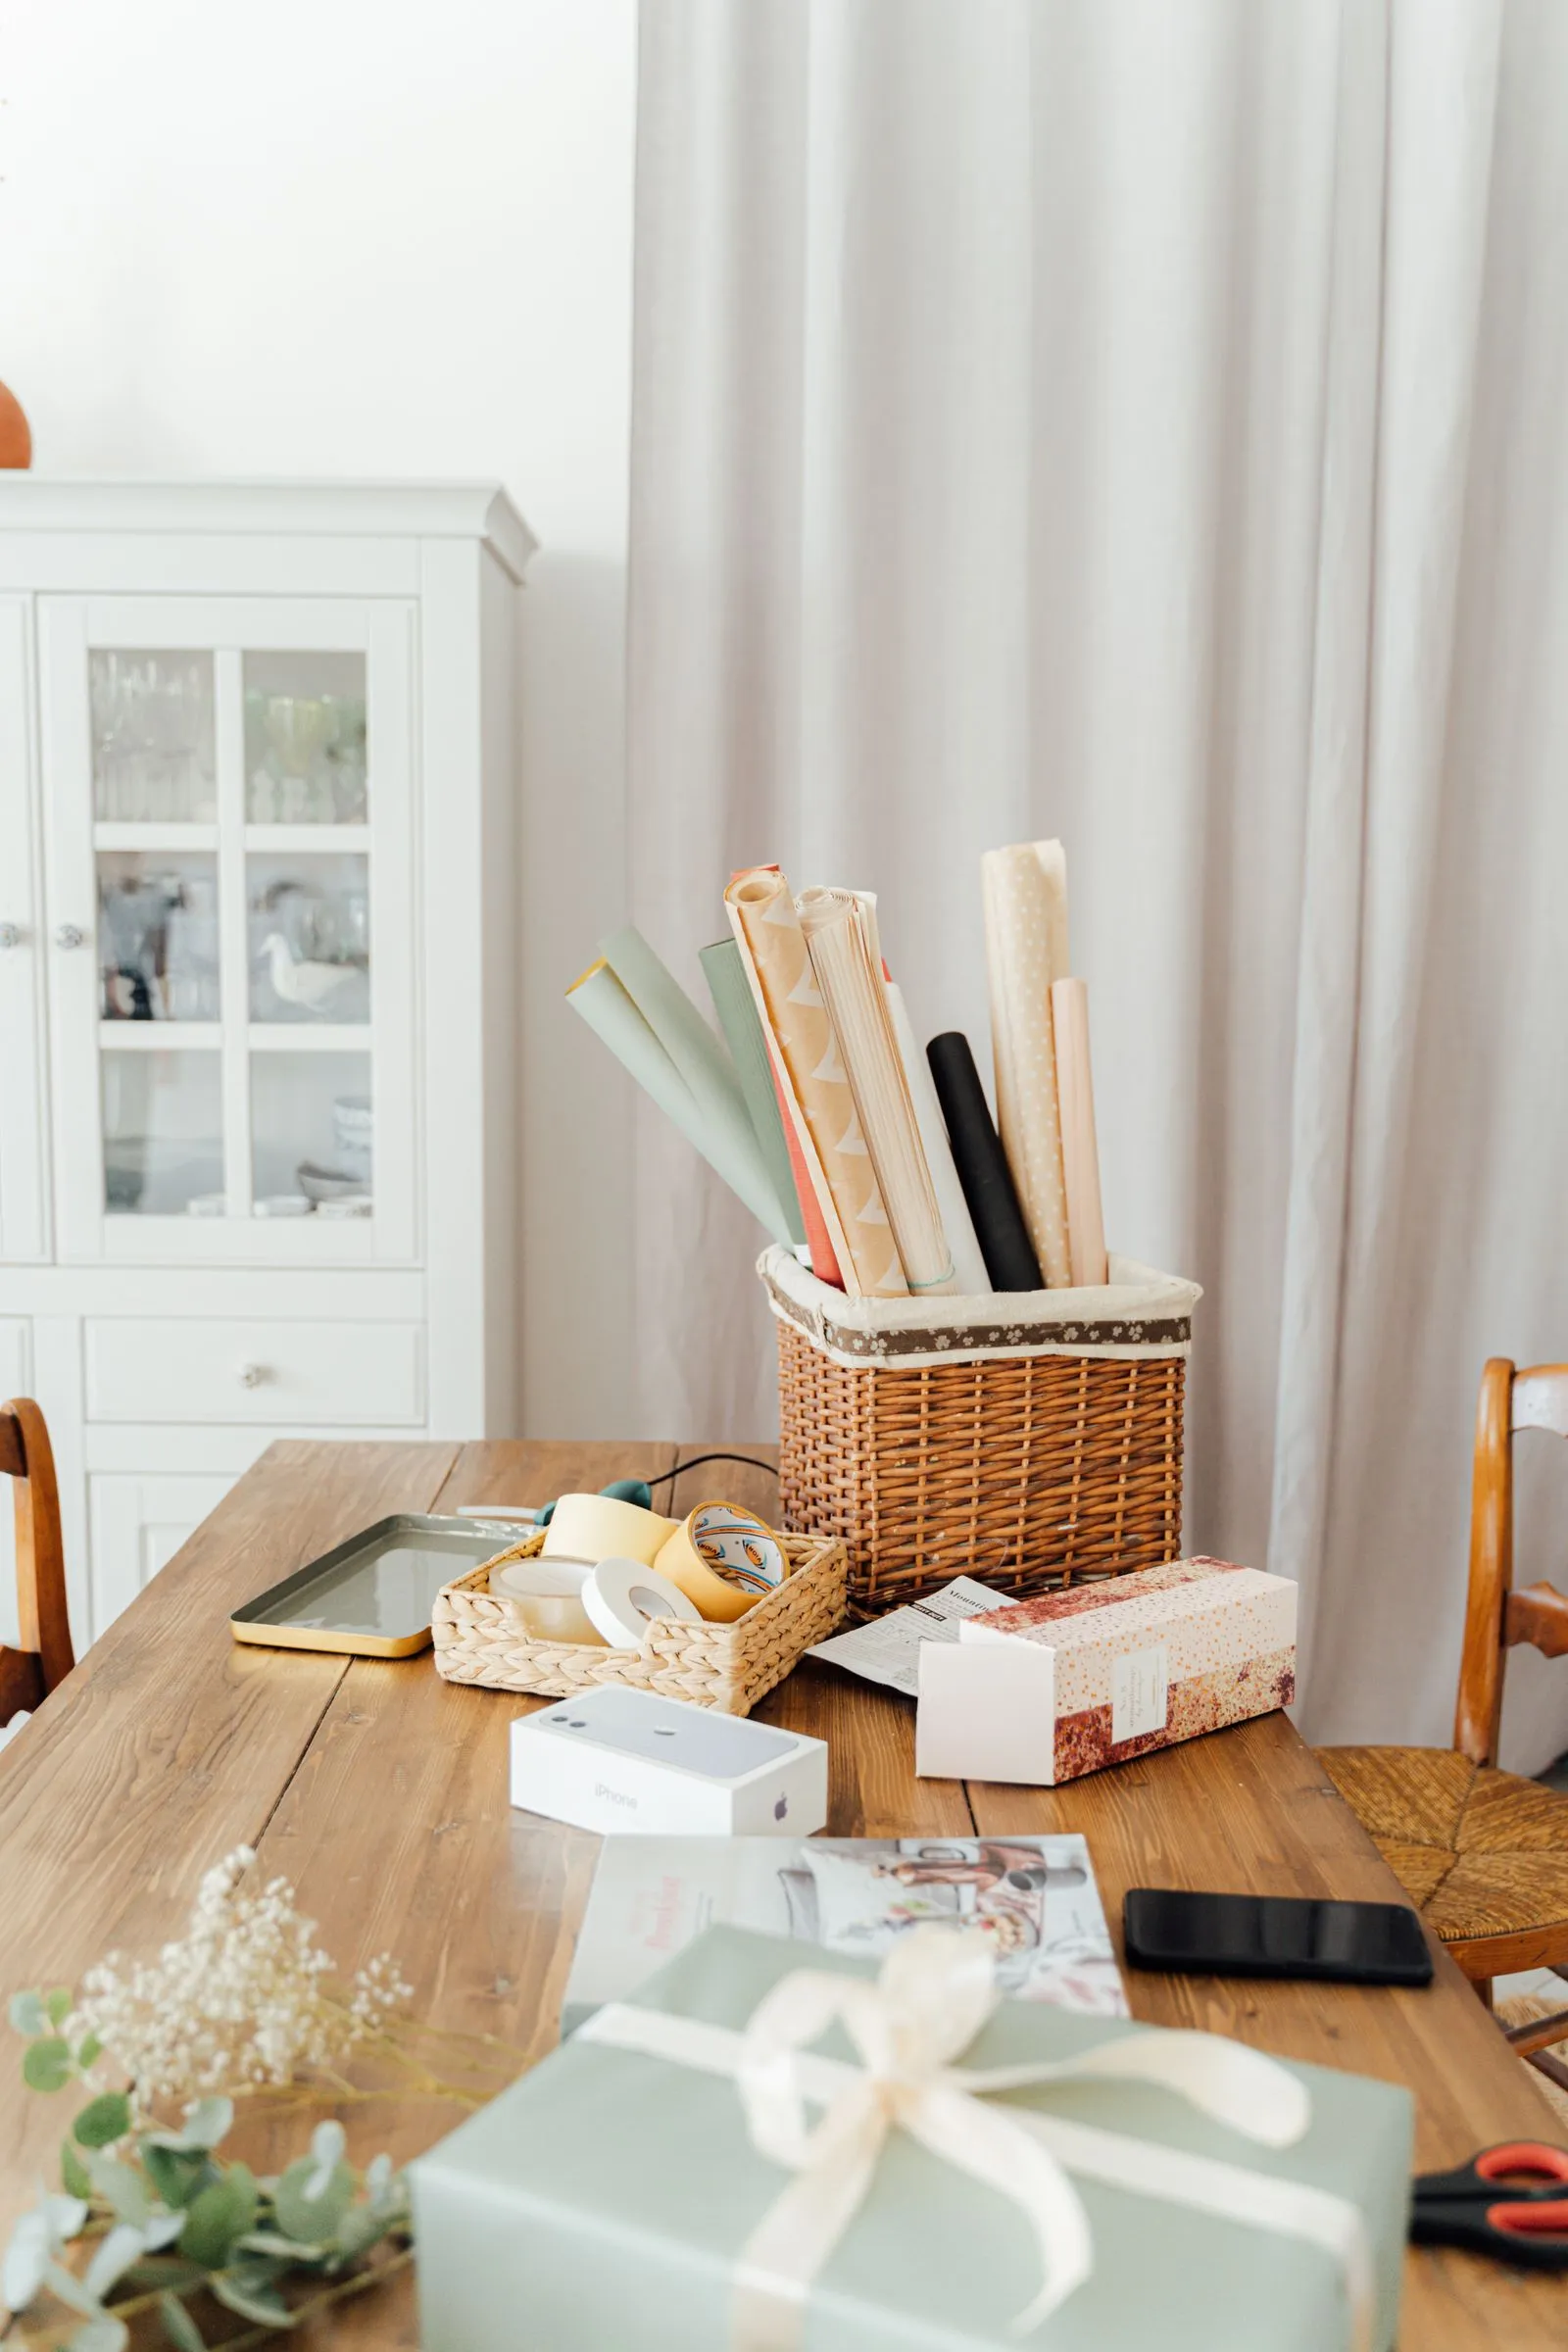
Give bows and ribbon a rigid container of their own
Bows are the item this system exists to protect. They are mostly air, they cost more per unit than paper, and one heavy roll set on top ruins six of them.
Put bows in a hard-sided container with a lid, not a bag. A clear shoebox-size bin, roughly 13 by 8 by 5 inches, holds fifteen to twenty standard bows without compressing them. Store it on top of the rolls rather than under them, or beside the upright bin rather than inside it.
Ribbon spools have a different failure mode. Loose spools unwind in the bin and tangle into a single mass. Two fixes work. Slide the spools onto a length of dowel or a spare tension rod so they stay in line and dispense without unspooling, or wrap the loose end of each spool around itself and secure it with a rubber band before it goes in the bin.
One container for tags, tape, and scissors
The reason wrapping takes an hour instead of twenty minutes is that the small tools are scattered. Scissors are in the kitchen drawer, tape is in the desk, and the tags are wherever last year left them.
Put all of it in one small container, something around 10 by 7 inches, and treat that container as part of the wrapping kit rather than part of the household. That means a second pair of scissors that lives here permanently and never gets borrowed for opening packages.
Contents worth committing to: two rolls of tape, scissors, a pen, gift tags, a few blank cards, and a roll of twine or baker’s string.
Keep tags flat and together in an envelope or a small zip bag inside that container. Loose tags migrate to the bottom of any bin they are in and come out bent.
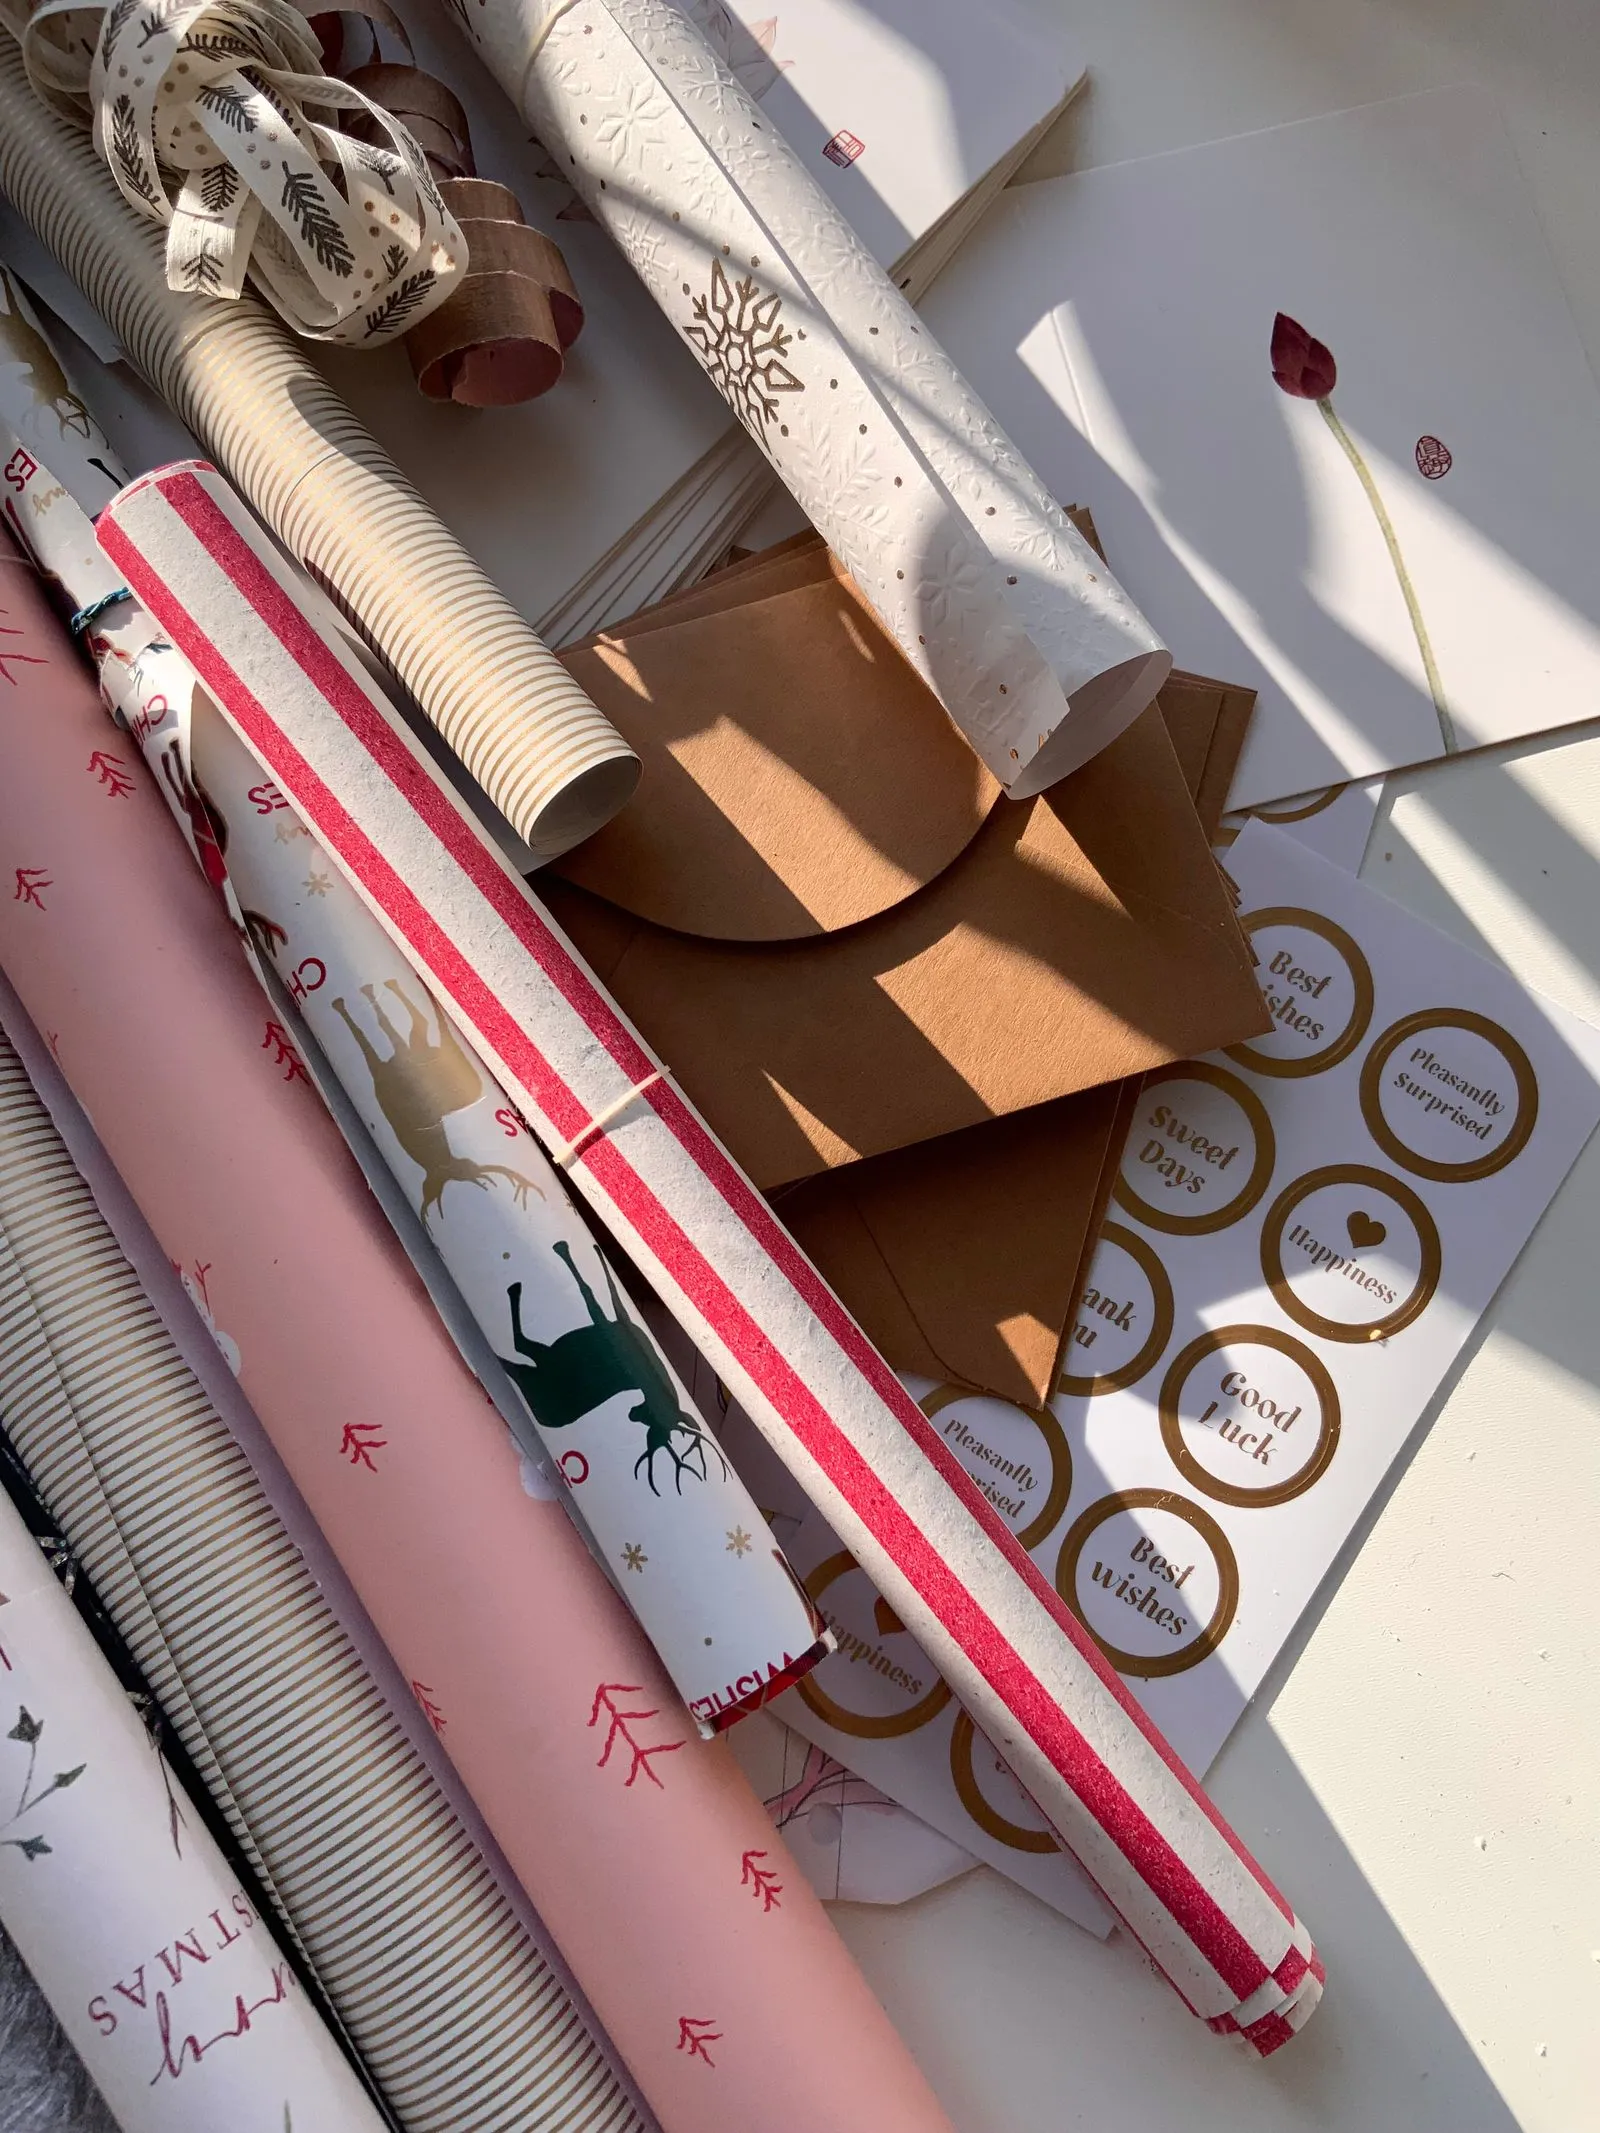
Where the container actually goes
Three locations work in an apartment, and each has a real constraint.
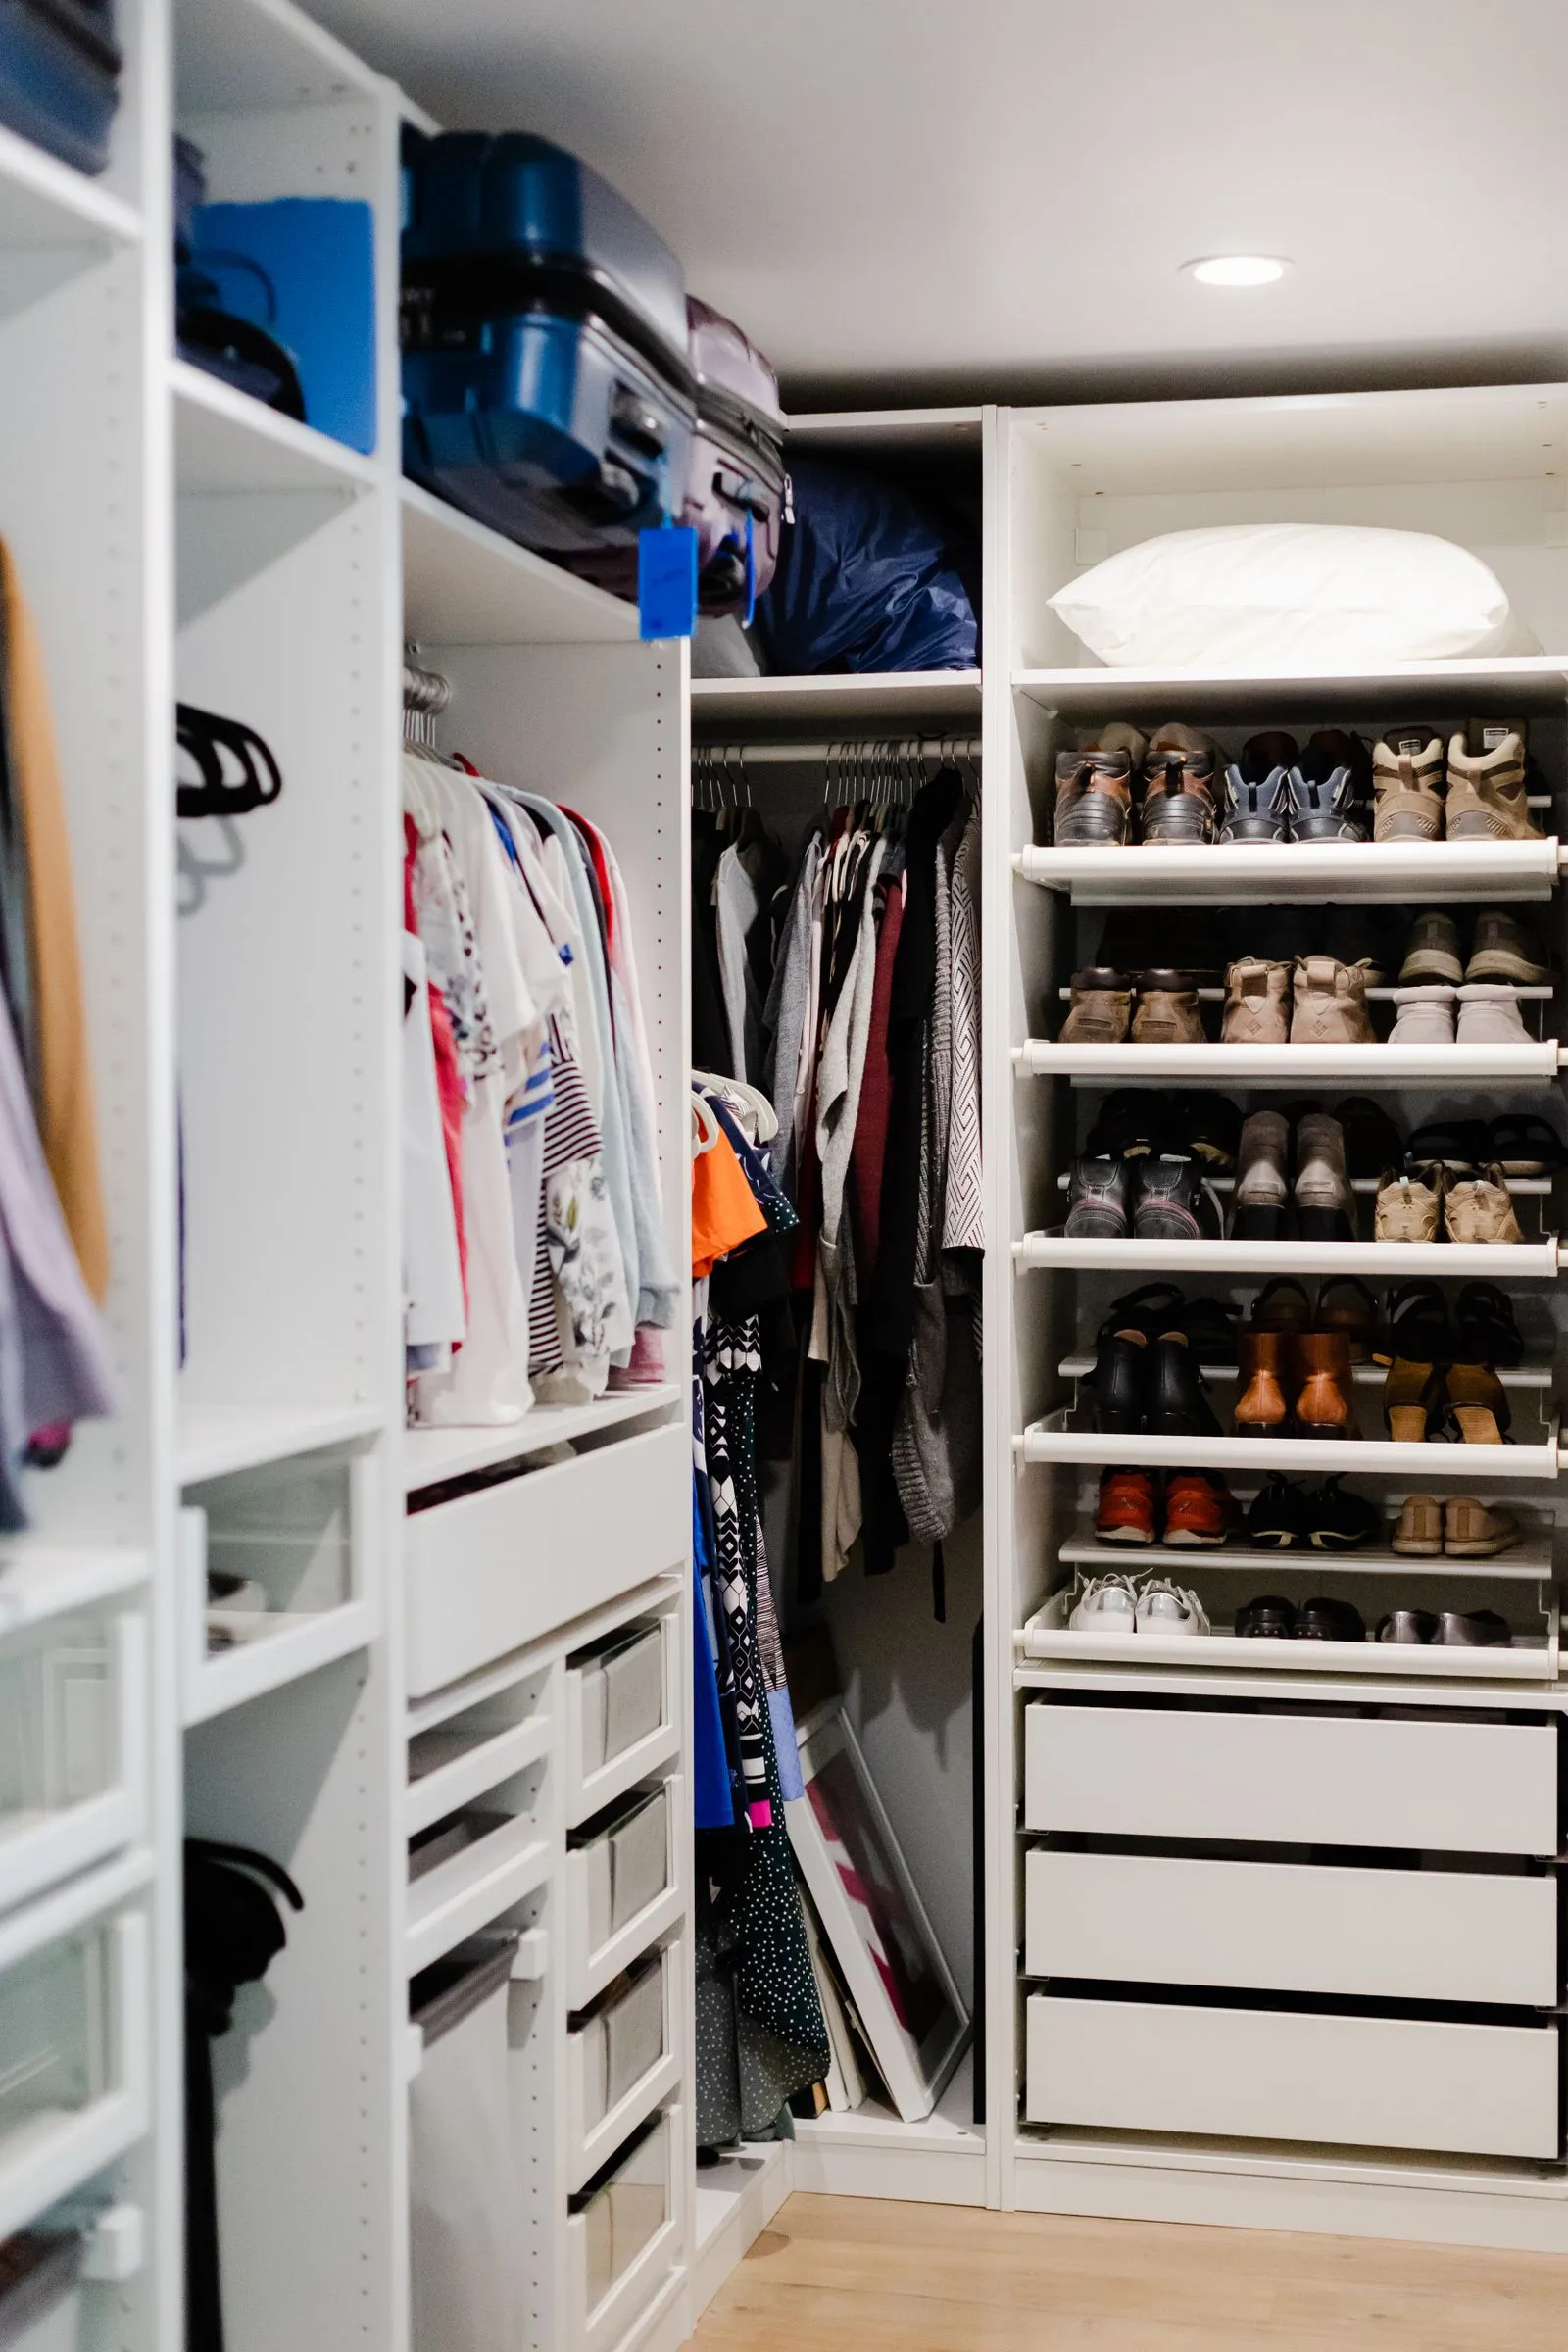
Closet floor. The best spot if you have it. An upright bin against a side wall of a bedroom or hall closet takes about 16 inches of width and nothing else. It works because the closet floor is already the zone for non-clothing items, and a bin there is visible enough that you remember what you own.
Under the bed. Best for volume and for anything you touch twice a year. The tradeoff is access. You will not drag a bin out from under a bed to wrap one birthday gift in April, so keep a small everyday kit elsewhere and treat the under-bed bin as seasonal bulk storage.
Behind a door. An over-the-door organizer with deep pockets holds rolls vertically on the back of a closet door, using space that is otherwise empty. Two checks before you commit. Standard interior doors in US apartments are about 1 3/8 inches thick, so confirm the hook fits, and confirm the door still closes with rolls loaded, because a 2-inch roll plus a pocket adds close to 4 inches of thickness.
What does not work is the top shelf. Rolls on a high shelf require two hands and a step stool to retrieve, so they get pushed back rather than put back, and by the second year you have a shelf of paper you cannot see.
The wrapping session itself
Set up so the whole thing moves in one trip. Container out, table cleared, everything within reach on one surface.
A workable order: cut paper for all the boxes first, then tape all of them, then do ribbon and bows on all of them, then write tags last. Batching by step rather than by gift is noticeably faster, because you stop switching tools.
Keep a trash bag next to the chair. Paper scraps are the reason a wrapping session ends with a floor covered in offcuts, and a bag within arm’s reach prevents that entirely.
Mistakes that cost you a roll every year
Rubber-banding rolls together. It holds the outer roll but leaves a permanent ring dent in the paper underneath.
Storing paper in an unheated garage or a damp basement. Humidity swells and warps the paper, and the roll never lies flat again.
Buying a bin before measuring the rolls. A 38-inch organizer and a 40-inch jumbo roll is a purchase you have to return.
Keeping every partial roll. Half-used rolls fill the bin and cover almost none of the actual wrapping. Keep the ones with real length left.
Storing bows in a soft bag. A bag has no structure, and everything stacked on it lands on the bows.
Setting it up before you need it
Do this in one sitting. Gather everything from all three hiding places. Sort into the five groups and throw out the dead paper. Count the rolls to pick a container size. Load rolls upright, bows in a lidded box, tags and tools in a small container, and put the whole thing in one of the three locations above.
Then add one habit: after each wrapping session, everything goes back in the container before you leave the room. That single rule is what keeps the system intact through a season instead of dissolving by the second week of December.
The container lands on a closet floor for most people, which works only if the closet floor is not already a mess of shoes and bags. If yours is, our guide to small closet organization covers layering the space so a floor bin has somewhere to sit, and closet shoe storage deals with the pile that is usually occupying that spot already.