How to Rotate Seasonal Clothes With a Simple Storage Bin System

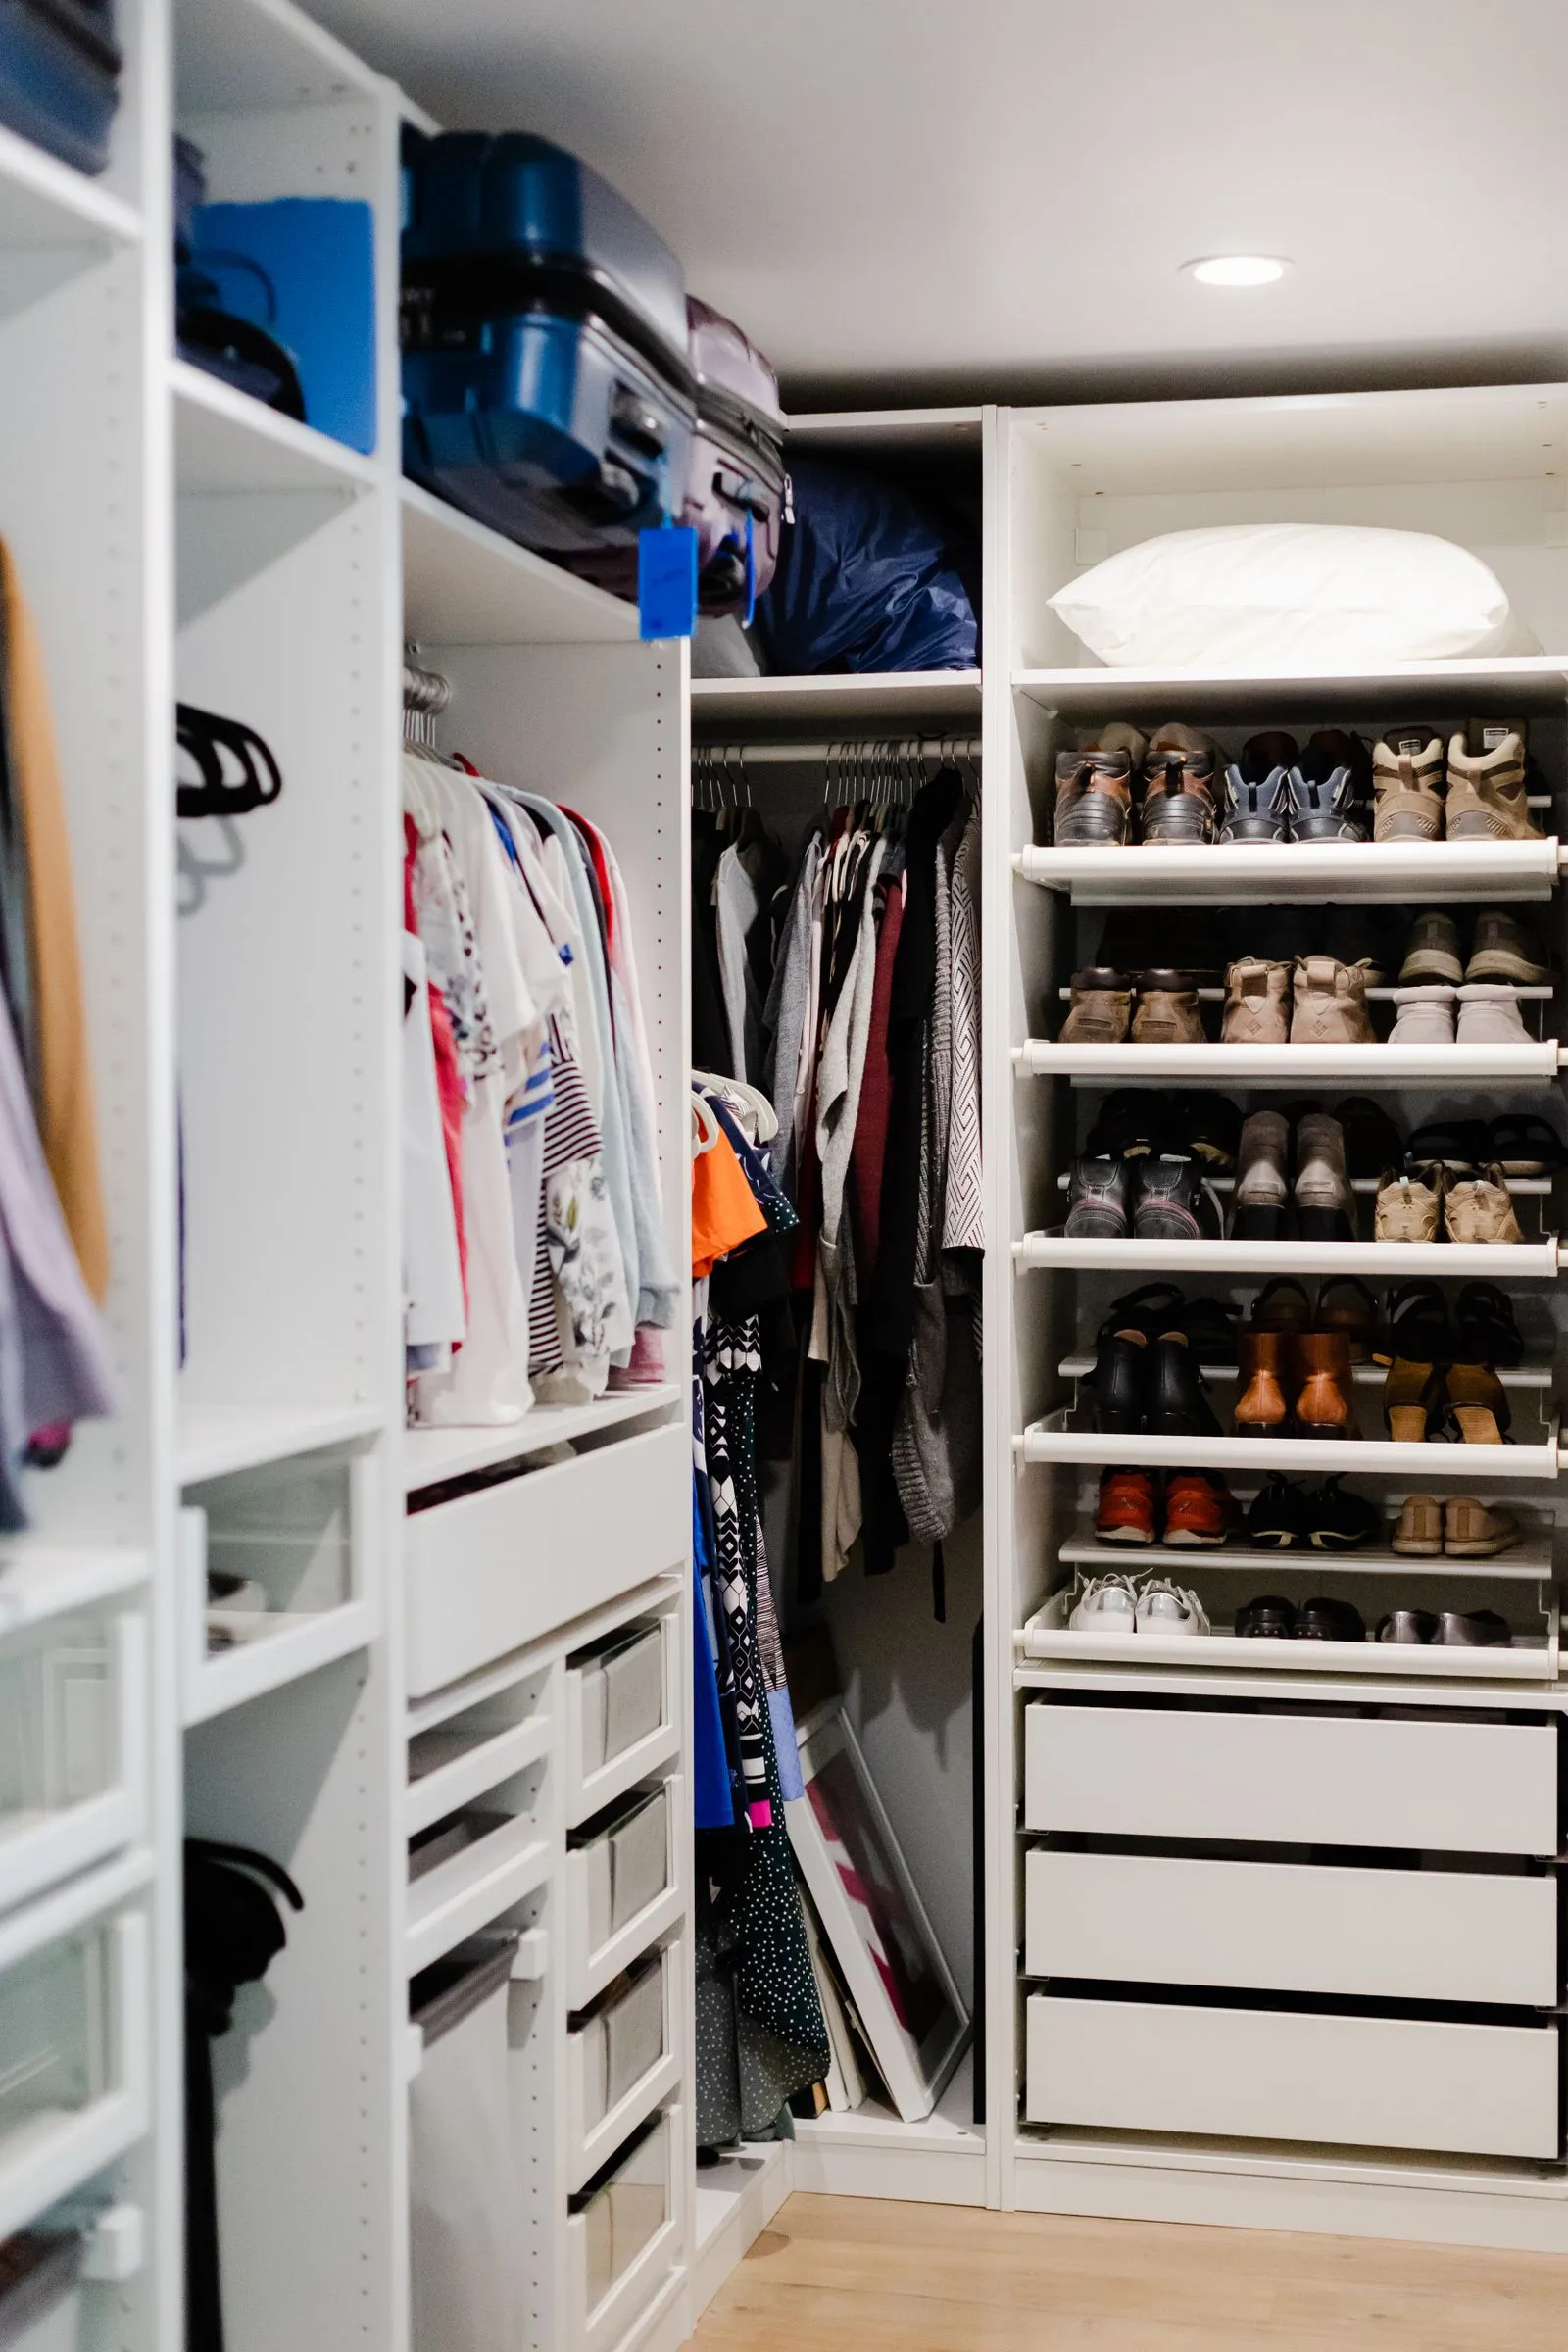
Half a closet rod is doing nothing for eight months of the year. Wool sweaters hang next to tank tops in July, parkas crowd the shorts in January, and every outfit search means pushing past clothes you will not touch for months. The fix is not a bigger closet. It is a rotation: two bins that swap places twice a year, so the rod only ever holds what the current season actually needs.
Go by temperature, not the calendar
A date on the wall does not know what the weather is doing. Swap when the daily high holds above or below 60°F for about a week, not on a fixed date like October 1 or April 1. In most of the US that lands somewhere in late September to October for the fall swap and March to April for the spring one, but a warm coastal climate might push both swaps a month later, and a cold mountain climate a month earlier.
Keep a short transitional rack of about ten pieces, hanging year-round: a light jacket, one pair of jeans, a couple of layering long-sleeves. Those bridge the two or three weeks where the weather cannot make up its mind, so you are not digging through a bin for a single cool morning.
Cull before anything goes in a bin
Storing clothes you do not want is how a bin system turns into another form of clutter. Do the cull on swap day, before anything goes back in a bin, while you have every off-season piece in hand.
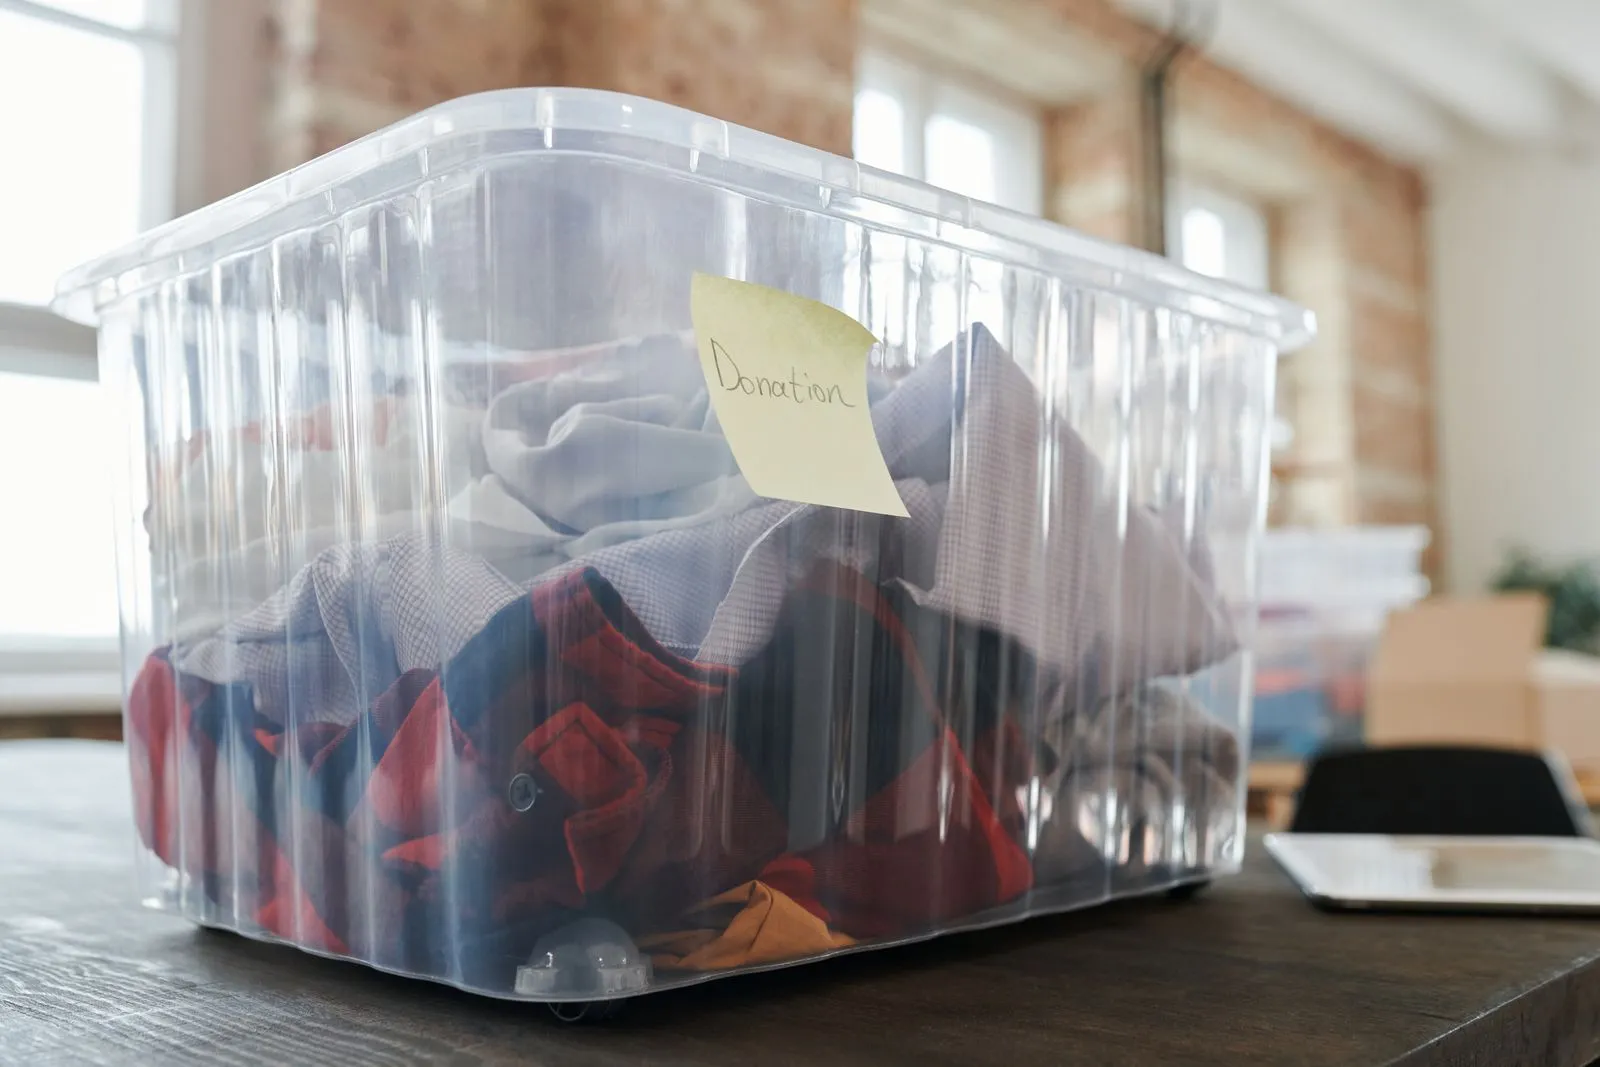
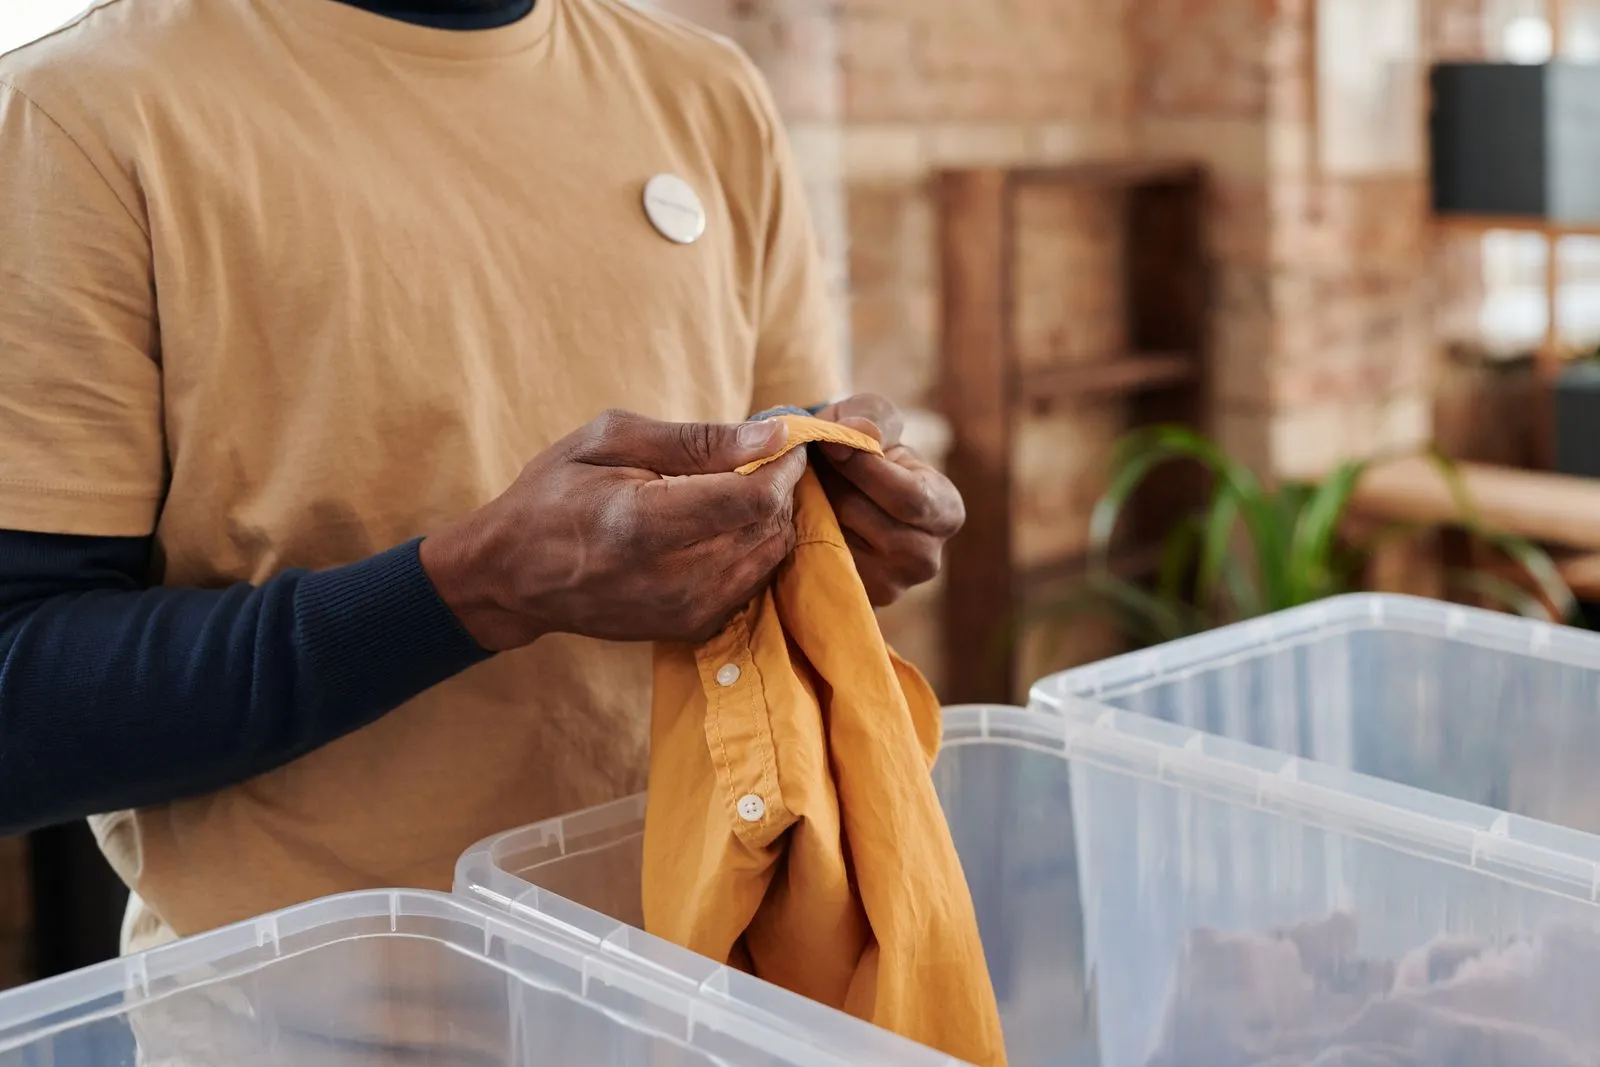
Handle each item and ask three things: did you wear it last season, does it still fit, is it in wearable condition. Anything with a stretched-out neckline, a stain that did not come out, or a fit you have moved past goes into a donate bag, not a bin. Most people cut 15 to 20 percent of the pile the first time they do this honestly.
This step also caps how much storage you need. A closet holding two bins of culled clothes stays manageable. A closet holding four bins of everything you have ever owned does not.
Choosing the right bin for the space you have
Bin choice comes down to two decisions: clear or opaque, and fabric or plastic.
Clear versus opaque. Clear plastic wins for anything you will need to identify at a glance, which is most seasonal clothing. You can confirm the sweaters bin is actually sweaters without opening it. Opaque bins only make sense when the storage spot is visible from the room, like a closet shelf you want to look tidy, since a printed label carries the identification instead.
Fabric versus plastic. Rigid plastic bins protect better against moisture and pests and stack cleanly, which makes them the right call for a garage, basement, or closet floor. Breathable fabric or canvas bins let cotton and linen release trapped humidity, which matters more in a bin that will sit closed for six months. Wool and down do best in a bin with at least some breathability, not a fully sealed plastic tub.
Sizing for a small home. A standard 66-quart storage bin runs about 28 inches long by 20 inches wide by 15 inches tall and holds roughly two to three seasons of one adult’s folded clothing. It costs 12 to 20 dollars at most big-box or hardware stores. For under-bed storage, look for a low-profile bin instead, roughly 6 inches tall so it clears bed frames with limited clearance; these typically run 8 to 15 dollars and hold one season’s worth of folded shirts or a couple of packed comforters.
Buy one size less than feels necessary. A bin that takes two people to lift when full will not get pulled out and refilled twice a year, and that is the whole system failing at the one moment it matters.
Wash everything before it goes into a bin
Every piece goes into the wash or the dry cleaner before it goes into a bin, no exceptions. Body oils and food residue that are invisible on a worn shirt turn into set-in stains and moth attractant over six months of storage. A perfectly clean sweater and a slightly worn one look identical going into the bin and very different coming out.
Moths and other fabric pests are drawn to the smell of worn fabric, not clean fabric, so washing is most of the prevention. For the rest, cedar blocks or cedar rings tucked into the bin work on natural fibers and need a light sanding every year or two to keep releasing scent. Silica gel packets in a smaller sachet control humidity, which matters most for a bin stored in a garage or basement rather than an interior closet. Skip mothballs. They work, but the naphthalene smell lingers in fabric for weeks after the bin reopens and is not something you want near kids or pets handling the clothes.
Where the bins actually live in a small home
In a small home, off-season storage almost never gets its own room, so the bins have to fit into space the closet is already offering.
Under the bed is the most efficient option if your bed frame clears 6 to 7 inches, which most platform and standard bed frames do. A pair of low-profile bins here holds a full season without taking any closet square footage at all.
The closet top shelf works for lighter loads, but check the weight limit first. A wire shelf bracket is usually rated for 20 to 30 pounds per linear foot, and a full 66-quart bin of folded sweaters or jeans can weigh close to that on its own. Two bins stacked on a marginal bracket is how a shelf comes down.
Behind the hanging clothes, on the closet floor against the back wall, works when the rod does not reach the full depth of the closet. A single bin here is easy to forget exists, which is exactly why the label system below matters.
Wherever the bins live, keep them somewhere you pass regularly. A bin in a garage rafter or a storage unit across town gets used once and then ignored, because the friction of a special trip is enough to make people just buy new off-season clothes instead.
The label system that actually gets read
A label needs three pieces of information to be useful from across a room: the season, the category, and a rough contents note. “Winter — Sweaters” tells you more at a glance than “Sweaters,” because you also need to know which bin to grab in October.
Put the label on the short end of the bin, not the lid, since lids get stacked out of sight and short ends face out on a shelf or under a bed. A painter’s tape strip with marker works fine and peels off clean for relabeling next season.
For a bin with mixed contents, tape an index card to the inside of the lid listing what is in it: sizes, specific pieces, anything easy to forget by the time the bin reopens. This turns a five-minute “what did I even put in here” search into a ten-second glance.
The 20-minute swap-day routine
Once the culling and labeling habits are in place, the actual swap is fast. Pull the current season’s bin out from storage. Pull everything off the rod that belongs to the season now ending. Wash anything that needs it and let it dry. Fold and pack the outgoing season into its bin, add cedar or silica if it is due for a refresh, and move it to storage. Hang or fold the incoming season’s clothes from the bin you just retrieved. Slide the empty bin into storage for the next swap.
Done twice a year, on a temperature trigger instead of a date, the whole thing takes about 20 minutes and the closet never has to hold more than one season at a time.
With only one season on the rod, the closet finally has room to organize properly. The double-hang and shelf-divider ideas in our guide to small closet organization make the most of the space the off-season bins just freed up.