Shoe Storage Ideas for Small Closets on a Budget
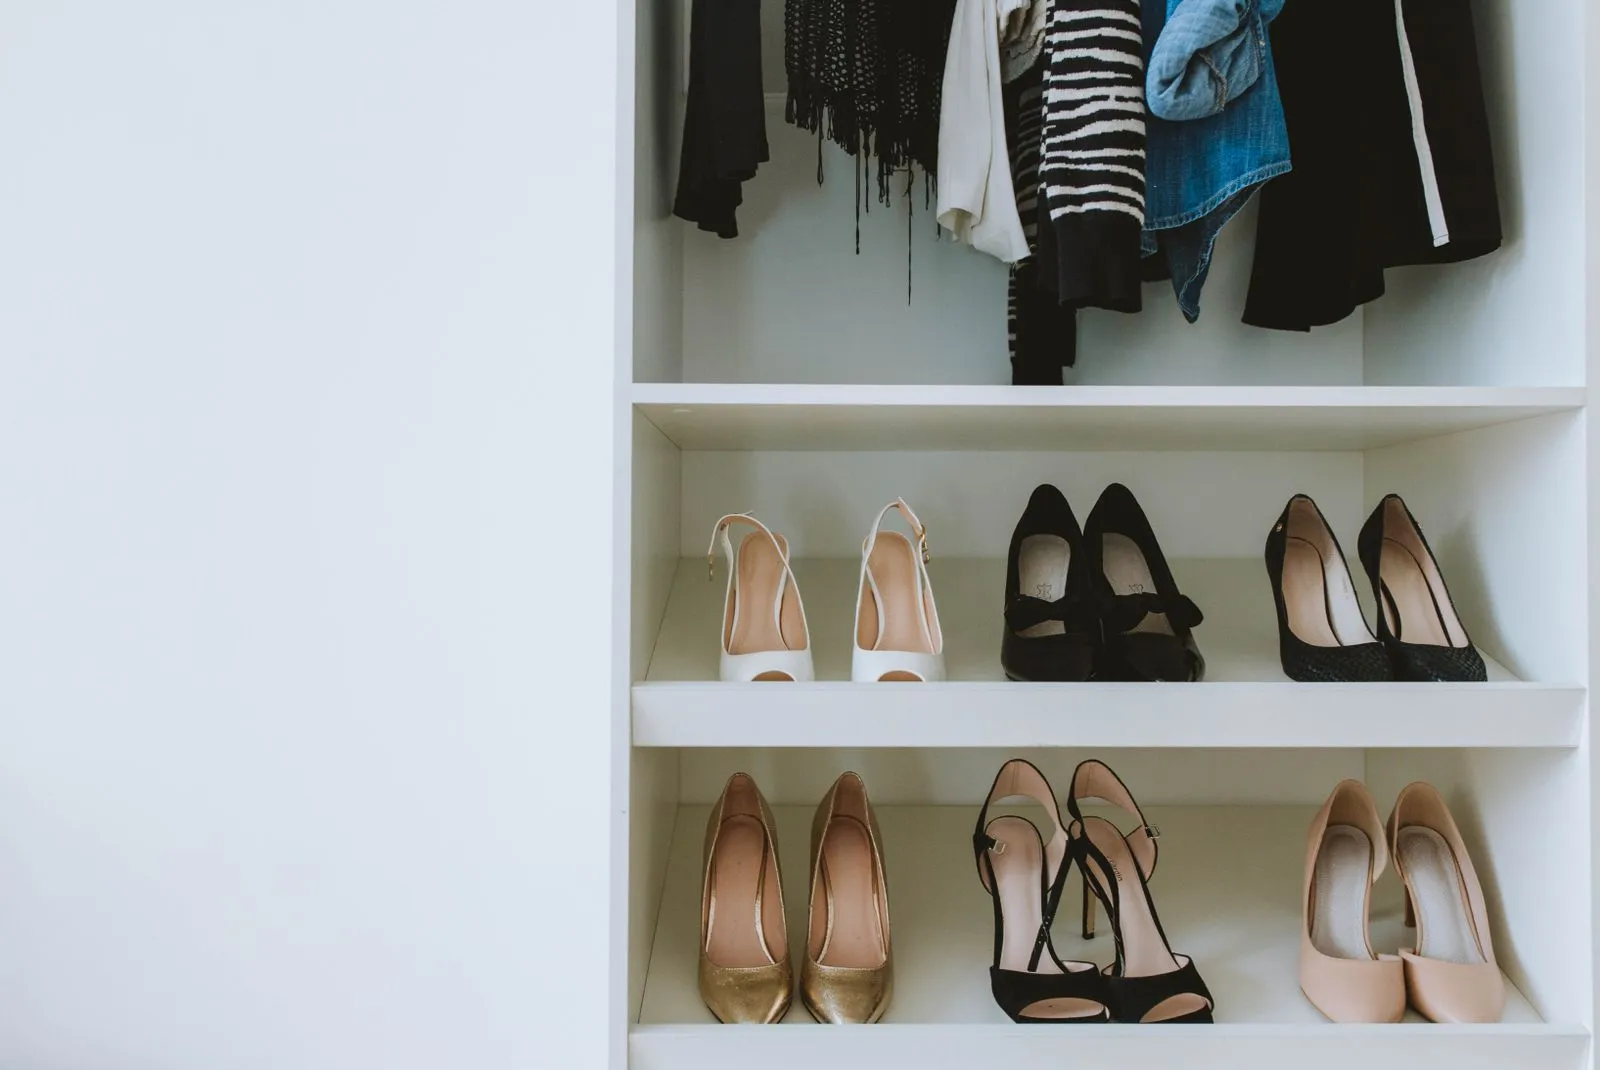
The pile starts as three or four pairs kicked off inside the closet door. Within a month it is a drift two feet wide, the door will not slide past it, and the pair you want is somewhere underneath a boot and a running shoe with no partner. You end up wearing the same two pairs because those are the only ones you can see.
Nothing about that is a space problem. A standard reach-in closet floor is roughly 24 inches deep and gives you a shelf’s worth of usable area that is currently holding one disorganized layer. Stacked properly, the same footprint holds three or four times as many pairs, and everything on it stays visible. The fixes below run from three dollars to about twenty-five, and none of them put a hole in a rental wall.
Cull before you buy anything
Buying storage for shoes you will never wear again is how people end up with an organized pile.
Pull every pair out onto the floor. Anything with a broken heel, a separating sole, or a partner that has been missing for six months goes now. Then sort the rest into three groups: worn in the last three months, worn once or twice this year, and not worn in a full year. The last group leaves. The middle group is your off-season and occasion set, which gets stored differently than daily shoes.
Most people find the count drops by a third. Do this first and you will buy one rack instead of two.
Then set a limit that holds. One in, one out works for shoes because they are bought one pair at a time and the count creeps invisibly. When a new pair arrives, a pair leaves the closet that week.
Measure three things before you shop
Closet floor depth and width. Most reach-ins are 22 to 24 inches deep. A men’s size 11 shoe is about 12 inches long, a women’s size 8 about 9.5 inches. That means a 24-inch depth fits two rows of shoes front to back, or one row of shoes turned sideways with room to spare.
Vertical gap under the hanging clothes. Measure from the closet floor to the hem of your longest hanging item. Shirts and jackets on a 68-inch rod usually leave 26 to 30 inches of clear air below. That number caps how tall a floor rack can be.
Door thickness and swing clearance. Standard interior doors in US apartments are 1 3/8 inches thick. Most over-door hardware fits 1 3/8 to 1 3/4 inches. Then check the gap between the closed door and the nearest hanging clothes, because a loaded pocket organizer adds 3 to 4 inches of thickness and a full closet will stop the door from shutting.
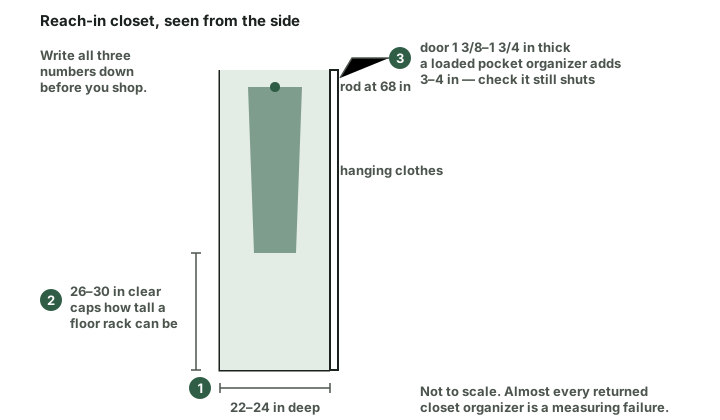
Write those three numbers on your phone. Almost every returned closet organizer is a measuring failure.
Stackable racks turn floor space into shelf space
A stackable metal or resin shoe rack is the highest-value item in this whole list. A two-tier version runs about 15 to 20 dollars and a three-tier about 20 to 30, and each tier holds three to four pairs across a 24-inch closet.
Shelf pitch is what makes or breaks it. Use these numbers when you set adjustable tiers or pick a fixed rack:
- Flats, sandals, and slides: 5 inches between tiers
- Sneakers, loafers, and flat boots laid down: 7 inches
- Heels stood upright: 8 to 9 inches
- Ankle boots: 10 to 12 inches
Tiers spaced at a uniform 7 inches waste about 2 inches per row on flats and will not take a heel at all. If your rack is adjustable, set the bottom tier tall for ankle boots and the top tiers short.
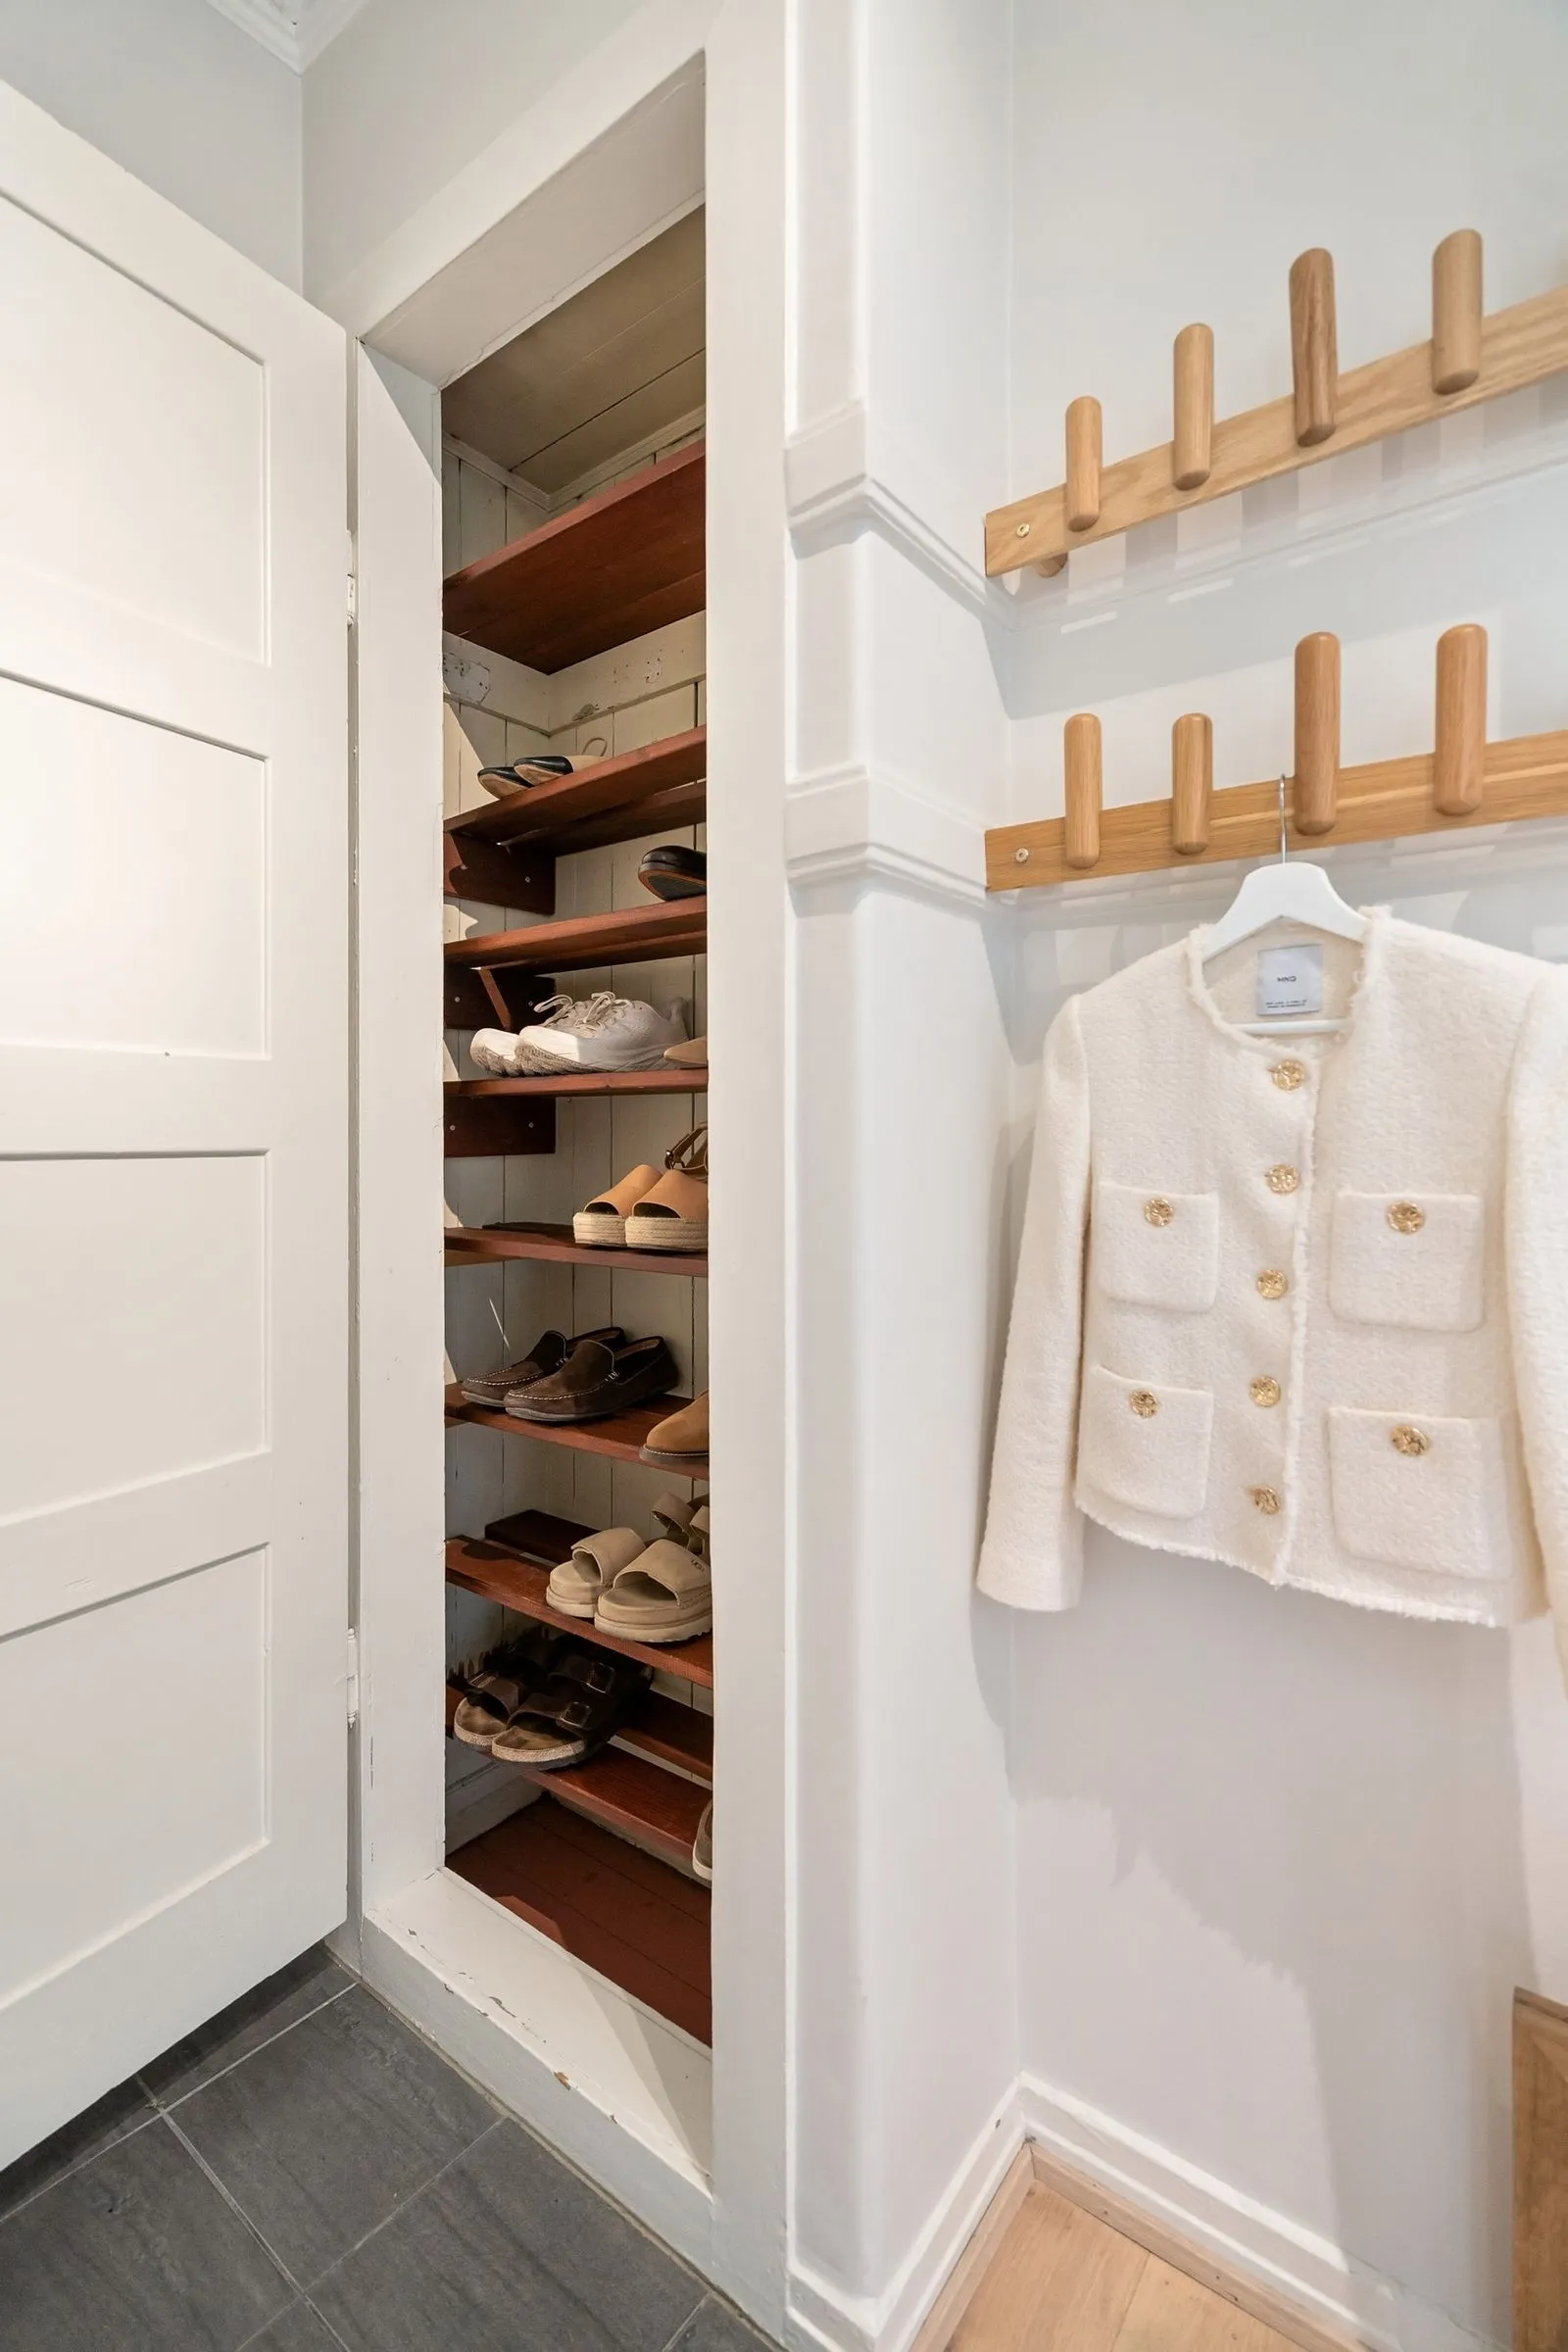
Angle matters too. A rack tilted 15 to 20 degrees toward you shows the whole upper instead of just the toe, which is the difference between grabbing a pair in two seconds and pulling out four to find one. On a flat rack, turn one shoe of each pair heel-out so the two nest together, which saves roughly an inch of width per pair.
Over-the-door pockets for everything that is not bulky
The inside of a closet door is about 24 inches of flat vertical surface doing nothing. A hanging pocket organizer costs 12 to 20 dollars and holds 20 to 24 pairs in a panel roughly 64 inches tall by 19 inches wide.
Be honest about what fits in a pocket. Flats, sandals, canvas sneakers, flip-flops, slippers, and low heels go in easily. Running shoes with thick soles jam. Boots do not fit at all. Treat the pockets as the home for your small, flat, high-count shoes and keep the rack for the bulky pairs.
Two practical points. Over-door hooks scuff the door face over a couple of years, so stick a felt pad where the metal contacts the paint. And if the door is a bifold or a slider, mount the panel on the back of the bedroom door instead.
Clear-front pockets beat opaque canvas here. The point is seeing a pair without touching it.
Clear boxes for off-season and occasion pairs
Shoes you wear twice a year should not be competing for prime floor space with the pairs you wear weekly.
Stackable clear plastic shoe boxes run about 2 to 4 dollars each and stack six to eight high without bowing. Put the off-season and dressy pairs in them and move the stack to the top shelf or under the bed. The clear front means you do not have to open anything to check what is inside, and a piece of masking tape with the shoe name on the end panel covers the rest.
If you want the cheapest possible version, the boxes the shoes came in work fine, as long as you photograph each pair and tape the photo to the end. Opaque boxes with no label are how shoes disappear for two years.
Boots need their own rule
Tall boots are the one category that breaks a shoe rack. A knee-high boot standing upright needs 16 to 18 inches of clearance, which is more than most floor racks give you.
Three approaches work. Stand them on the closet floor beside the rack with a rolled magazine or a pool noodle cut to length inside each shaft so they hold their shape. Hang them from the rod with clip hangers or dedicated boot clips, which takes about 4 inches of rod per pair and keeps the floor clear. Or lay them flat in a long under-bed bin during the off season, shafts unfolded, not creased.
Ankle boots are easier. They fit a 10 to 12 inch rack tier and can stay in the daily rotation.
Keep the daily pairs out of the closet entirely
The pairs you wear every day should never make it back to the closet, because the trip is what people skip.
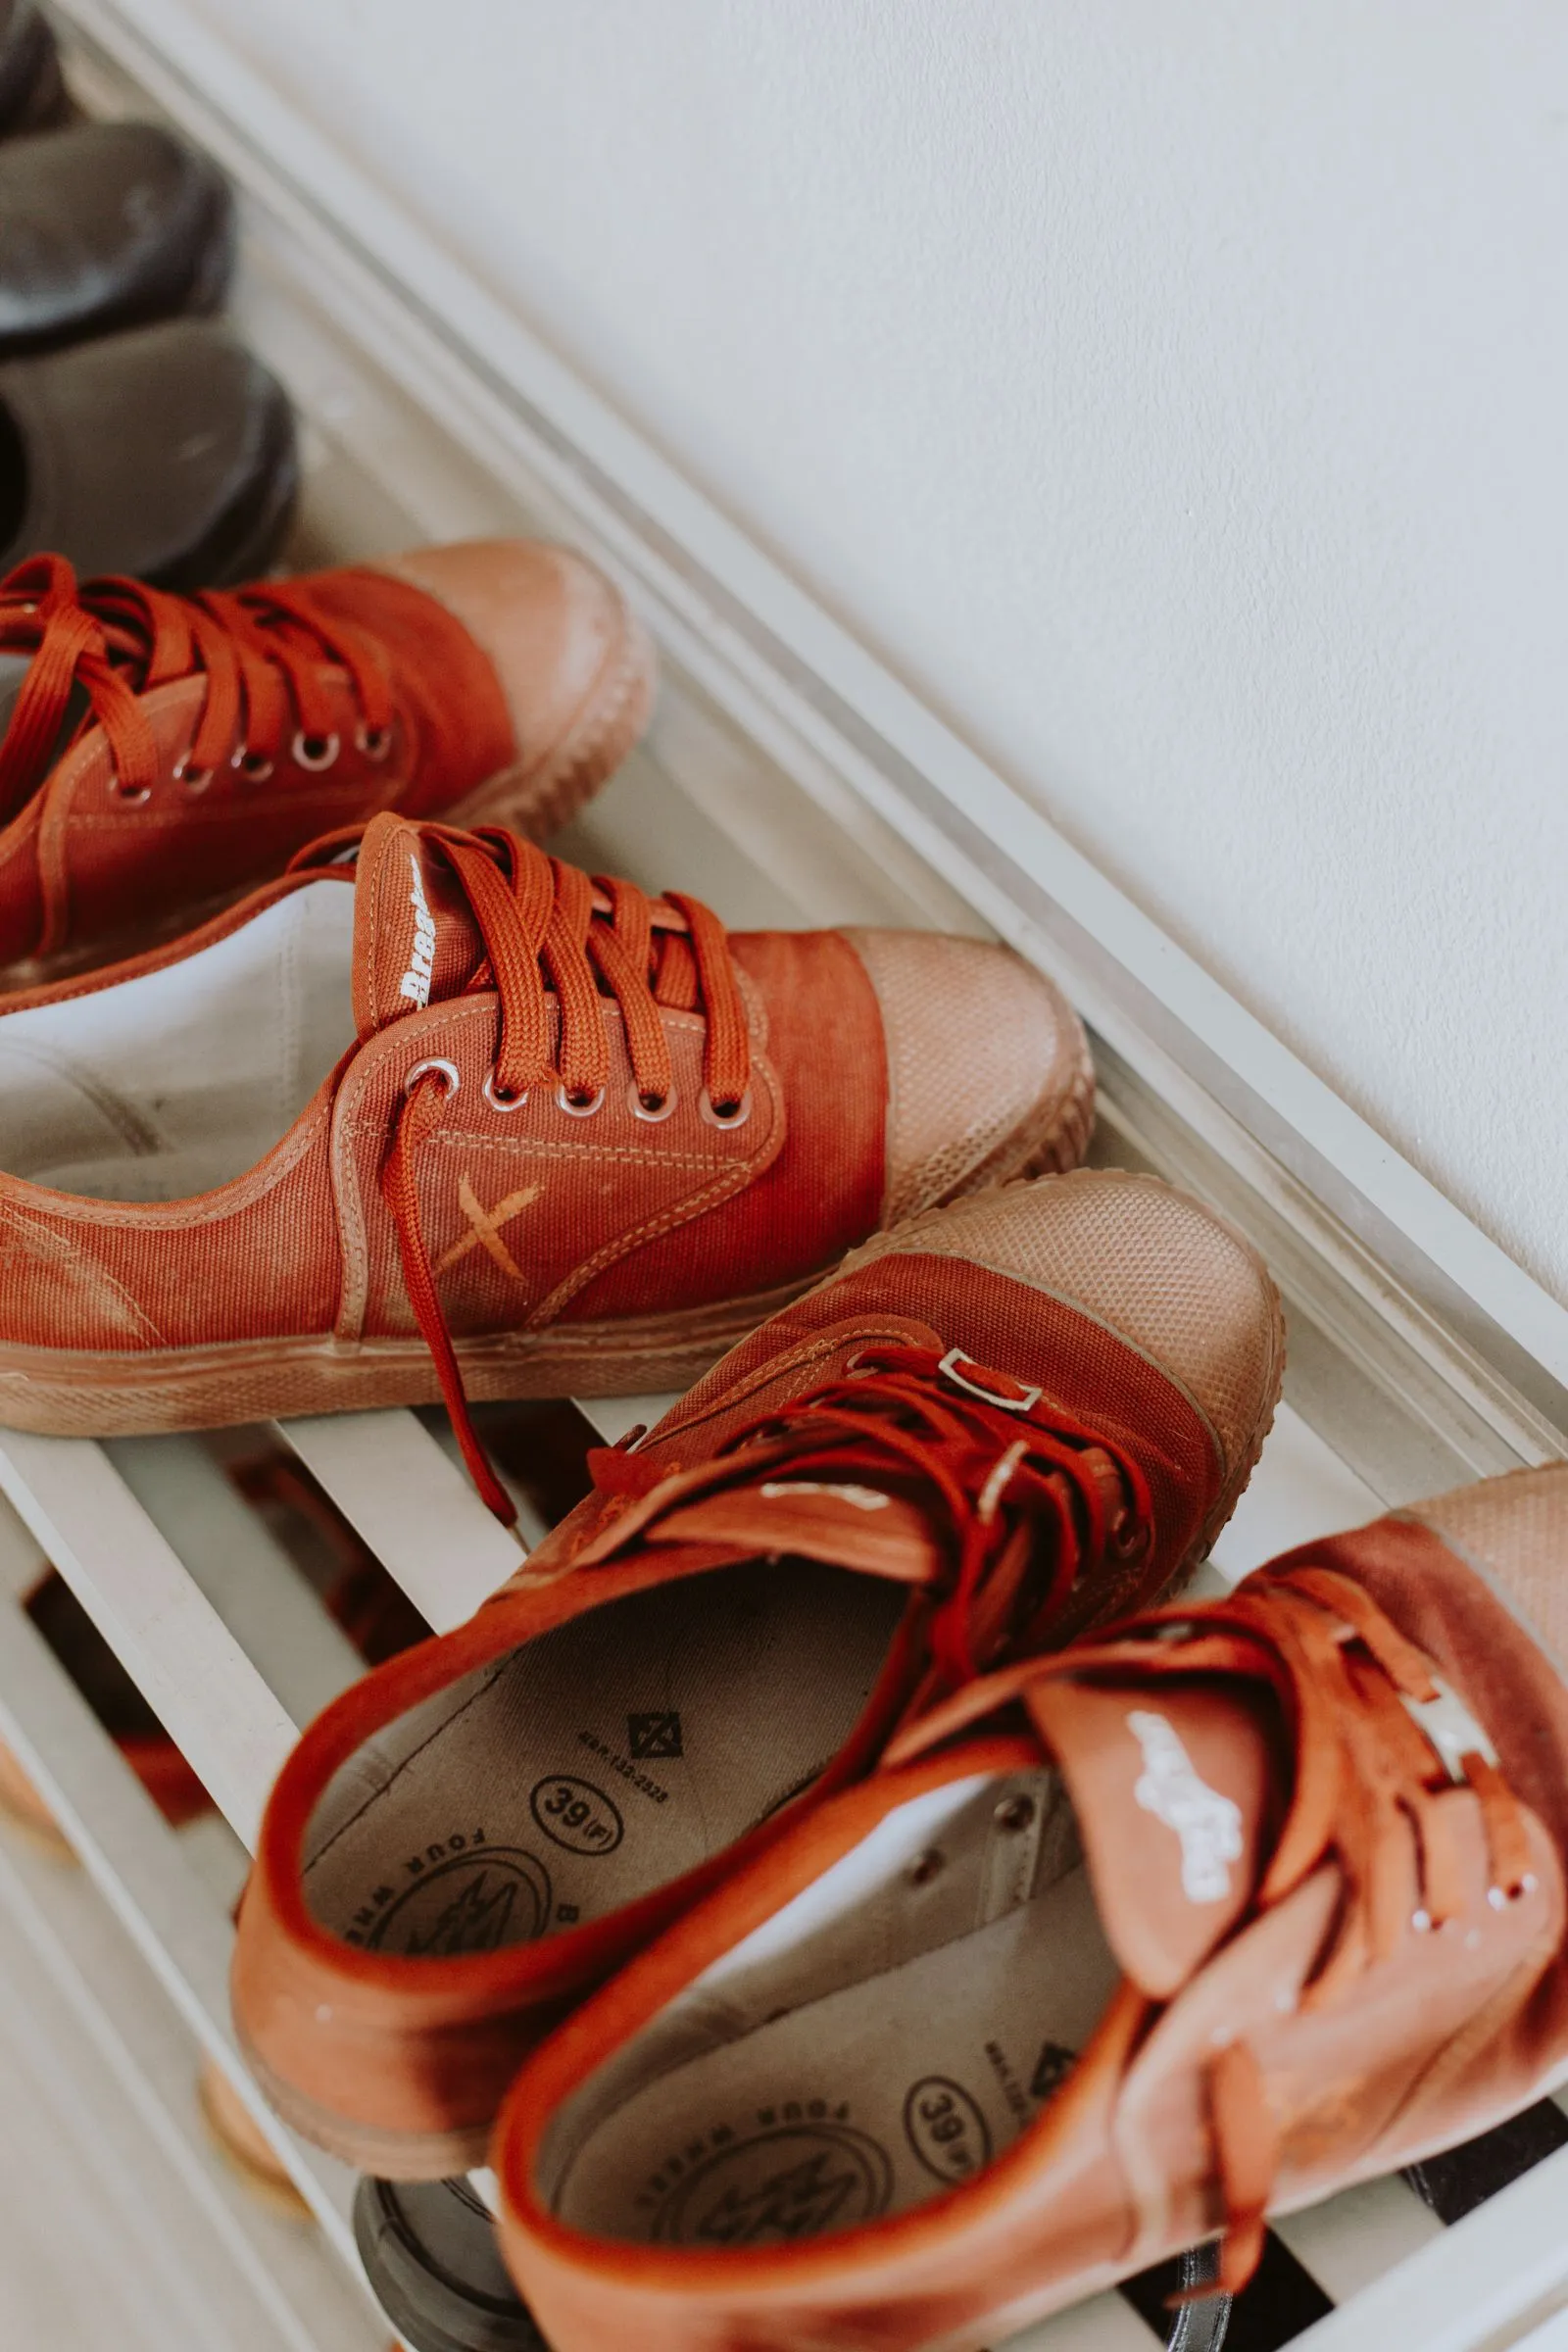
Give each person one or two daily pairs a spot at the entry, on a tray or a low rack by the door. The closet then only stores the pairs you rotate in, which is what makes the closet system stay tidy. This single split does more for the closet floor than any rack, because the shoes that generate the daily pile are no longer in the room.
Mistakes that put the pile back on the floor
Buying a rack taller than the hanging clearance. A 32-inch tower under a 28-inch gap does not go in.
One shelf pitch for every shoe. Uniform 7-inch tiers waste space on flats and will not hold a heel upright.
Opaque bins with no labels. If you cannot see it, you will not wear it, and the pair you want stays buried.
Filling the rack completely. Leave one empty slot per tier. A rack with no free space is one you stop putting shoes back into, and the floor pile restarts within two weeks.
Storing dirty shoes. Wet or salted shoes in a closed box grow mildew and the smell transfers to everything nearby. Let them dry outside the closet first.
A setup that takes one afternoon
Do it in this order. Pull everything out and cull, which takes about 30 minutes. Measure the floor, the hanging clearance, and the door thickness. Buy one stackable rack and one over-door pocket panel, which together run about 35 to 50 dollars. Load the rack with the bulky daily pairs, the pockets with flats and sandals, and box the off-season pairs for the top shelf.
Live with it for two weeks before buying a second rack. The pairs that never move tell you what belongs in a box, and the spot where shoes keep landing on the floor tells you which category still has no home.
If the closet floor was the last problem area and the rest of the space still feels tight, the layering ideas in our guide to small closet organization cover the rod and shelf above it. And for the daily-pair drop zone by the front door, the tray and rack sizing in our guide to small entryway organization picks up where this leaves off.