A Simple Pantry Labeling System for a Tidy Kitchen
The pantry looked great on Sunday. Matching jars, everything decanted, labels lined up like a magazine photo. By the following Sunday, the flour is back in its paper bag, three mystery bags of pasta have appeared, and nobody can tell the brown rice from the quinoa without opening the lid. The organizing wasn’t the problem. The system just had no way to survive contact with a Tuesday night dinner rush.
Most pantries fall apart at the labels, not the containers. A one-off labeling session gets everything looking uniform for a week, but if the labels are inconsistent, hard to redo, or don’t match how the house actually shops and cooks, the whole shelf slides back into chaos the first time someone restocks in a hurry. A labeling system that lasts is not about prettier labels. It’s about picking one style, applying it consistently, and building in an easy way to keep it current.
Pick one label style and use it everywhere
The single biggest reason pantry labels stop working is that a household ends up with three different labeling methods on one shelf: a label maker font on some jars, handwriting on others, and a few printed stickers left over from a set that ran out. The eye reads that as clutter even when every item is correctly identified, because a tidy pantry reads as tidy through visual consistency, not just organization.
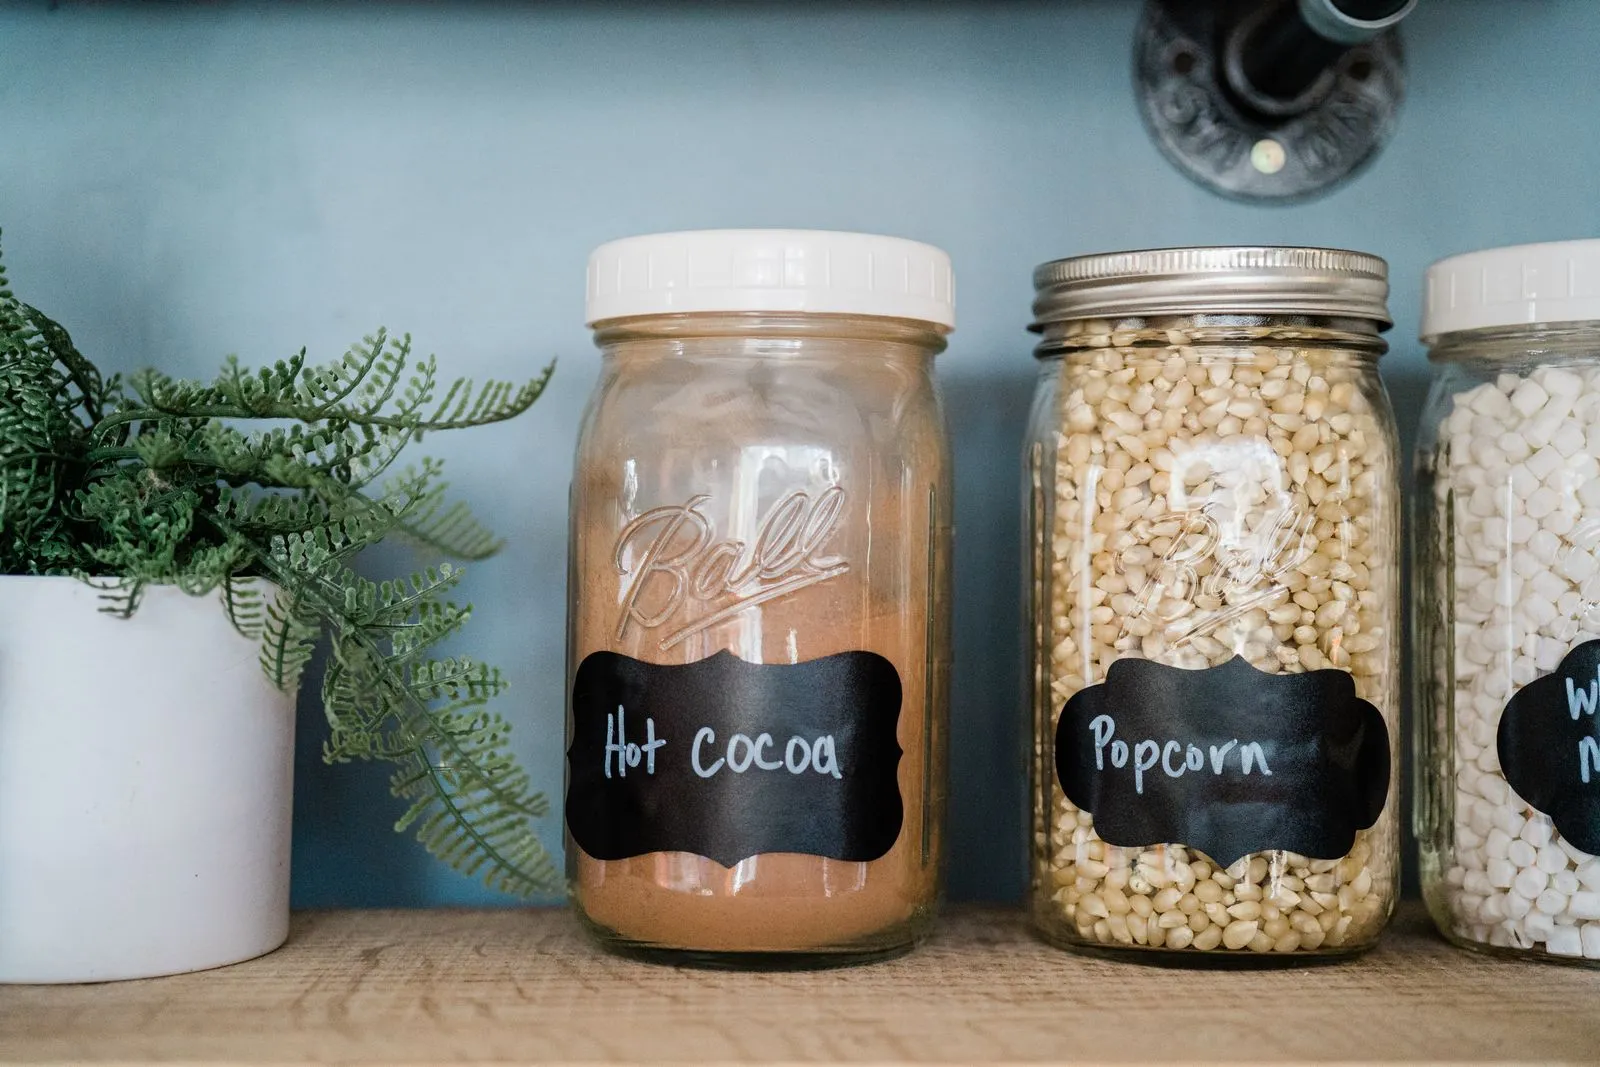
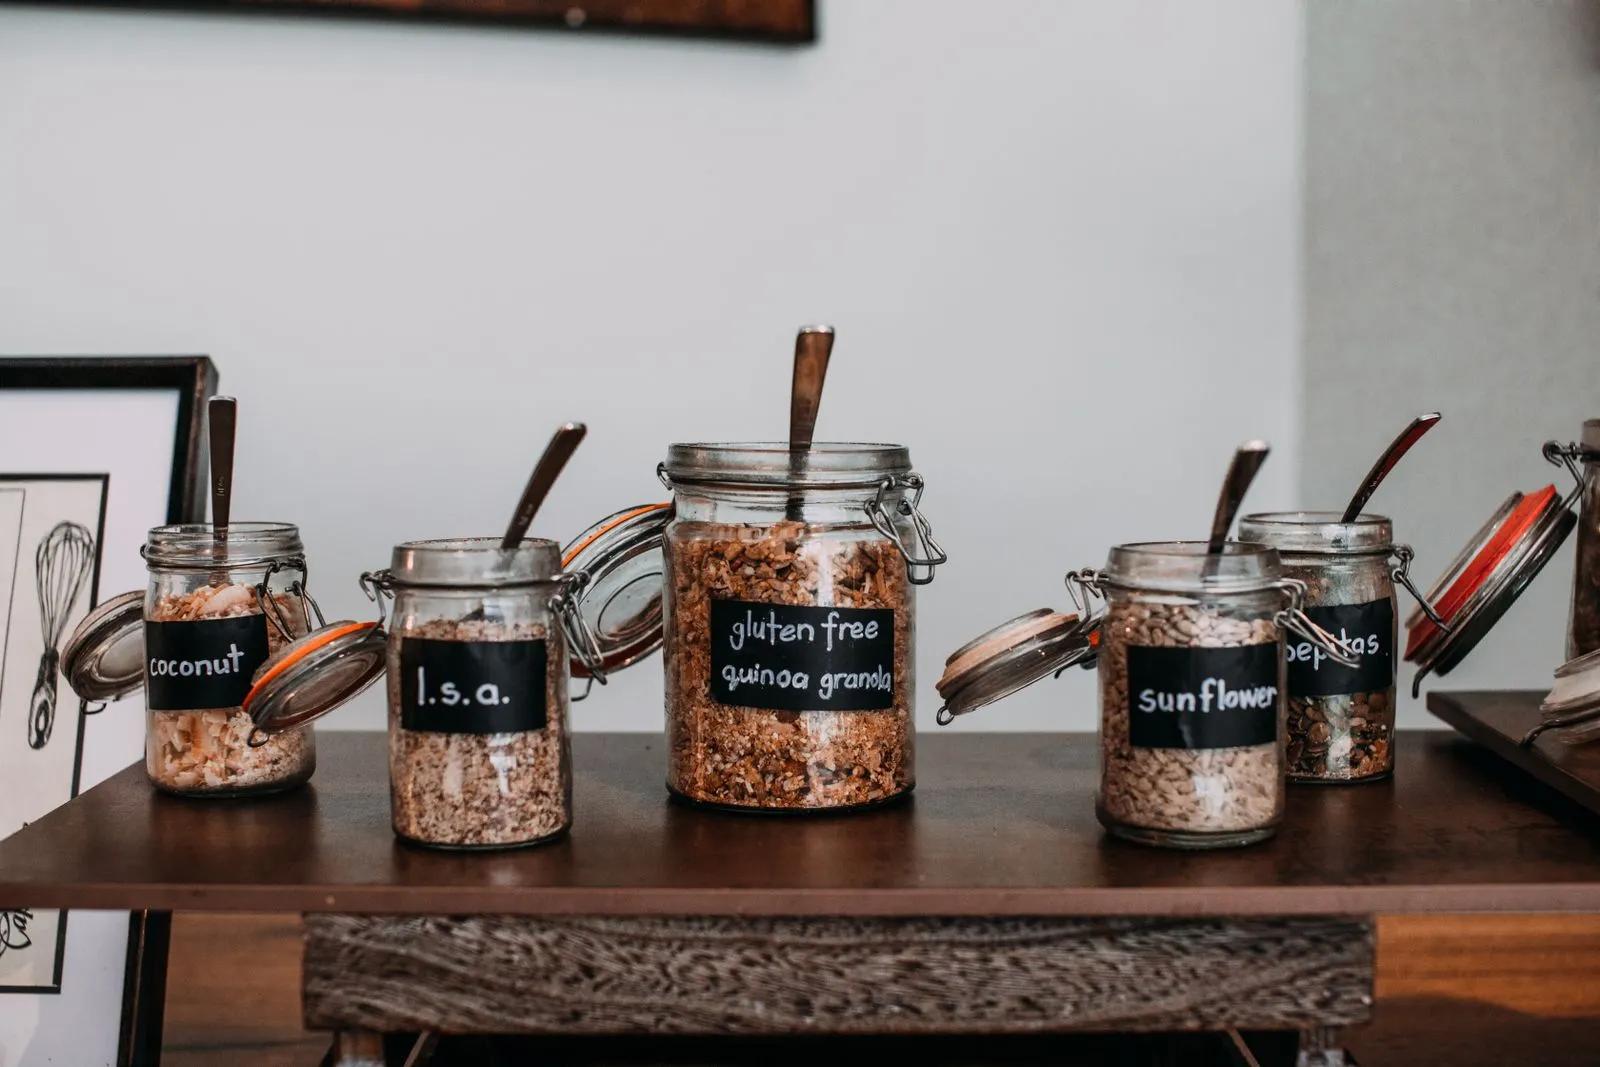
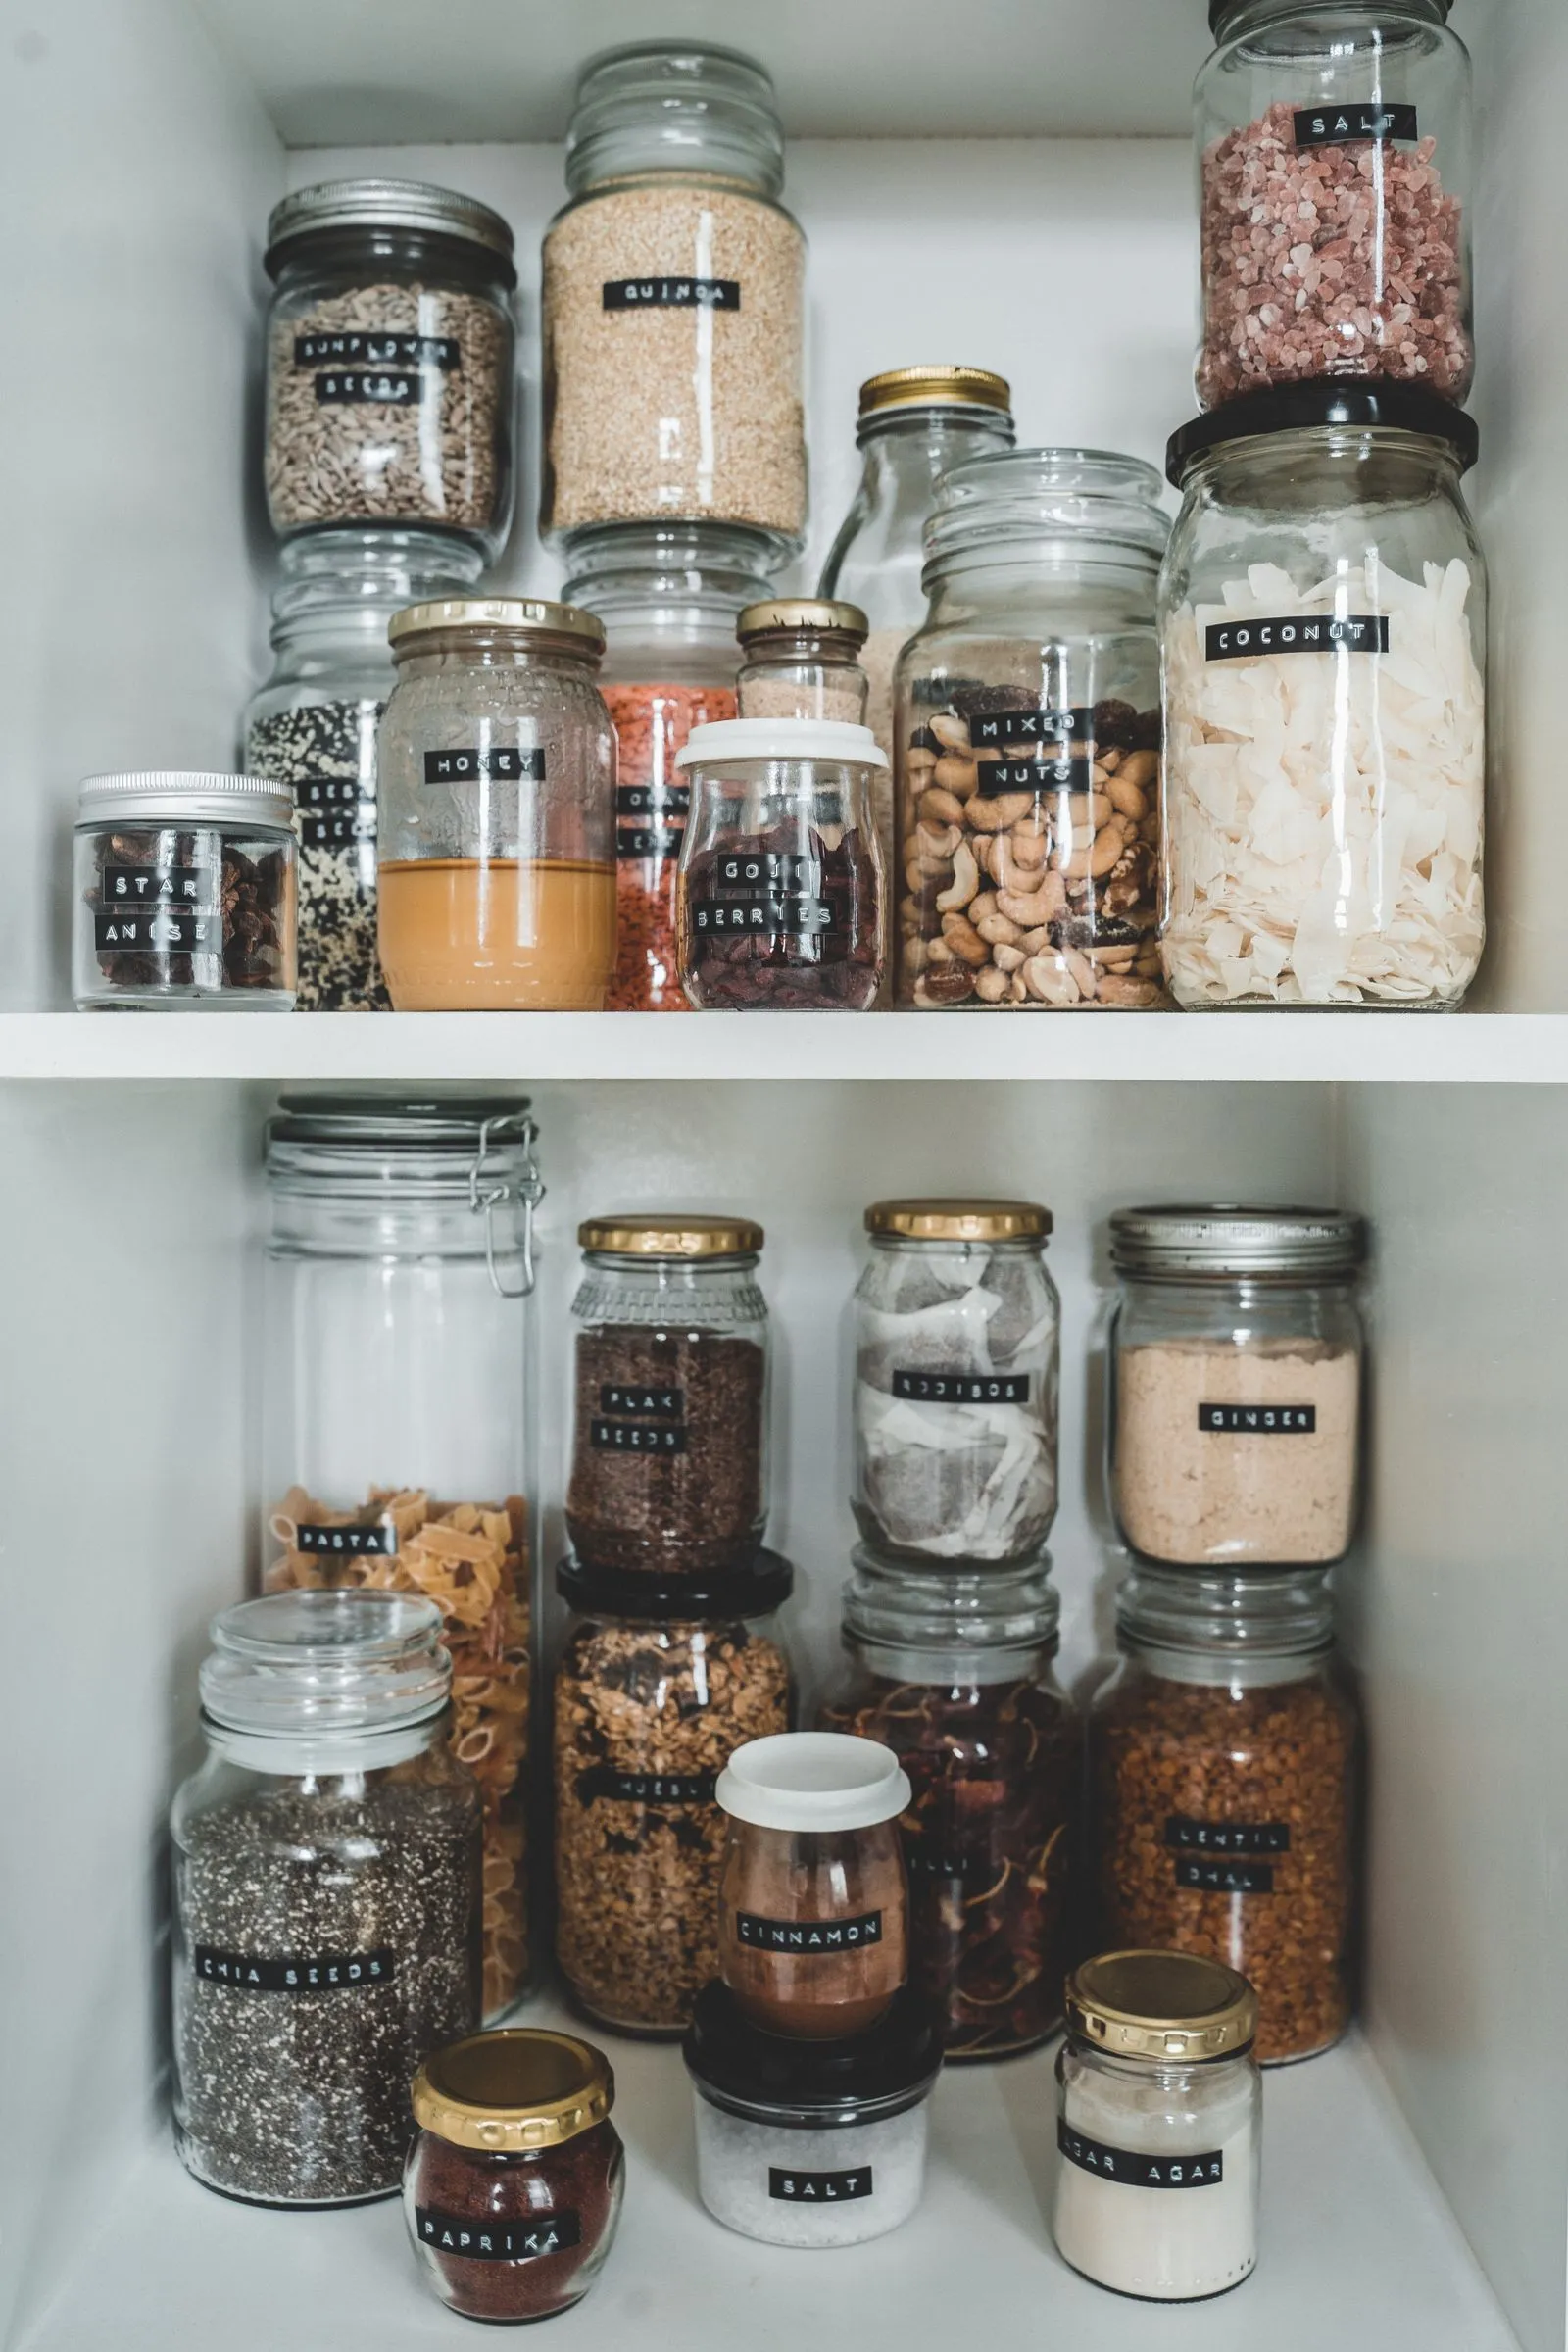
Choose one format and commit to it for the whole pantry. A label maker with white text on black tape, a chalkboard-style vinyl label written in white paint pen, or a printed white label in one font are all fine choices. What matters is that every single label in the pantry uses the same one. Buy or print more of that exact style than you think you need, roughly 40 to 50 labels for an average pantry, so a restock or a new item never forces a mismatched label onto the shelf out of convenience.
Sort into categories before a single label goes on
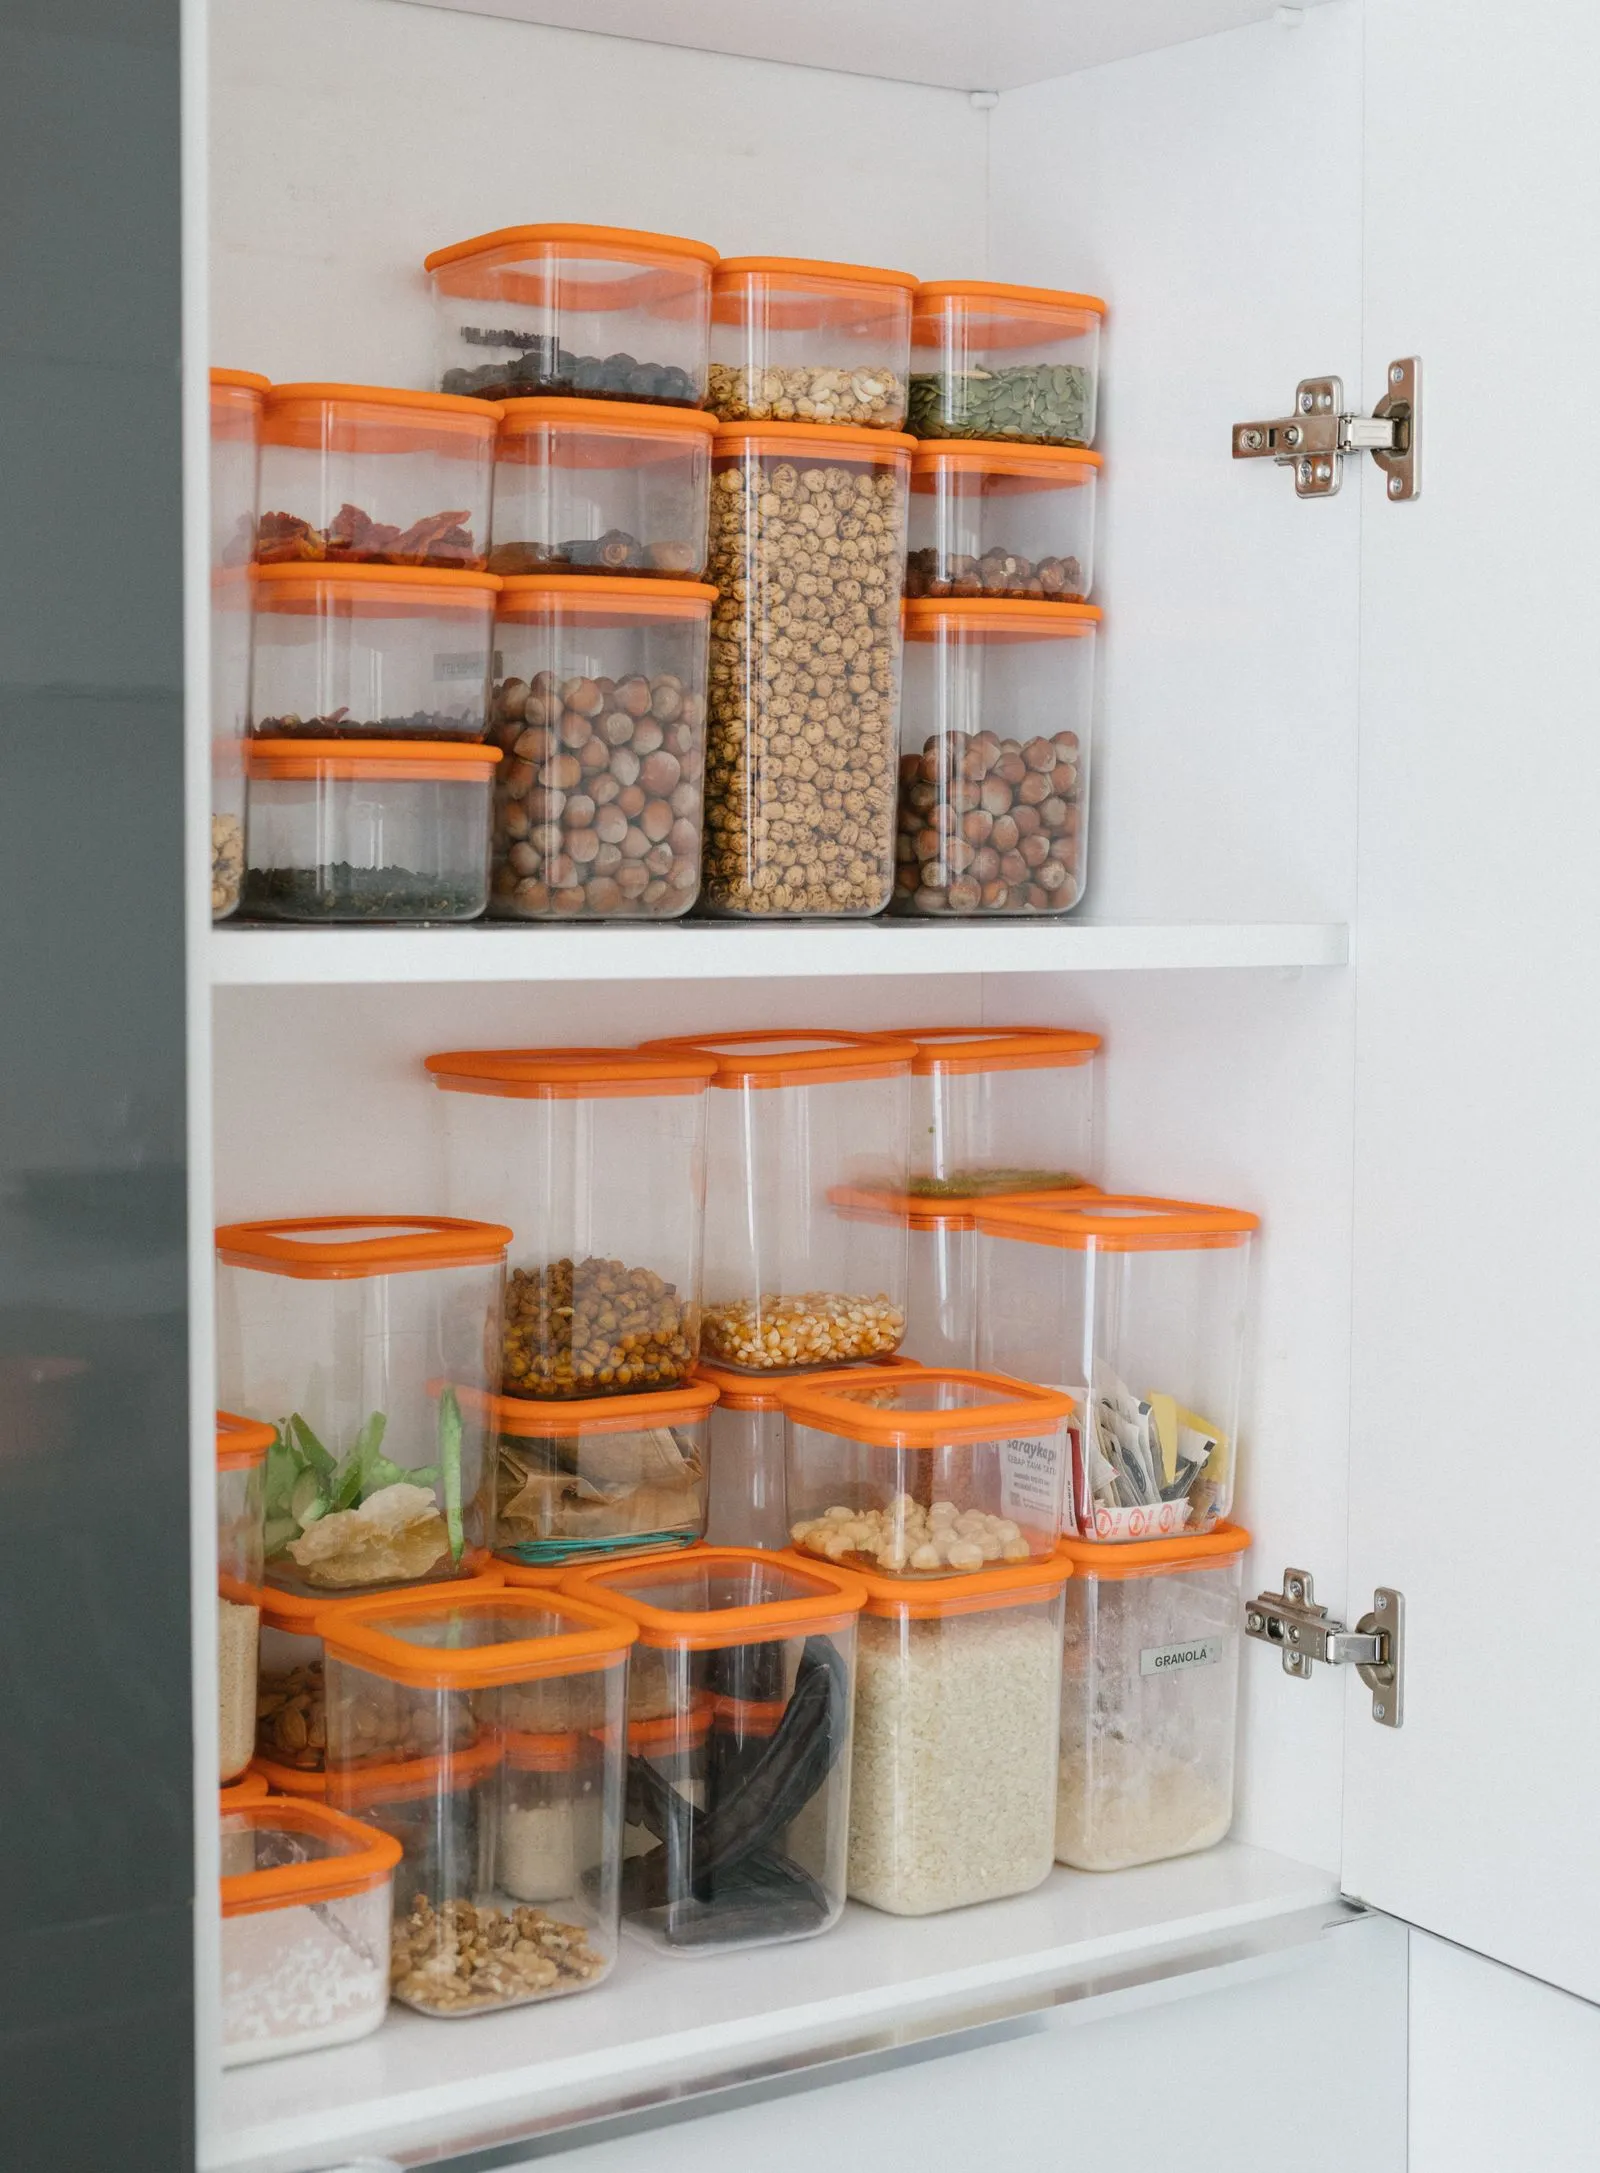
Labeling individual items before the pantry is sorted just locks in whatever chaos was already on the shelf. Before printing or writing anything, pull everything out and group it into five or six broad categories: baking, grains and pasta, snacks, canned and jarred goods, breakfast items, and backstock. This step also surfaces the duplicate bags of brown rice and the three half-used boxes of pasta that should get consolidated into one container before they get a label at all.
Sorting first also tells you how many labels you actually need, which prevents the common mistake of over-labeling: a label on every single spice, every snack bag, and every canned good turns the pantry into a spreadsheet instead of a kitchen. Label containers and zones, not every object that passes through them.
Match the label to the container, not the other way around
A vinyl label that looks sharp on a glass canister will peel within a week on a woven basket, and a label maker’s adhesive tape does not hold up on a chalkboard bin meant for a wet-erase marker. Match the label type to the surface it’s going on instead of forcing one label style onto every container type.
For glass or plastic canisters holding decanted dry goods like flour, sugar, rice, and pasta, a label maker tape or a printed adhesive label sticks flat and stays legible through repeated handling. For woven baskets and fabric bins that hold snack bags or produce, a small cardstock tag on a loop of twine or a clip-on label reads better than adhesive, since baskets flex and adhesive labels crack loose over time. For anything that gets refilled often, like a flour or sugar canister, a reusable chalkboard label with a paint pen or wet-erase marker means the label survives a dozen refills without a fresh sticker each time.
Label the shelf edge, not just the container
Containers get moved, swapped, and occasionally borrowed for something else entirely. A pantry that only labels the jars loses its organization the moment a jar gets pulled and set down somewhere else, because nothing on the shelf itself says where that jar belongs.
A small label on the shelf edge or the front lip, naming the zone rather than the exact item, solves this. “Baking,” “Breakfast,” “Snacks,” and “Canned Goods” on the shelf edges mean any container, old or new, has an obvious home the moment it’s put back, even if someone other than the person who built the system is doing the unloading. This single habit is what makes a pantry legible to every person in the house, not just the one who set it up, which is the actual test of whether an organization system will hold.
Label categories, not exact contents
A label that reads “Rotini” stops working the day the box runs low and gets replaced with penne. A label that reads “Pasta” survives that swap without a second thought. Where it makes sense, label the category a container is meant to hold rather than the literal current contents, and reserve item-specific labels for things that genuinely never change, like flour, sugar, and coffee.
This one shift is what prevents the slow drift where labels quietly stop matching contents, since nobody wants to redo a label every time a brand or shape changes. A pantry with 10 to 15 well-chosen category labels stays accurate for years. One with 40 item-specific labels needs constant upkeep and starts looking wrong within a month.
Keep a small label kit stocked in the pantry itself
The system breaks down fastest when making a new label requires digging through a junk drawer for the label maker, finding it’s out of tape, and giving up until “later.” Keep a small kit — the label maker or paint pen, a spare roll of tape or blank tags, and scissors — in a small bin inside the pantry, on the same shelf as the backstock. When a new item needs a label, the tools are three feet away instead of in another room.
This is a small detail, but it’s the difference between a label getting made the moment an item goes on the shelf and a bare unlabeled jar sitting there for three months because relabeling turned into a chore that got postponed. If your deep or hard-to-reach shelves are what make restocking a hassle in the first place, the layout ideas in our guide to deep pantry shelf organization pair well with this system, since a shelf you can actually see into is a shelf that’s easy to keep labeled correctly.
The two-minute reset that keeps labels honest
A labeling system doesn’t fail all at once. It fails one unlabeled item at a time, after a grocery trip, when nobody wants to stop and print a tag before dinner needs to get on the table. The fix isn’t more discipline. It’s a habit small enough to actually happen every time.
After putting groceries away, take two minutes to check for exactly three things: any container without a label, any label that no longer matches what’s inside, and any item that ended up in the wrong zone. Fix only those three things, using the label kit that’s already sitting on the shelf. That’s the entire habit. It takes less time than it takes to break down the grocery boxes.
Do that every time, and the pantry that looked perfect on organizing day still looks that way six months later, not because nothing changed, but because the system was built to absorb change instead of getting derailed by it. If your pantry is tight on space to begin with, the container and zoning approach in our guide to small pantry organization works alongside this labeling system to make every inch of shelf earn its keep.