Deep Pantry Shelf Organization: Risers, Bins, and Lazy Susans
A walk-in or closet pantry usually wins on square footage and loses on reach. Shelves that run 16 to 24 inches deep hold a lot of food, but your arm and your eyes only cover the front 8 or 9 inches without effort. Everything past that line turns into a second, invisible shelf where cans roll back, jars hide behind taller boxes, and the thing you bought two weeks ago gets bought again because nobody saw it.
This is a geometry problem, and it has a geometry fix. Risers, pull-out bins, and turntables move the contents of a deep shelf so more of it sits inside your one-glance, one-reach zone instead of stacked in a canyon behind the front row.
Why a deep shelf hides food
Stand at a pantry shelf and look straight in. Your sightline covers roughly the front third of a shelf clearly, the middle third if you lean in, and the back third only if you physically move cans out of the way. On a 20-inch-deep shelf, that back third is nearly 7 inches of dead storage, doubled if there is a second row behind the first.
Depth also compounds vertically: a shelf spaced 12 inches from the one above it hides short items behind tall ones, so a can of beans parked behind a cereal box disappears twice, once from the depth and once from the height. Depth is the problem that matters most in a walk-in or reach-in pantry deeper than about 14 inches.
Empty the shelf and cull before you organize it
Do not build a system around food you will not eat. Pull everything off one shelf at a time and sort into three piles: keep, toss, and donate.
Check dates as you go. Canned goods are usually fine 1 to 2 years past a “best by” date if the can is not dented or bulging, but spices lose potency after about a year and dried herbs after two. Anything with a broken seal or a date you cannot read goes in the toss pile. Duplicates of things you bought because you could not find the first one go back on the shelf as one item, not two.
Wipe the bare shelf down before anything goes back. This takes 20 minutes per shelf and it is the step people skip, which is why the same clutter reappears within a month of buying new bins.
Zone the shelf by how often you reach for it
Before you buy anything, decide what lives where. The front of a deep shelf is prime real estate, so treat it like a small kitchen counter rather than overflow storage.
Front third: daily and weekly items — the oil you cook with most, the pasta you buy every trip, snacks for the week.
Middle third: items used a few times a month — baking staples, less common spices, the specialty vinegar you use twice a season.
Back third: backstock only — the second and third cans of something you buy in bulk, holiday baking supplies, extra paper goods.
Once the zones are set, the tools below exist to make the middle and back thirds actually visible instead of just theoretically organized.
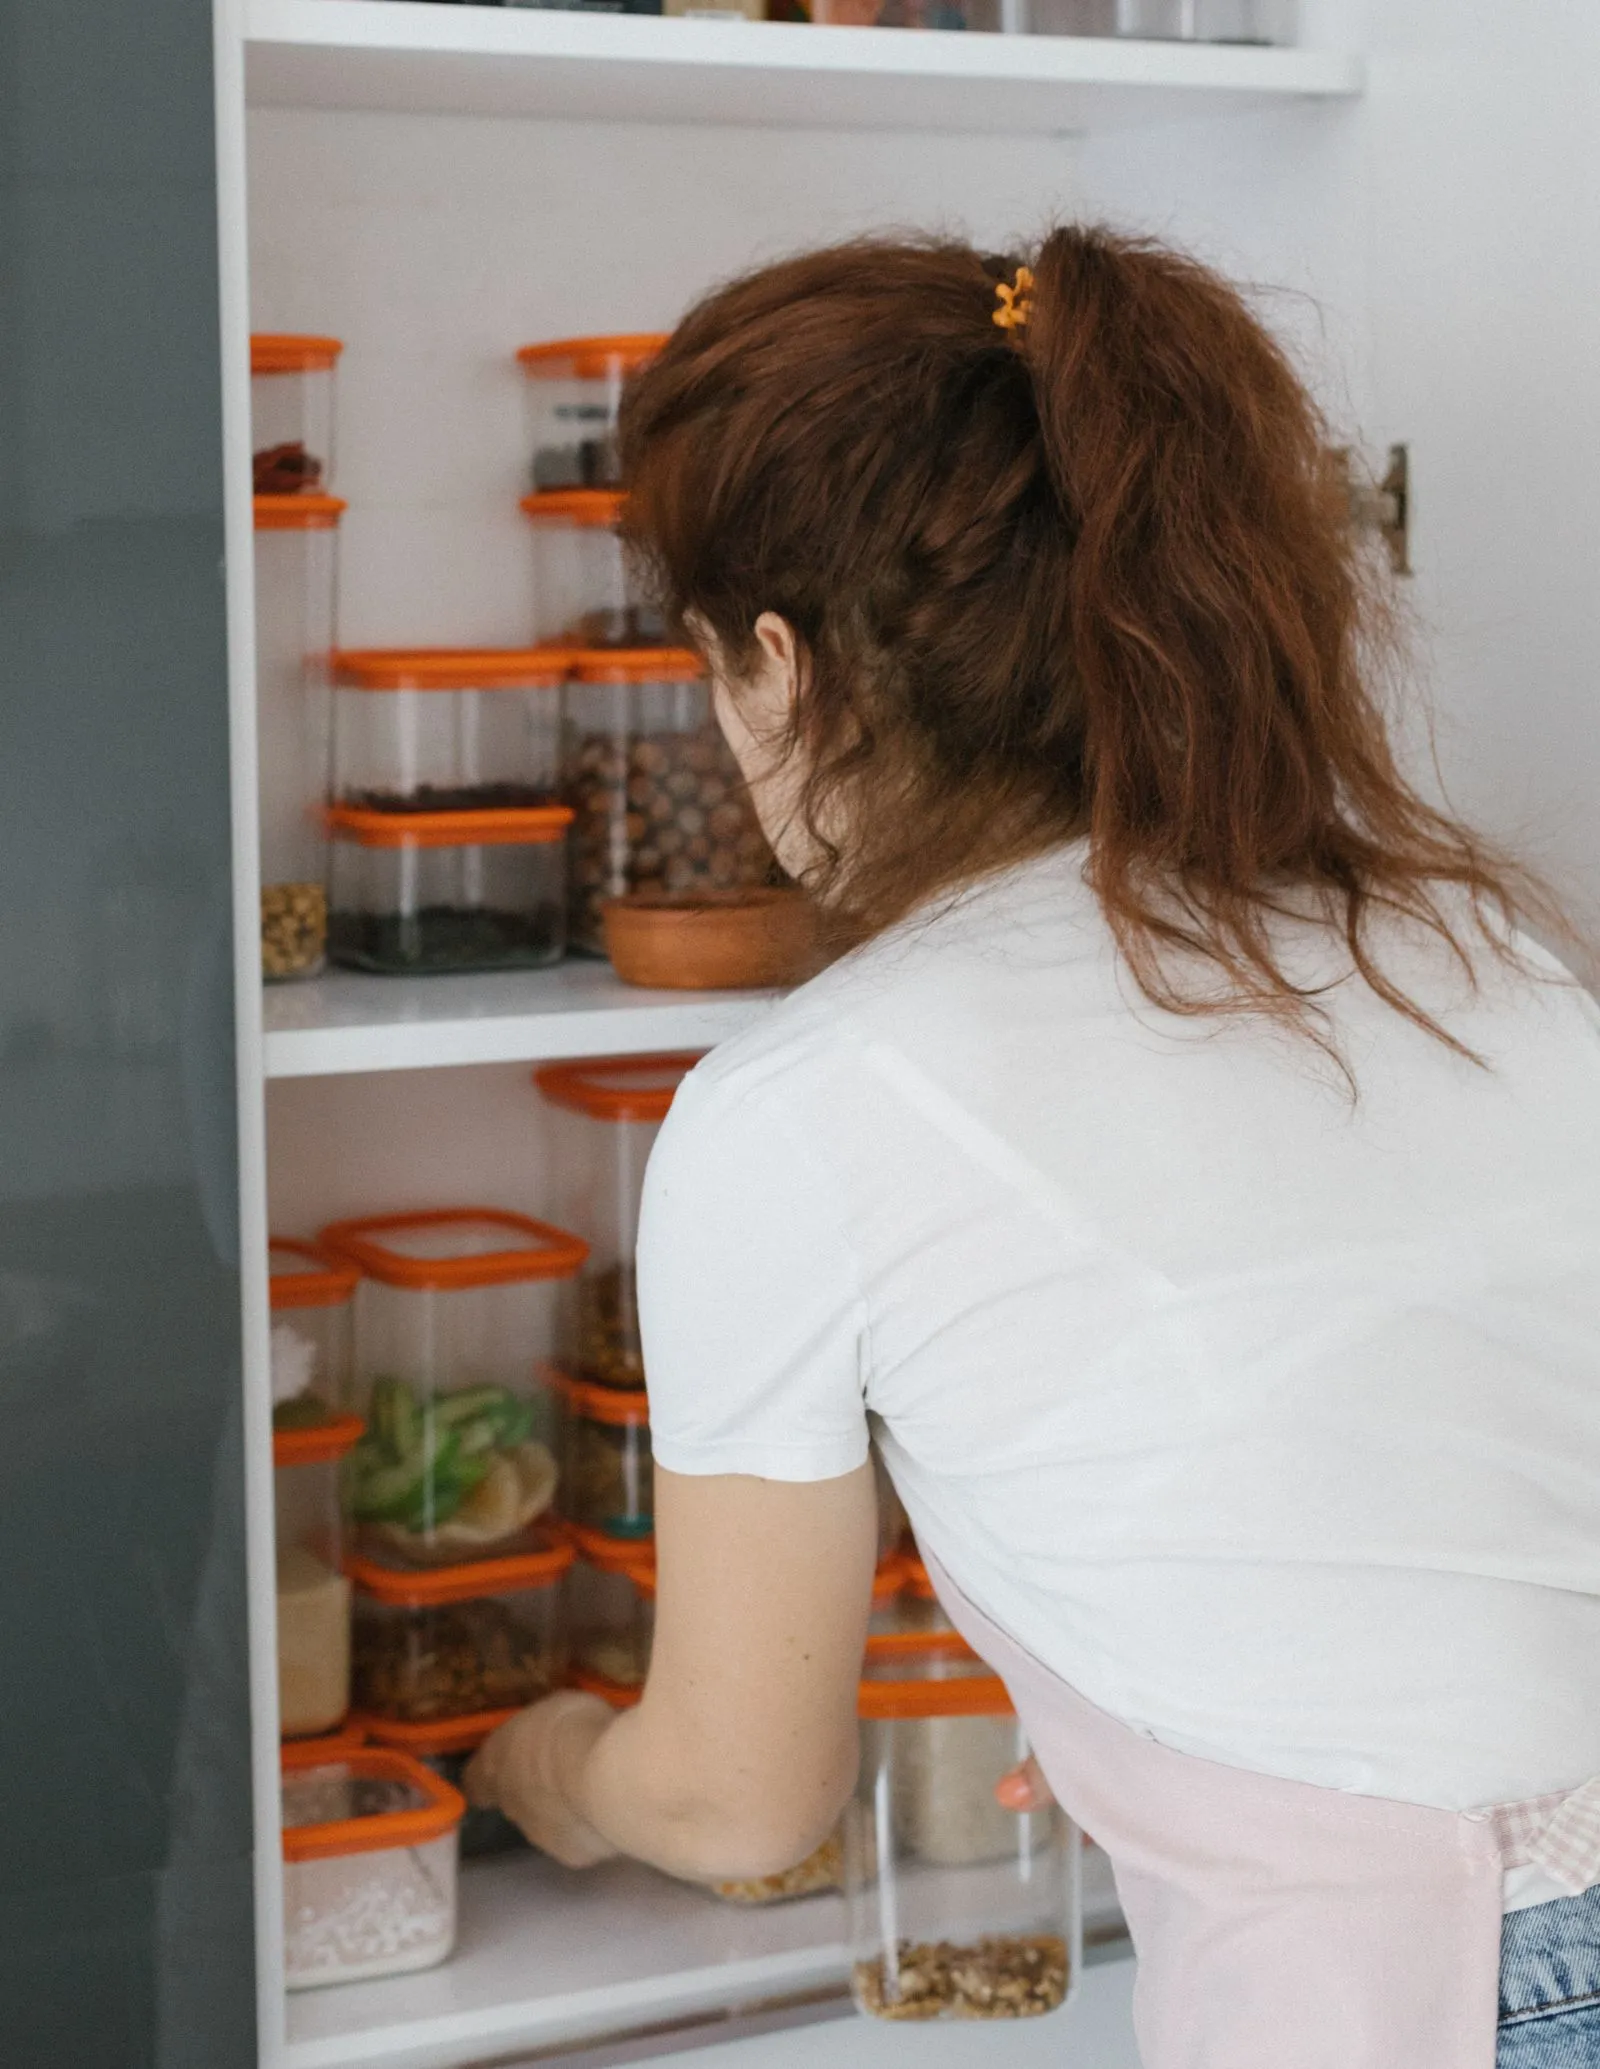
Can risers and stadium shelves close the sightline gap
A stepped riser, sometimes sold as a stadium or bleacher shelf, tilts the back rows up so you can see over the front row instead of through it. A three-tier metal riser runs about 15 to 25 dollars and measures 12 to 17 inches deep and 4 to 5 inches tall at the back step, which fits inside most 16- to 24-inch pantry shelves with room to spare.
Sizing matters more than it looks. Measure your shelf depth and subtract about 1 inch for clearance at the front edge, then check that number against the riser’s footprint — a riser that is 18 inches deep on a 17-inch shelf will not sit flush and will tip when loaded.
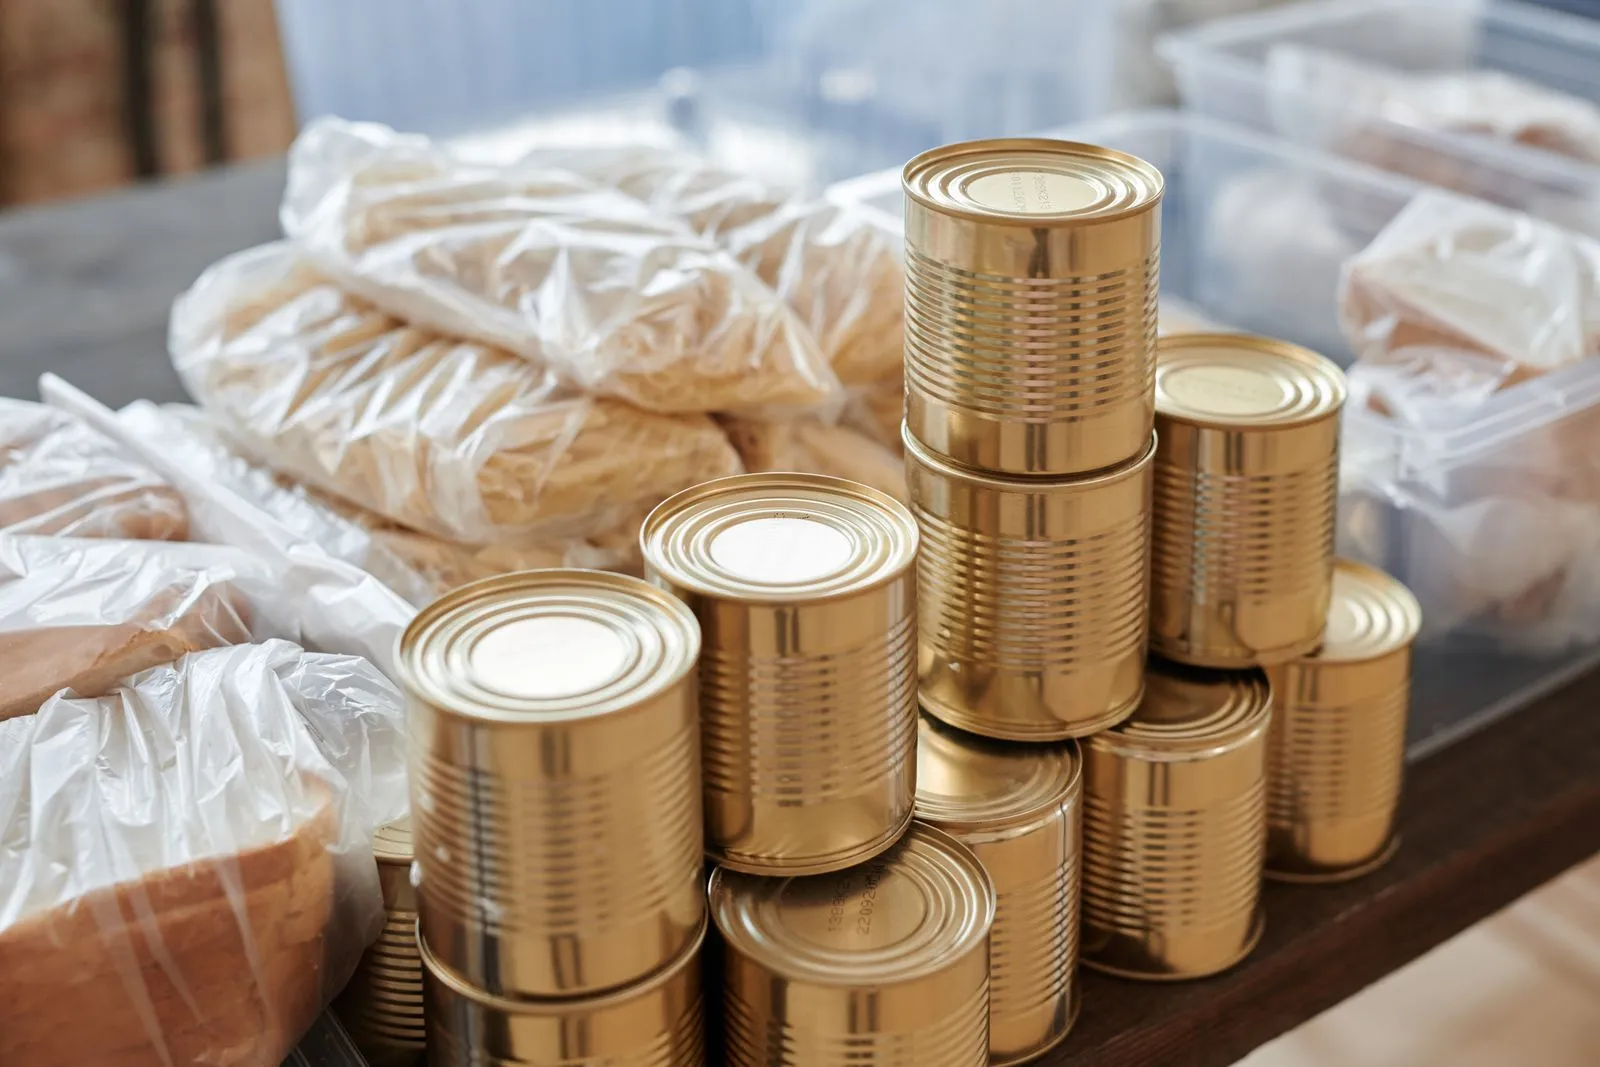
Risers work best for cans and jars, not boxes, since the stepped shelves are usually only 3 to 4 inches tall per tier. Standard soup and vegetable cans (about 4 inches tall) fit two tiers with headroom; a tall pasta sauce jar may only clear the bottom step. Group by can diameter on each tier so a 2.6-inch tuna can does not roll around loose next to a 3-inch vegetable can.
Pull-out bins turn a deep shelf into a drawer
For anything a riser cannot handle — bagged items, mismatched box sizes, backstock you want to grab in one motion — a pull-out bin brings the back of the shelf to you instead of asking you to reach into it.
Measure the shelf’s usable depth and subtract 1 inch so the bin has clearance to slide without scraping the back wall. A shelf depth of 20 inches gives you a bin footprint of about 19 inches; most stackable plastic bins with cutout handles come in 12-, 14-, and 17-inch depths, so round down rather than up. A single long bin runs about 8 to 15 dollars; a set of two or three sized for one shelf runs 20 to 40 dollars.
Load bins by category, not by whatever fits: one for baking mixes, one for snack bars, one for canned backstock. Two-thirds full is the practical limit — a bin packed to the rim will not slide, and you end up lifting it out entirely, which defeats the point.
Lazy susans solve corners and anything with a rounded base
A turntable earns its keep in two spots: blind corners where a straight-line reach is impossible, and clusters of similarly shaped bottles — oils, vinegars, sauces — that get lost standing in a row.
Standard diameters are 10, 12, and 16 inches, running roughly 8 to 12 dollars for a single-tier 10- or 12-inch turntable and 15 to 25 dollars for a two-tier 12- or 16-inch version. Measure the shallowest dimension of the shelf or corner space and subtract half an inch of clearance on each side; a 16-inch susan needs at least 17 inches of shelf depth and width to spin freely.
Single-tier turntables suit tall bottles — oils, vinegars, syrups — where headroom matters more than splitting the load. Two-tier versions suit shorter, more numerous items like spice jars and small sauce bottles, effectively doubling storage in the same footprint. Spin it fully loaded before you walk away to confirm nothing catches on a neighboring shelf item.
Backstock needs a first-in, first-out habit
Buying in bulk only saves money if you use what you bought before it expires. The fix is a habit, not a product: when you restock, the new can goes behind the existing one, never in front of it.
Assign the back third of the shelf to backstock only, and treat it as a trigger, not a hiding spot. When the front row of a category runs down to the last item or two, that is your signal to add it to the shopping list, not to wait until the shelf is empty. This one habit prevents the most common deep-shelf failure: duplicate purchases sitting next to expired ones because nobody could see past row one.
Label the shelf edge, not just the bins
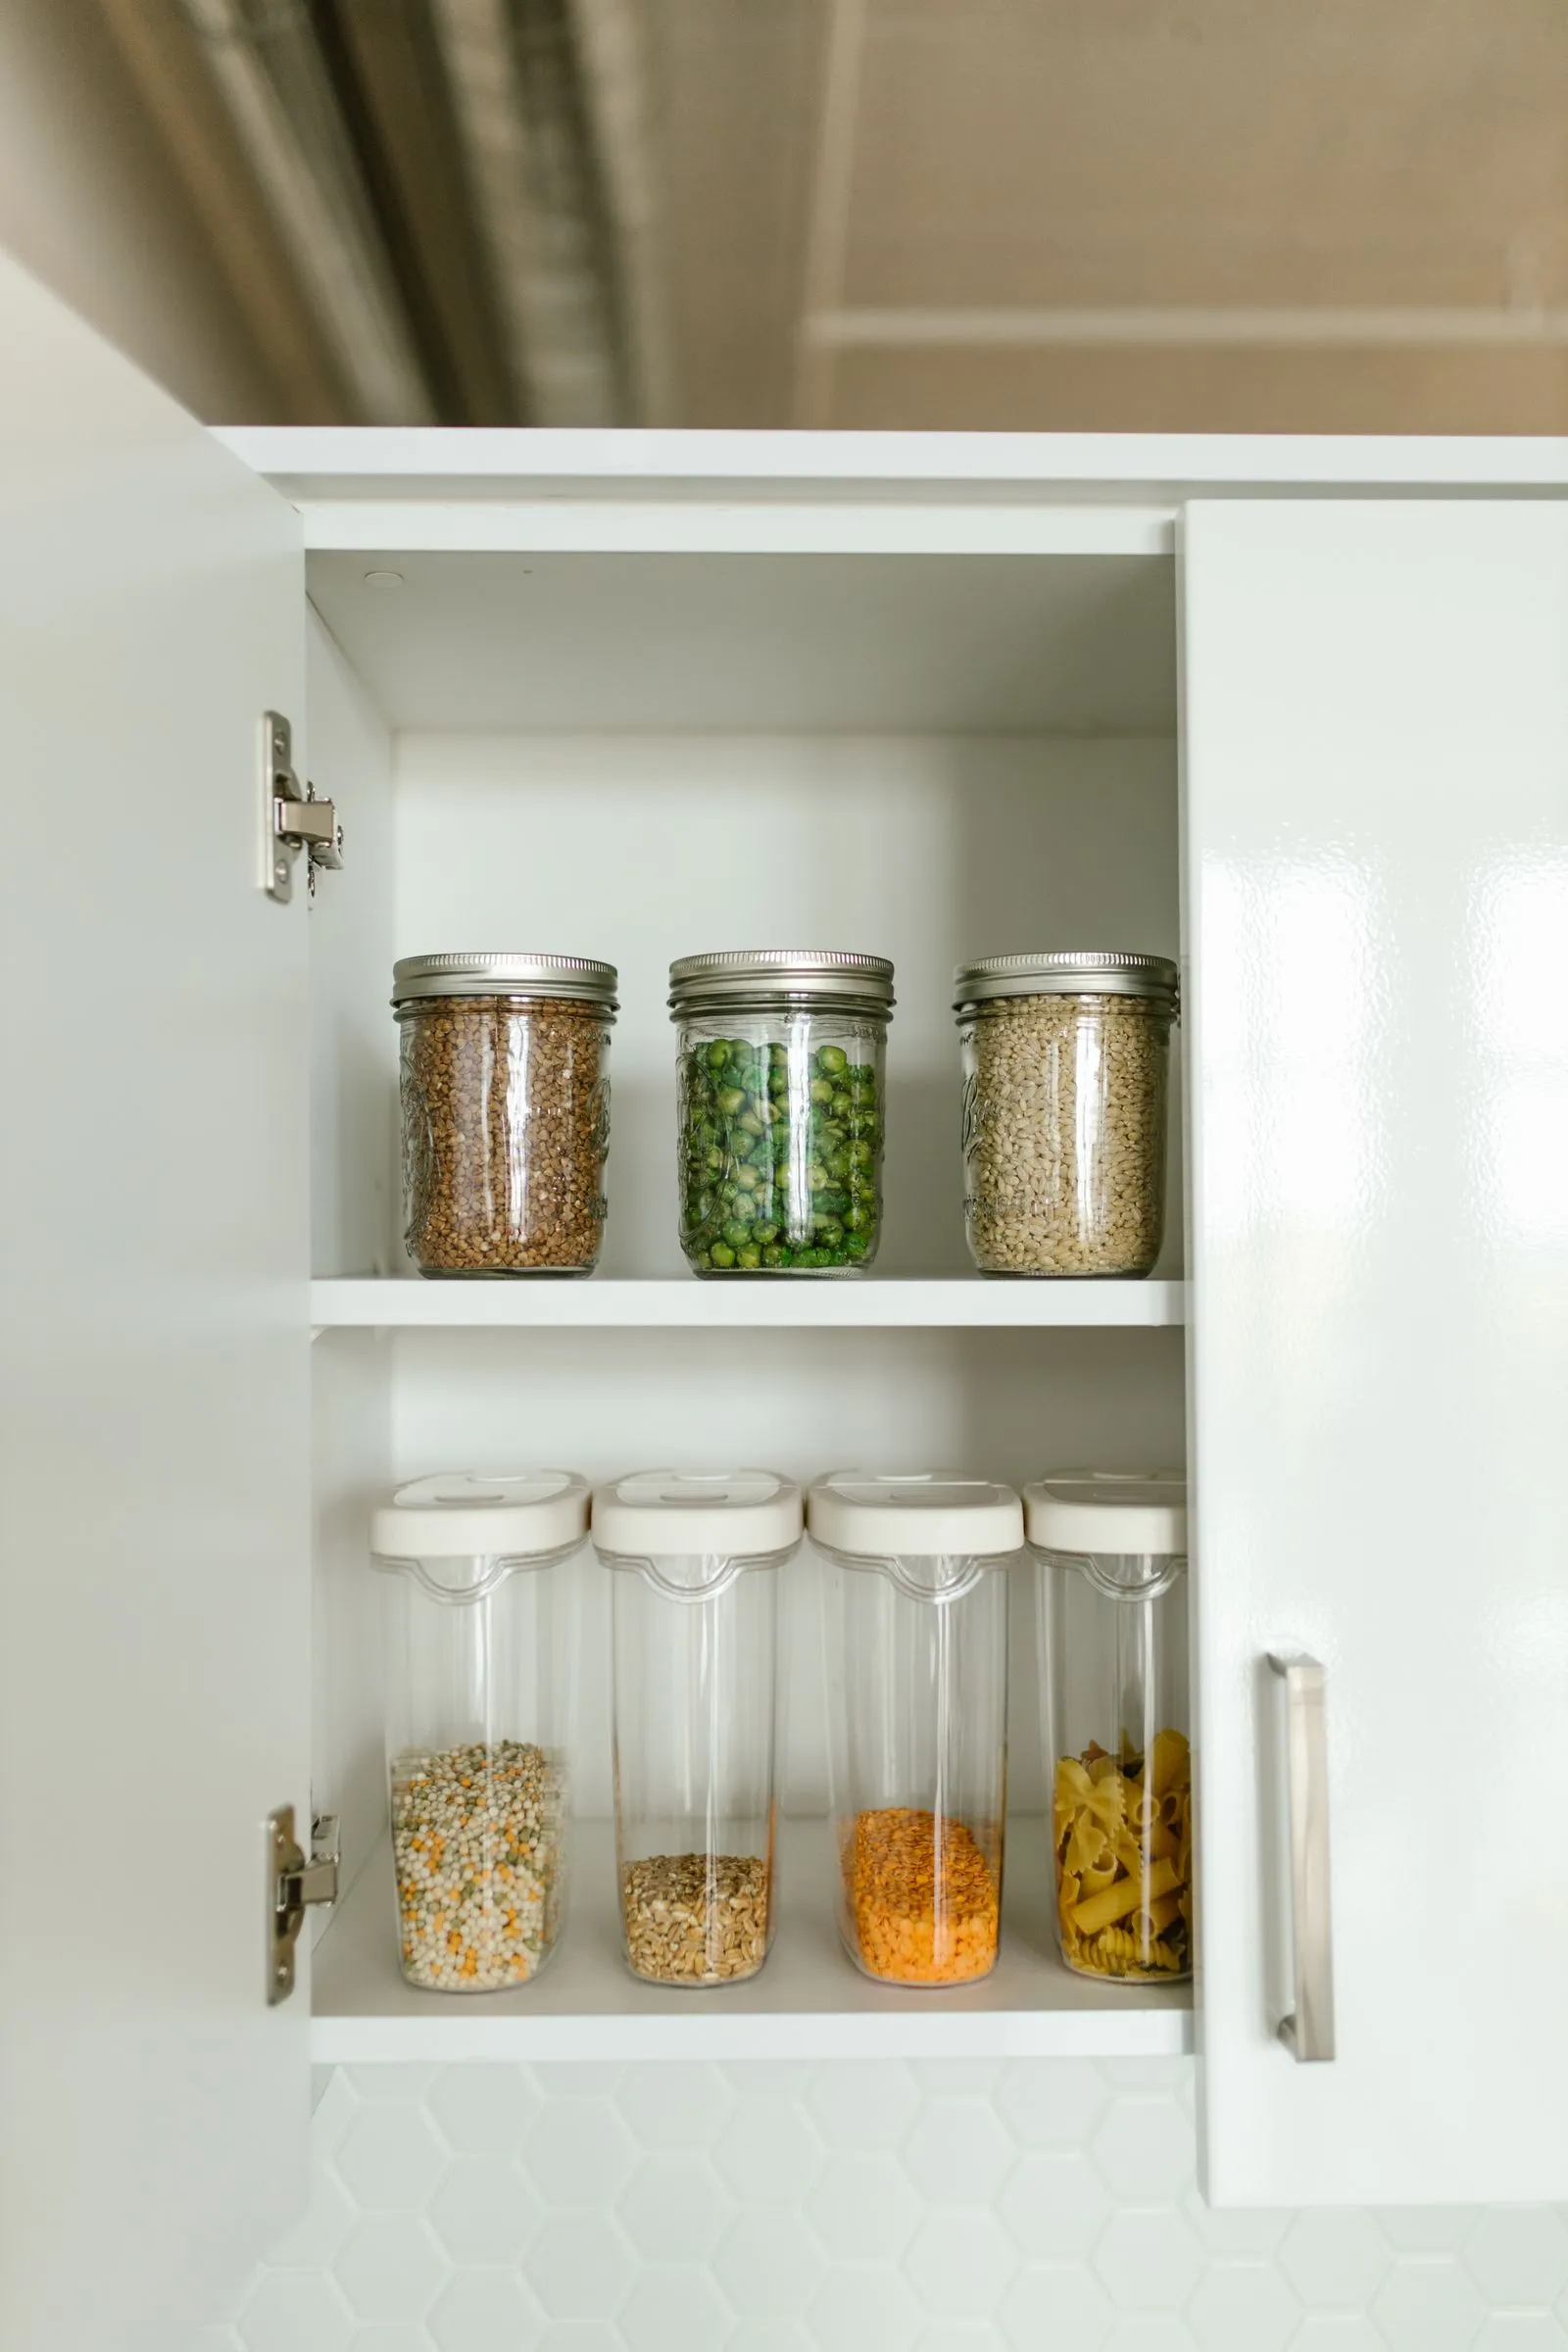
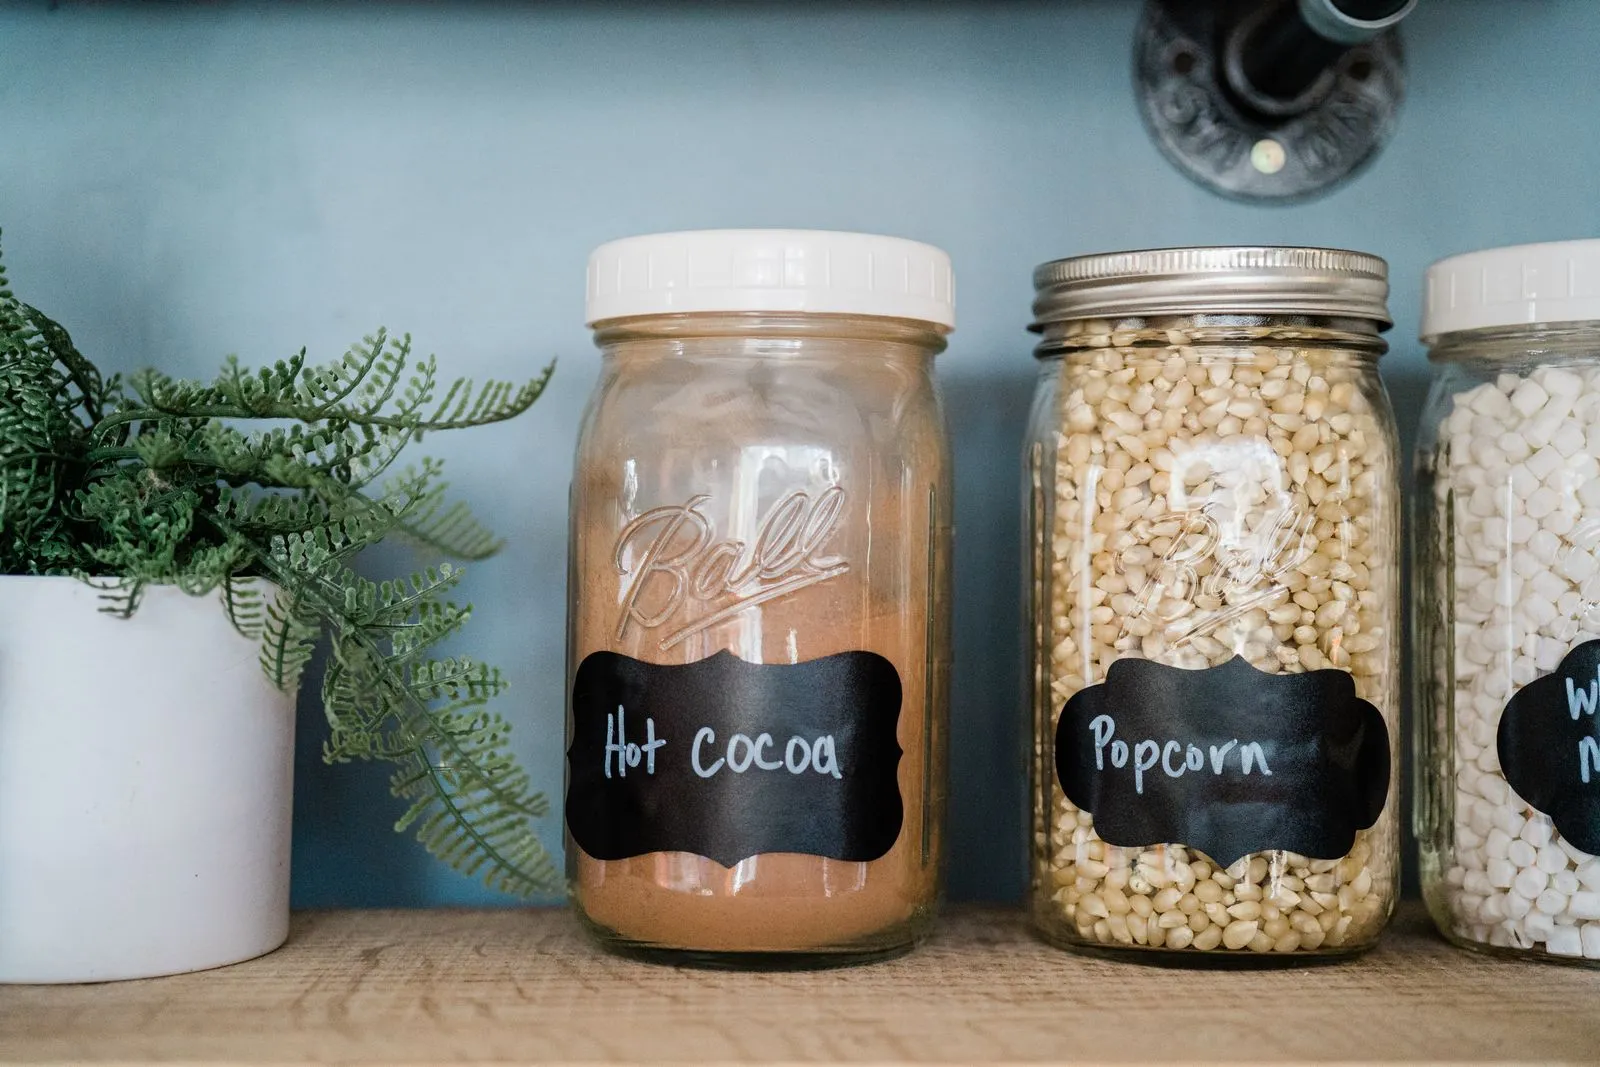
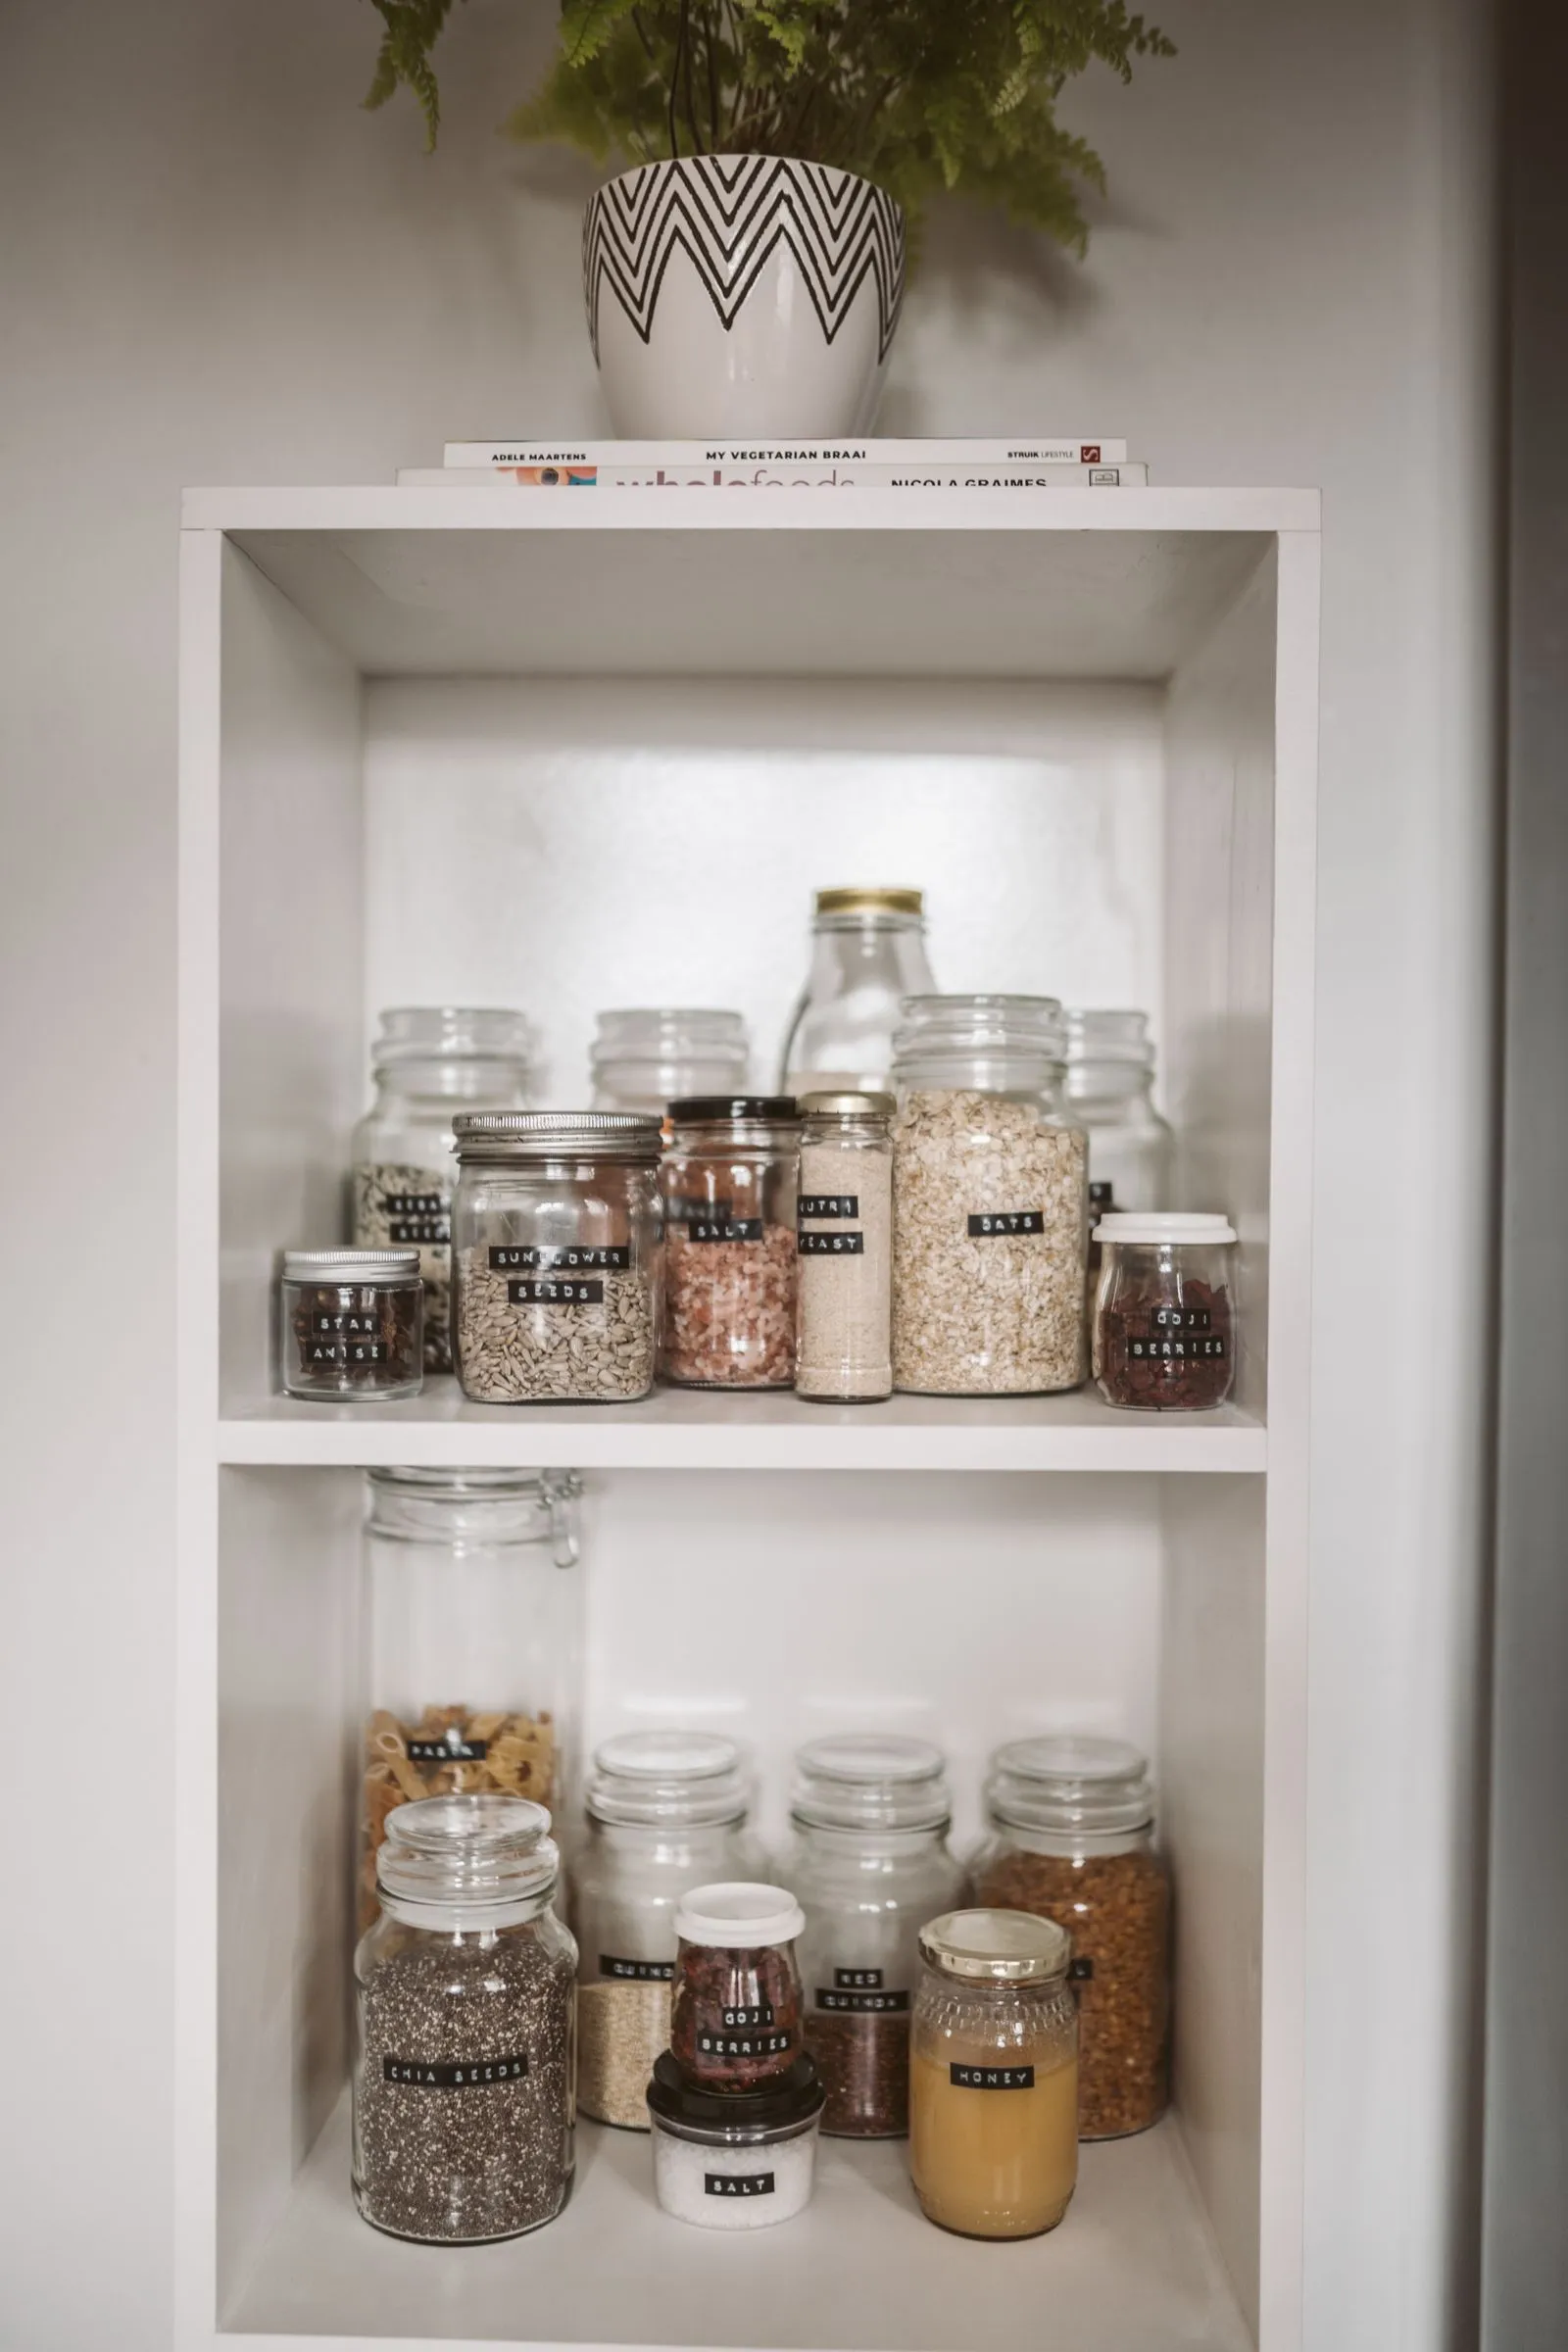
Labeling the bins helps you find things once they are out. Labeling the shelf edge helps everyone in the house put things back in the right place, which is what actually keeps a deep shelf organized past the first month.
A strip of painter’s tape and a marker costs nothing; a label maker runs about 15 to 20 dollars and holds up better in a humid kitchen. Label at the zone level — “canned goods,” “baking,” “snacks” — rather than per item, so a different brand or size does not require a new label every week. Put the label on the shelf edge or riser step, at eye level for whoever unpacks the groceries.
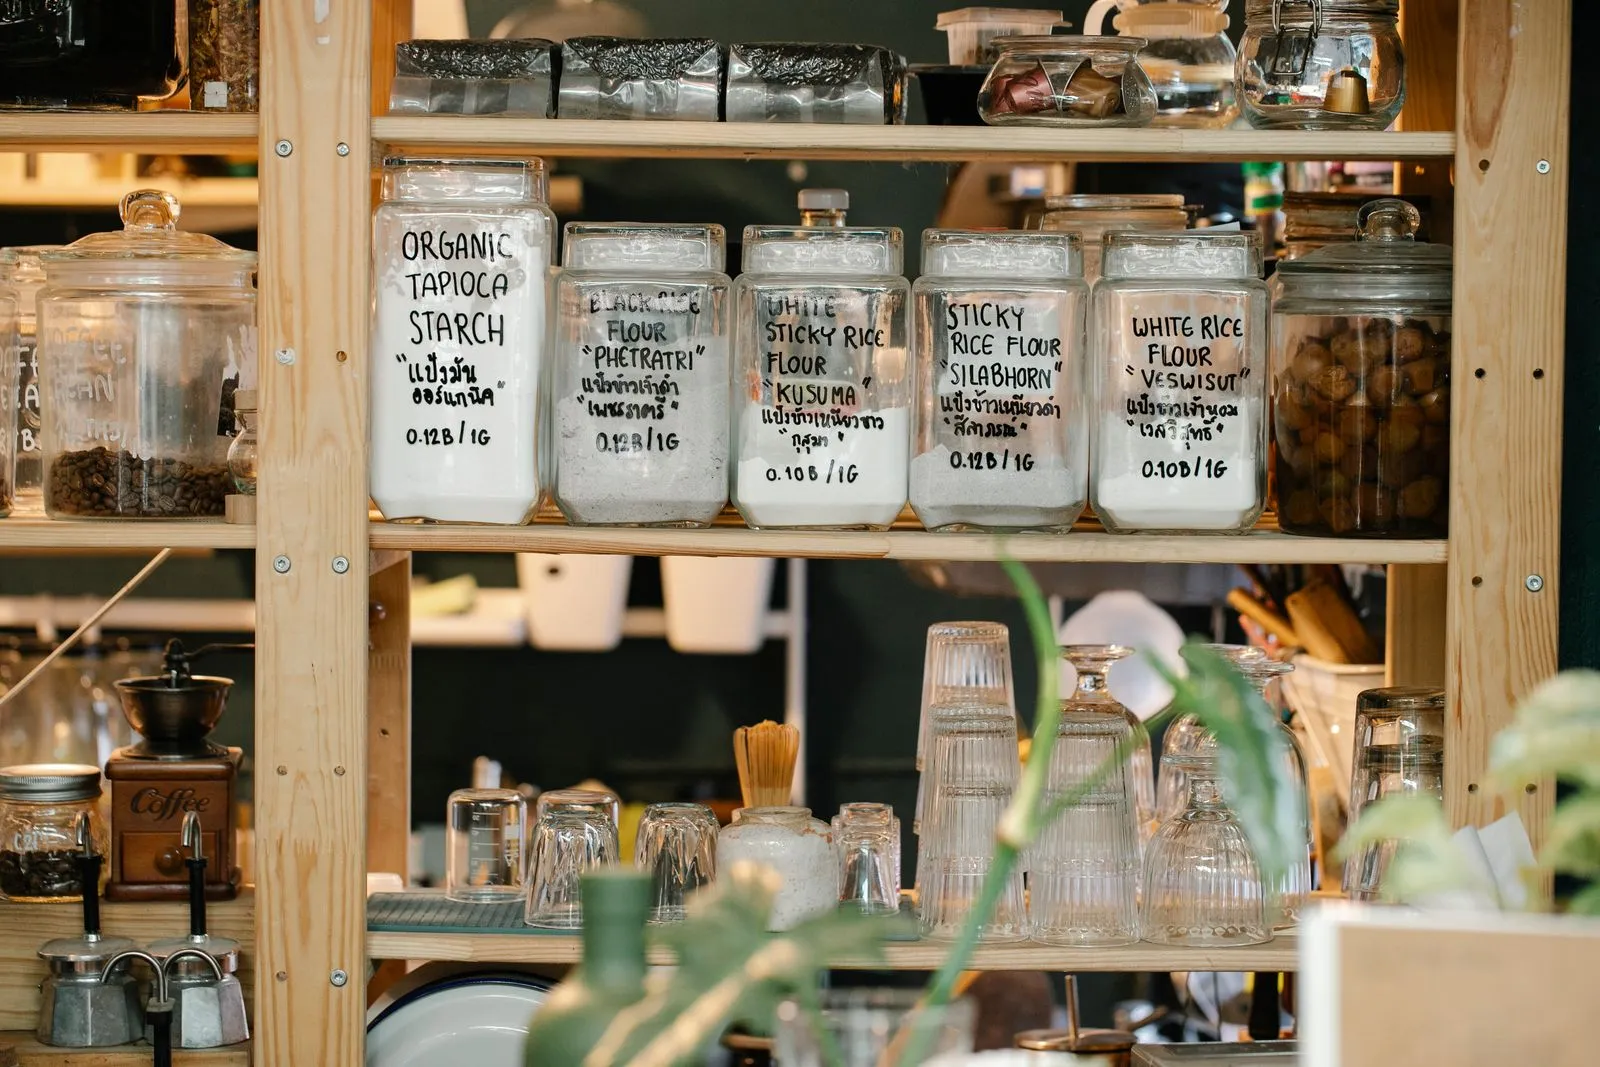
A shelf-by-shelf plan
Tackle one shelf per session rather than the whole pantry at once. Empty it, cull it, wipe it down, and pick the fix it needs: a riser for cans, a pull-out bin for bags and backstock, a lazy susan for a corner. Most pantries need a mix of two or three of these tools, not one for the whole space.
Budget 40 to 90 dollars for a typical deep-shelf pantry — one riser, two pull-out bins, and one lazy susan covers most layouts. Live with it for two weeks before adding more. The items that still get lost in the back tell you which shelf needs a second tool, and the ones that never move tell you what belongs in backstock instead of the front row.
If the shelves are sorted but the pantry still feels tight, the back of the door is the last unused surface. The rack sizing and mounting clearances in our guide to pantry door organization add a full shelf of storage without touching the ones you just zoned.