Canned Goods Organization Ideas for a First-In, First-Out Pantry
Every pantry clean-out turns up the same thing. Pushed against the back wall of the shelf, behind two rows of newer purchases, sits a can of something with a best-by date that expired a year or two ago. Nobody put it there on purpose. It just lost the race every time a new grocery haul came in, because the easiest place to set a full hand of cans is right at the front, on top of whatever was already there.
That is not a discipline problem. It is a geometry problem. A flat shelf holding cans three or four deep hides everything behind the front row completely, so the oldest can in the house is also the one nobody can see. Fix the geometry and the rotation takes care of itself, because the can you’re supposed to use first becomes the can that’s easiest to reach.
Pull everything and sort by date before you organize anything
Before any rack or bin goes in, empty the shelf completely and set every can out where the label is visible. This is the only point in the whole system where you actually read every date, so do it once and do it thoroughly.
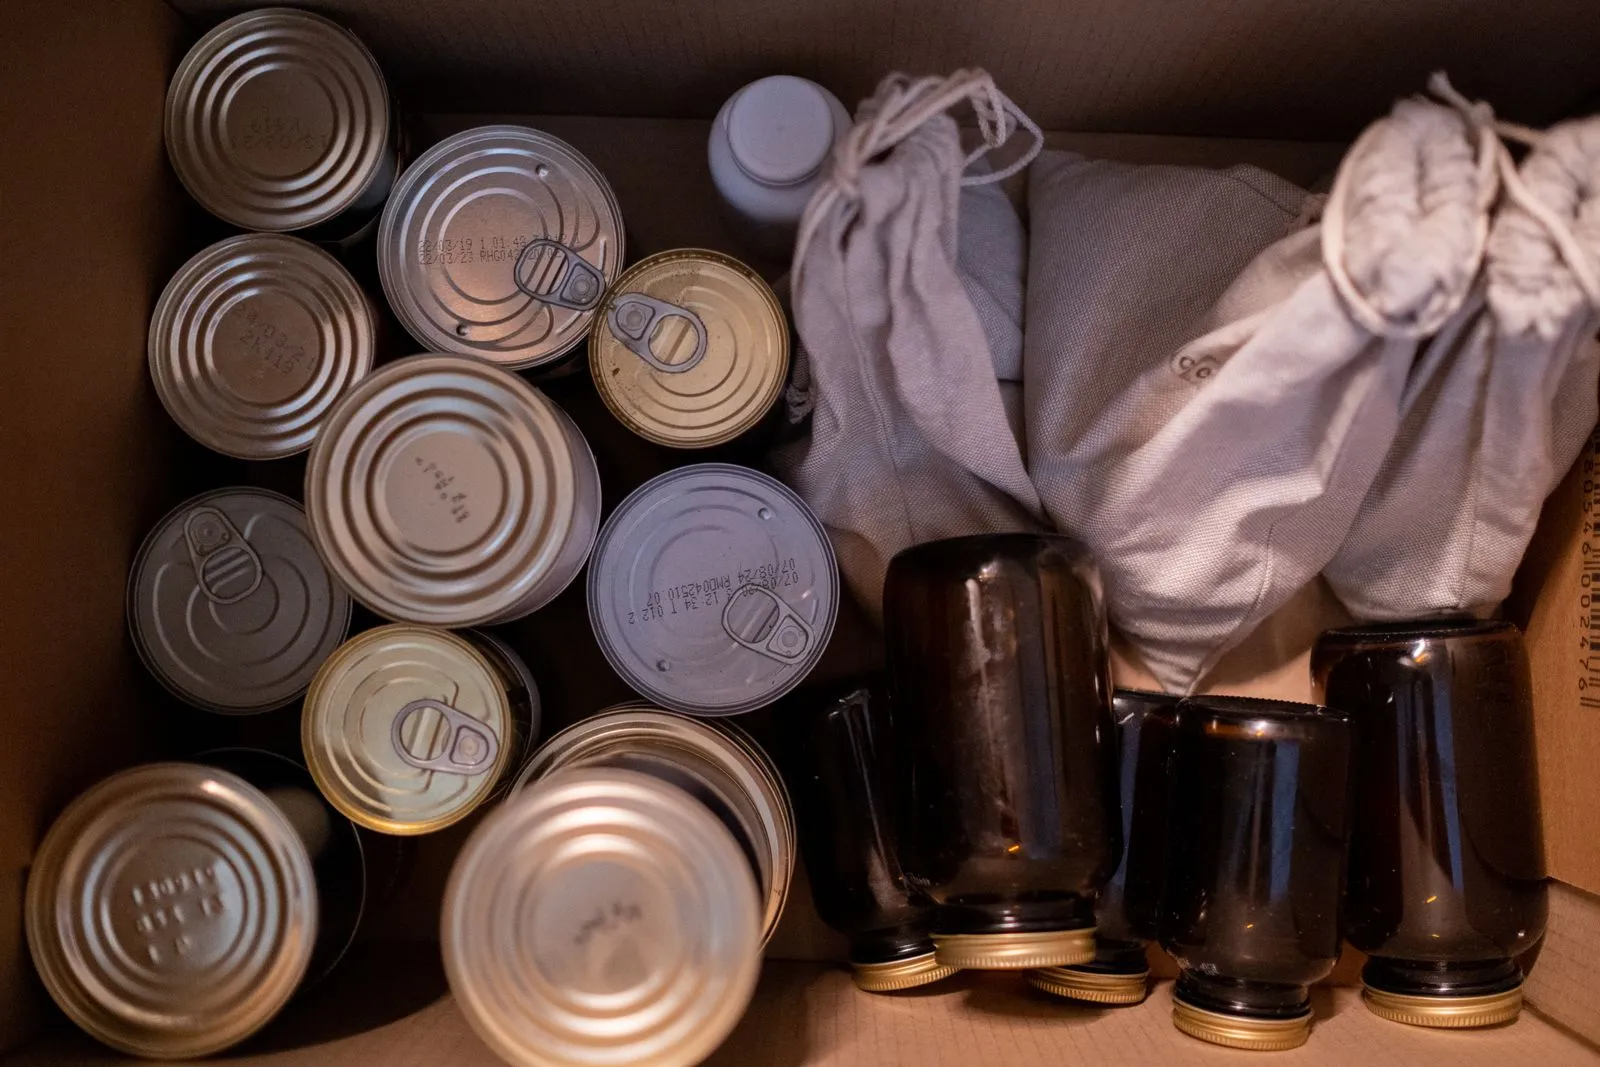
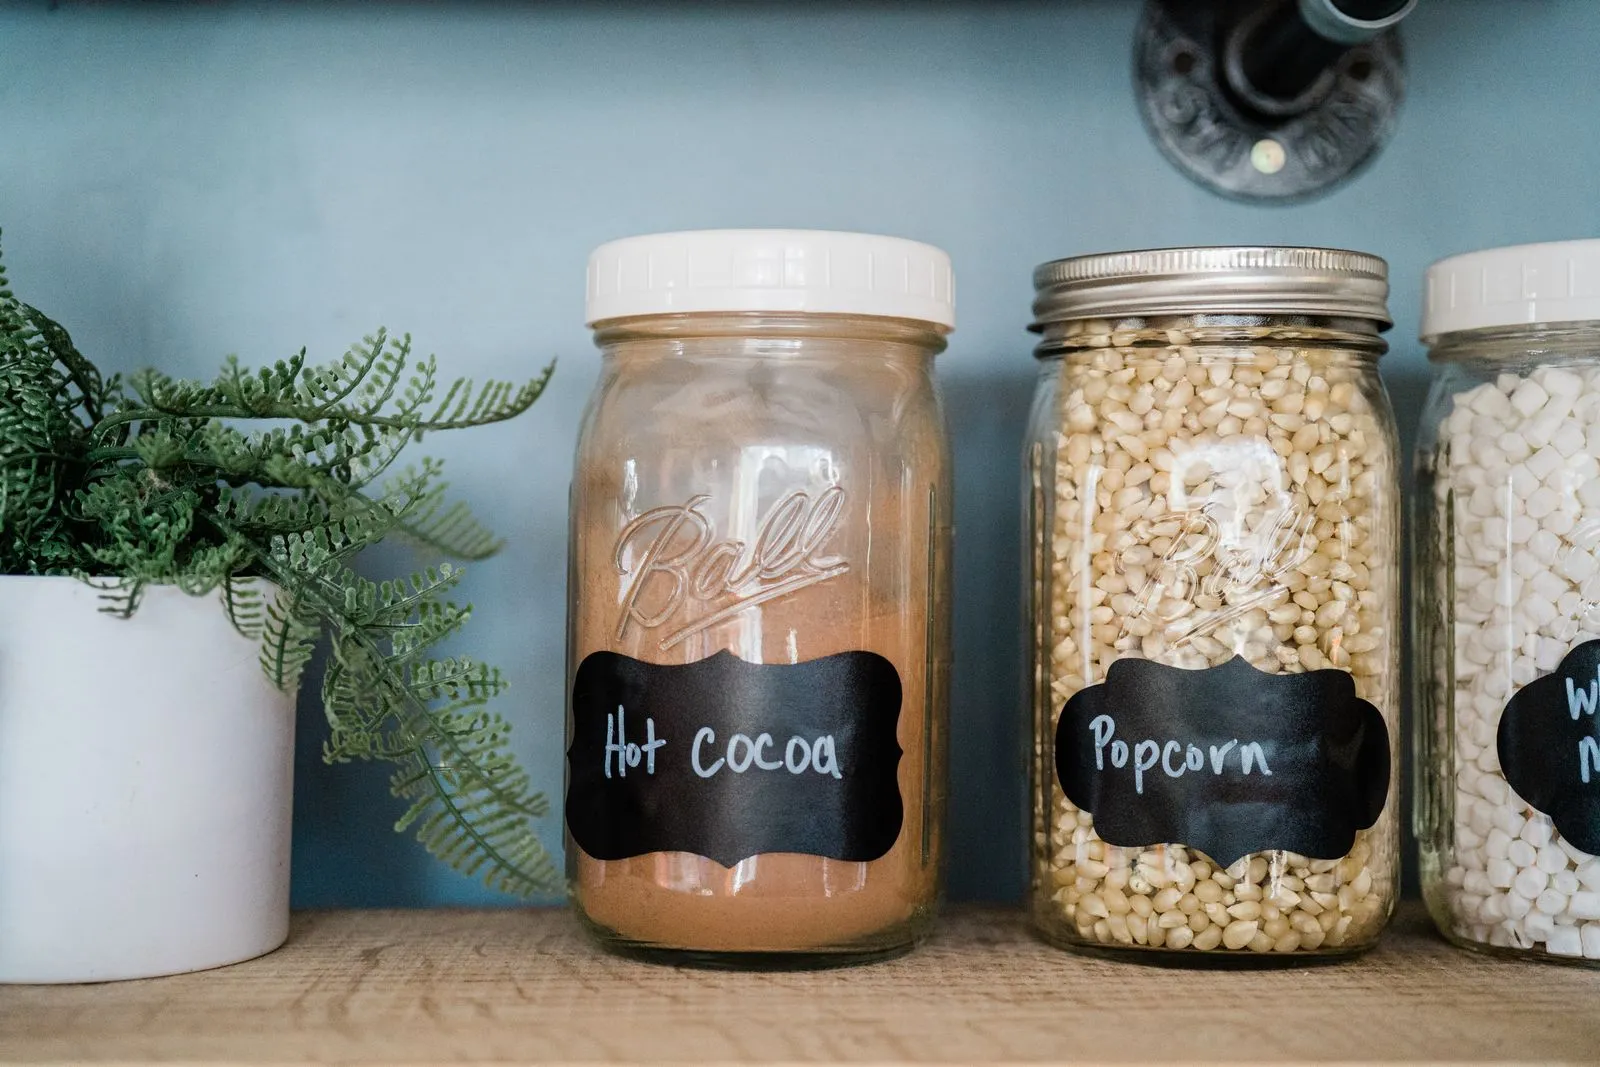
Pulling everything off the shelf at once, the way it’s staged here, is what makes hidden dates and forgotten jars visible in the first place.
Sort into three piles. First, anything within 3 months of its best-by date goes into a “use this week” pile that heads to the counter, not back into the pantry. Second, check every can for damage: a can that bulges on the top or bottom, one with rust breaking through the seam, or one that’s dented sharply enough to have a crease along the edge should be tossed rather than reshelved, since a compromised seal is a real risk and not worth the gamble. Third, everything else gets grouped by type: vegetables together, beans together, soups together, tomatoes together.
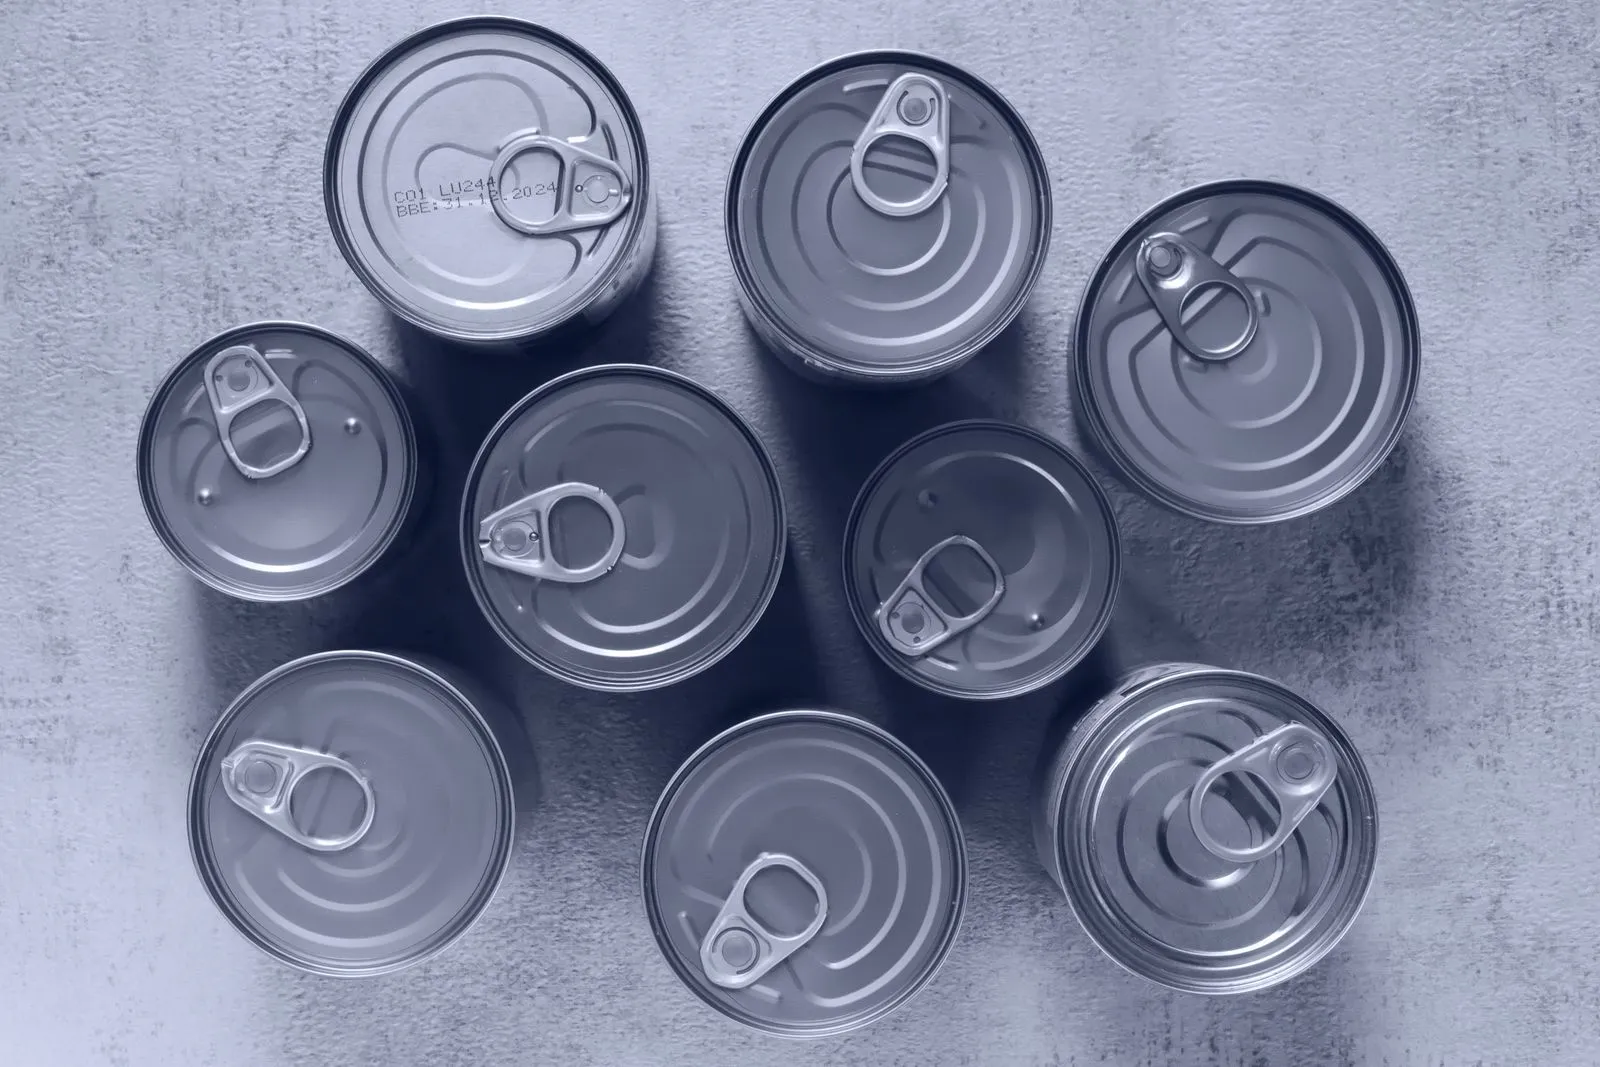
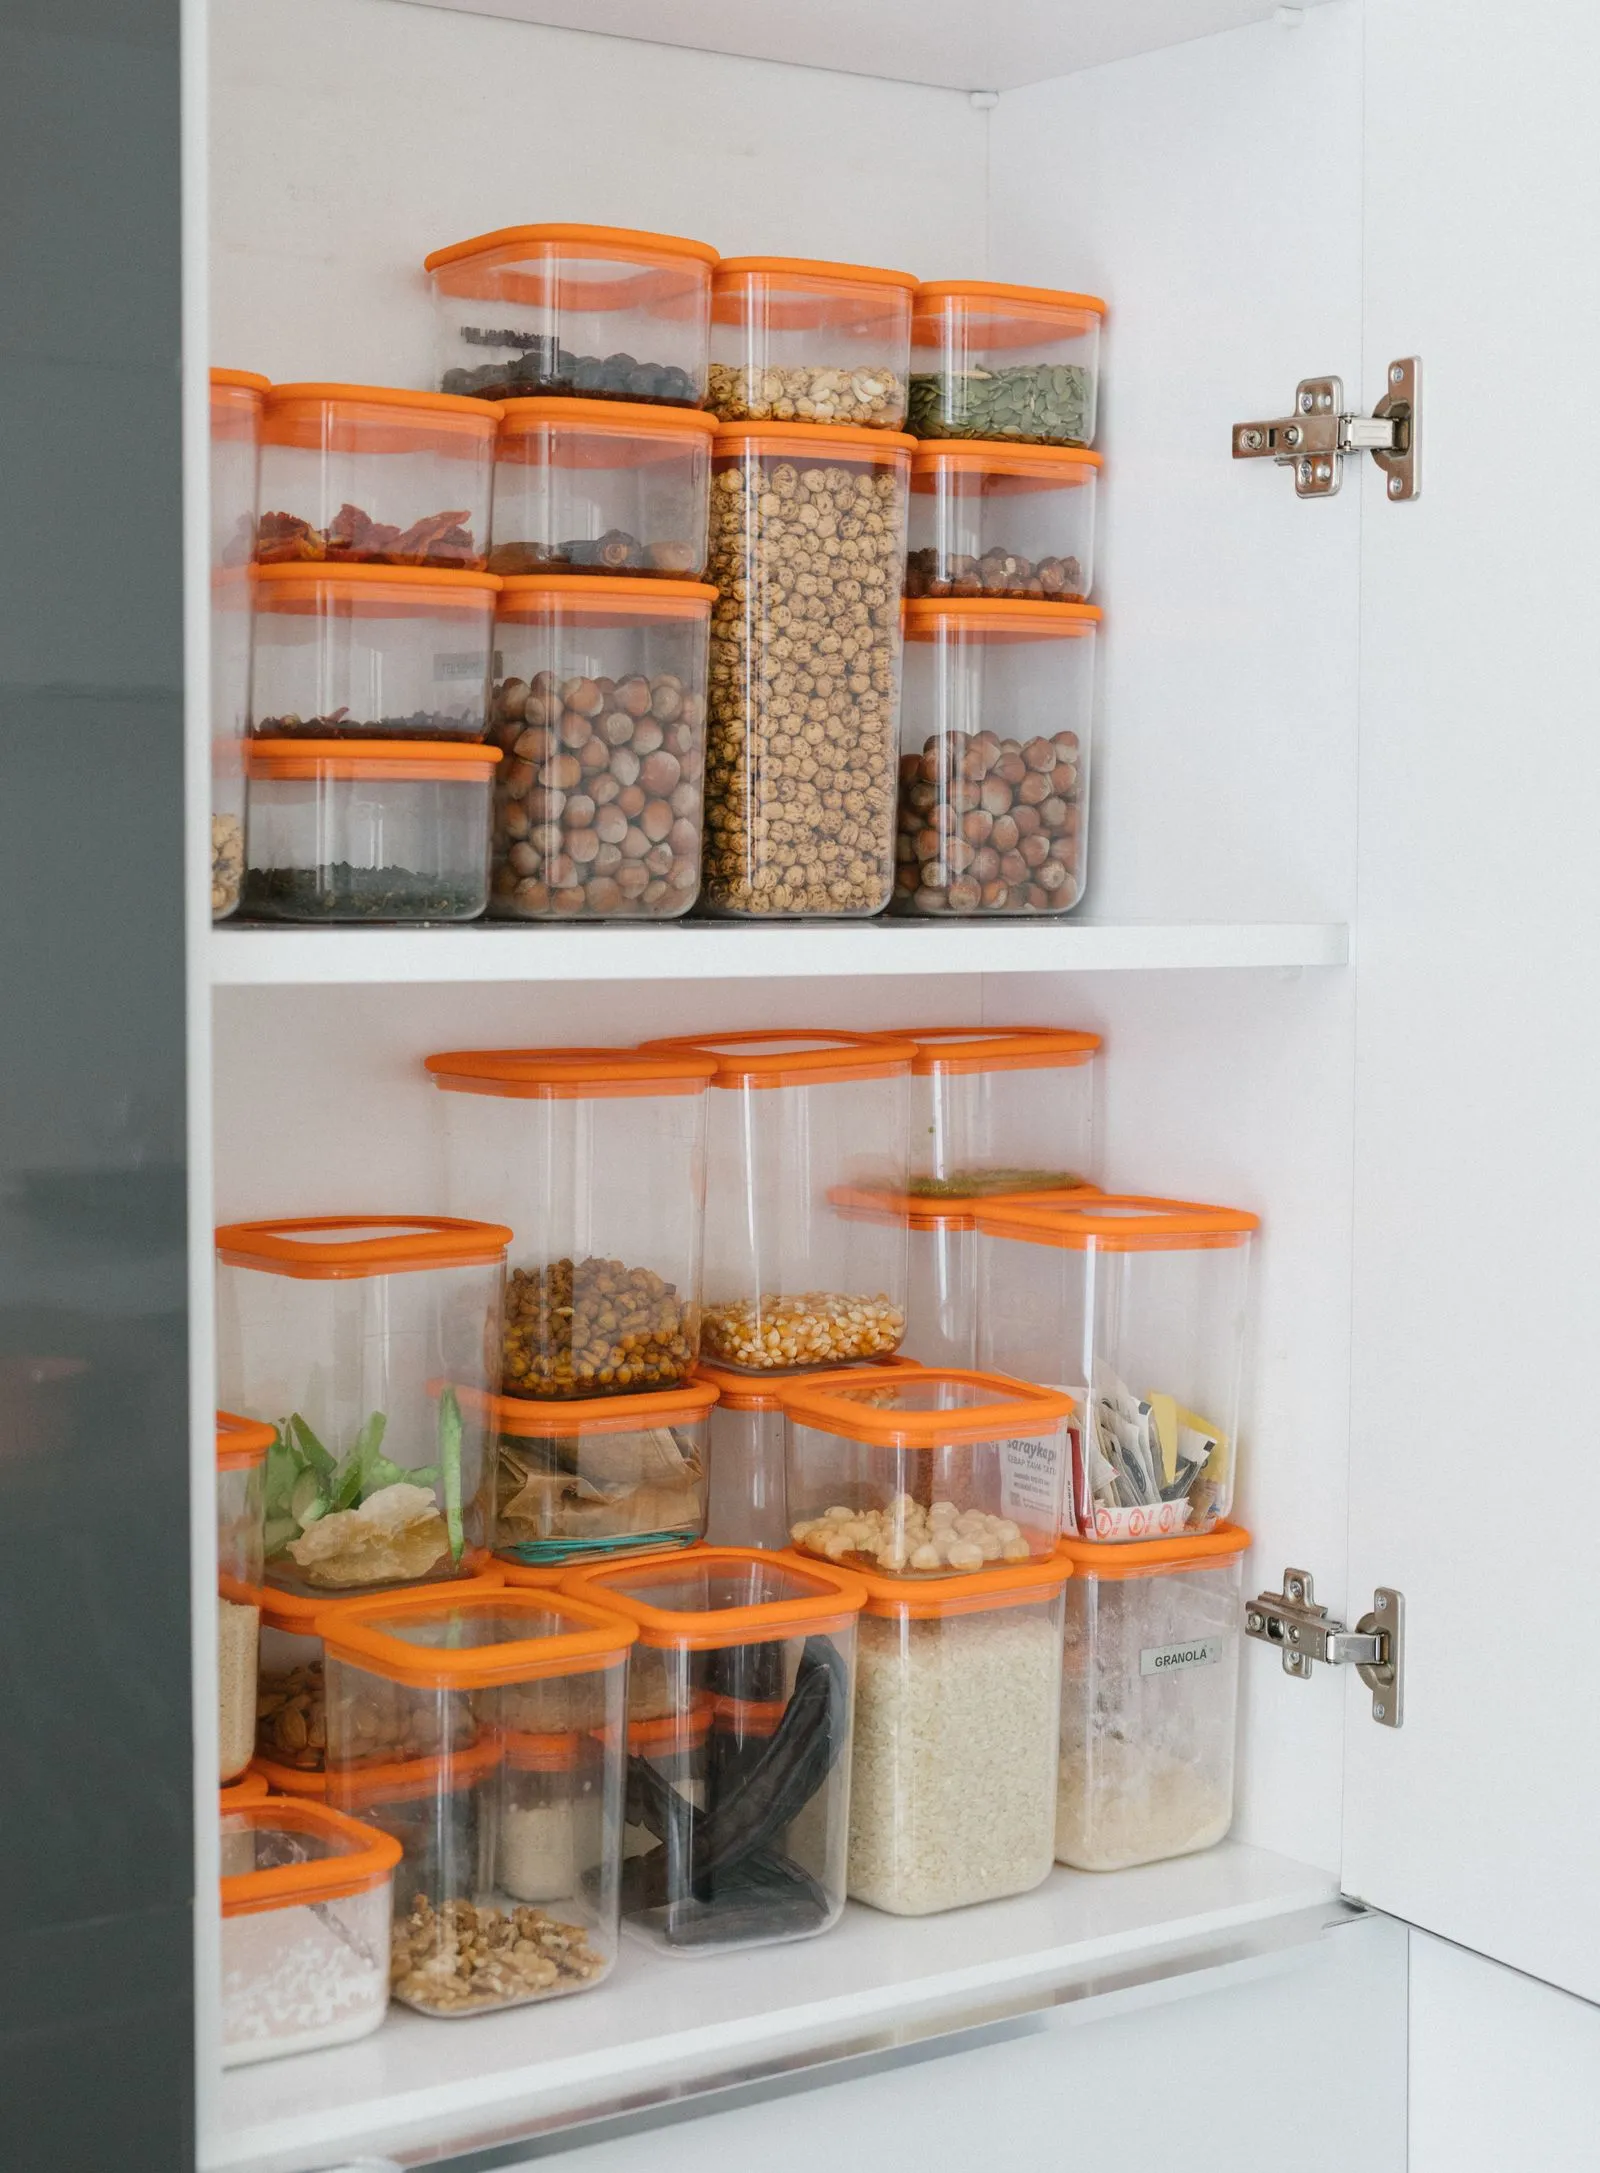
Once cans are grouped like this, by type instead of by grocery trip, it’s easy to see how many of each you actually have before any of them go back onto a rack.
A typical family pantry holding 40 to 60 cans usually turns up 3 or 4 that are expired and 1 or 2 that show damage once they’re all out in the light at once. You will not catch those sitting three cans deep on a shelf. You only catch them laid out flat.
Build tiered rows so nothing hides behind the front can
This is the single change that fixes the geometry. A tiered can rack, sometimes sold as a can dispenser or a stepped riser, holds each row of cans at a slightly higher level than the row in front of it, so a shelf that used to hide three rows deep now shows all three at a glance.
Most stepped can racks are built for a shelf depth of 12 to 16 inches and hold 12 to 30 standard cans depending on size, with rows angled at roughly a 10-degree rise from front to back. Standard soup and vegetable cans run about 3 inches across and 4 inches tall, and a typical rack fits three cans per row across a 10-inch-wide unit. If your shelf runs wider than that, buy two racks side by side rather than one oversized one, since a single wide rack tends to let cans drift sideways and jam against each other.
Put one category per rack: tomatoes on one, beans on another, soups on a third. Mixing categories on a single rack defeats the purpose, because you’ll still have to hunt across three types of can to find the chicken noodle soup instead of just grabbing the front one. If your shelf is deep enough for the kind of geometry we cover in our guide to deep pantry shelf organization, a tiered rack is exactly the fix that layout calls for.
Load new cans in from the back, every time
The rack only works if you load it correctly, and this is the step people skip because it takes 10 extra seconds per grocery trip. When new cans come in, they go in the back of the row, pushing the older stock forward and down toward the front. The can sitting at the front, lowest position, is always the next one you grab to cook with.
This is the entire first-in, first-out system in one sentence: new stock goes in the back, you always cook from the front. It works because the tiered rack makes the back of the row physically higher and further away, so loading from the back is actually the path of least resistance rather than something you have to remember to do.
Put a sticky note on the inside of the cabinet door for the first month if the habit doesn’t stick right away. After that it becomes automatic, the same way you already load milk to the back of the fridge without thinking about it.
Group and label by category, not by grocery trip
Once cans are sorted into rows, keep the categories consistent every time you restock. A shelf that has beans in three different spots because that’s where they happened to fit on three different shopping days will slide back into chaos within a month.
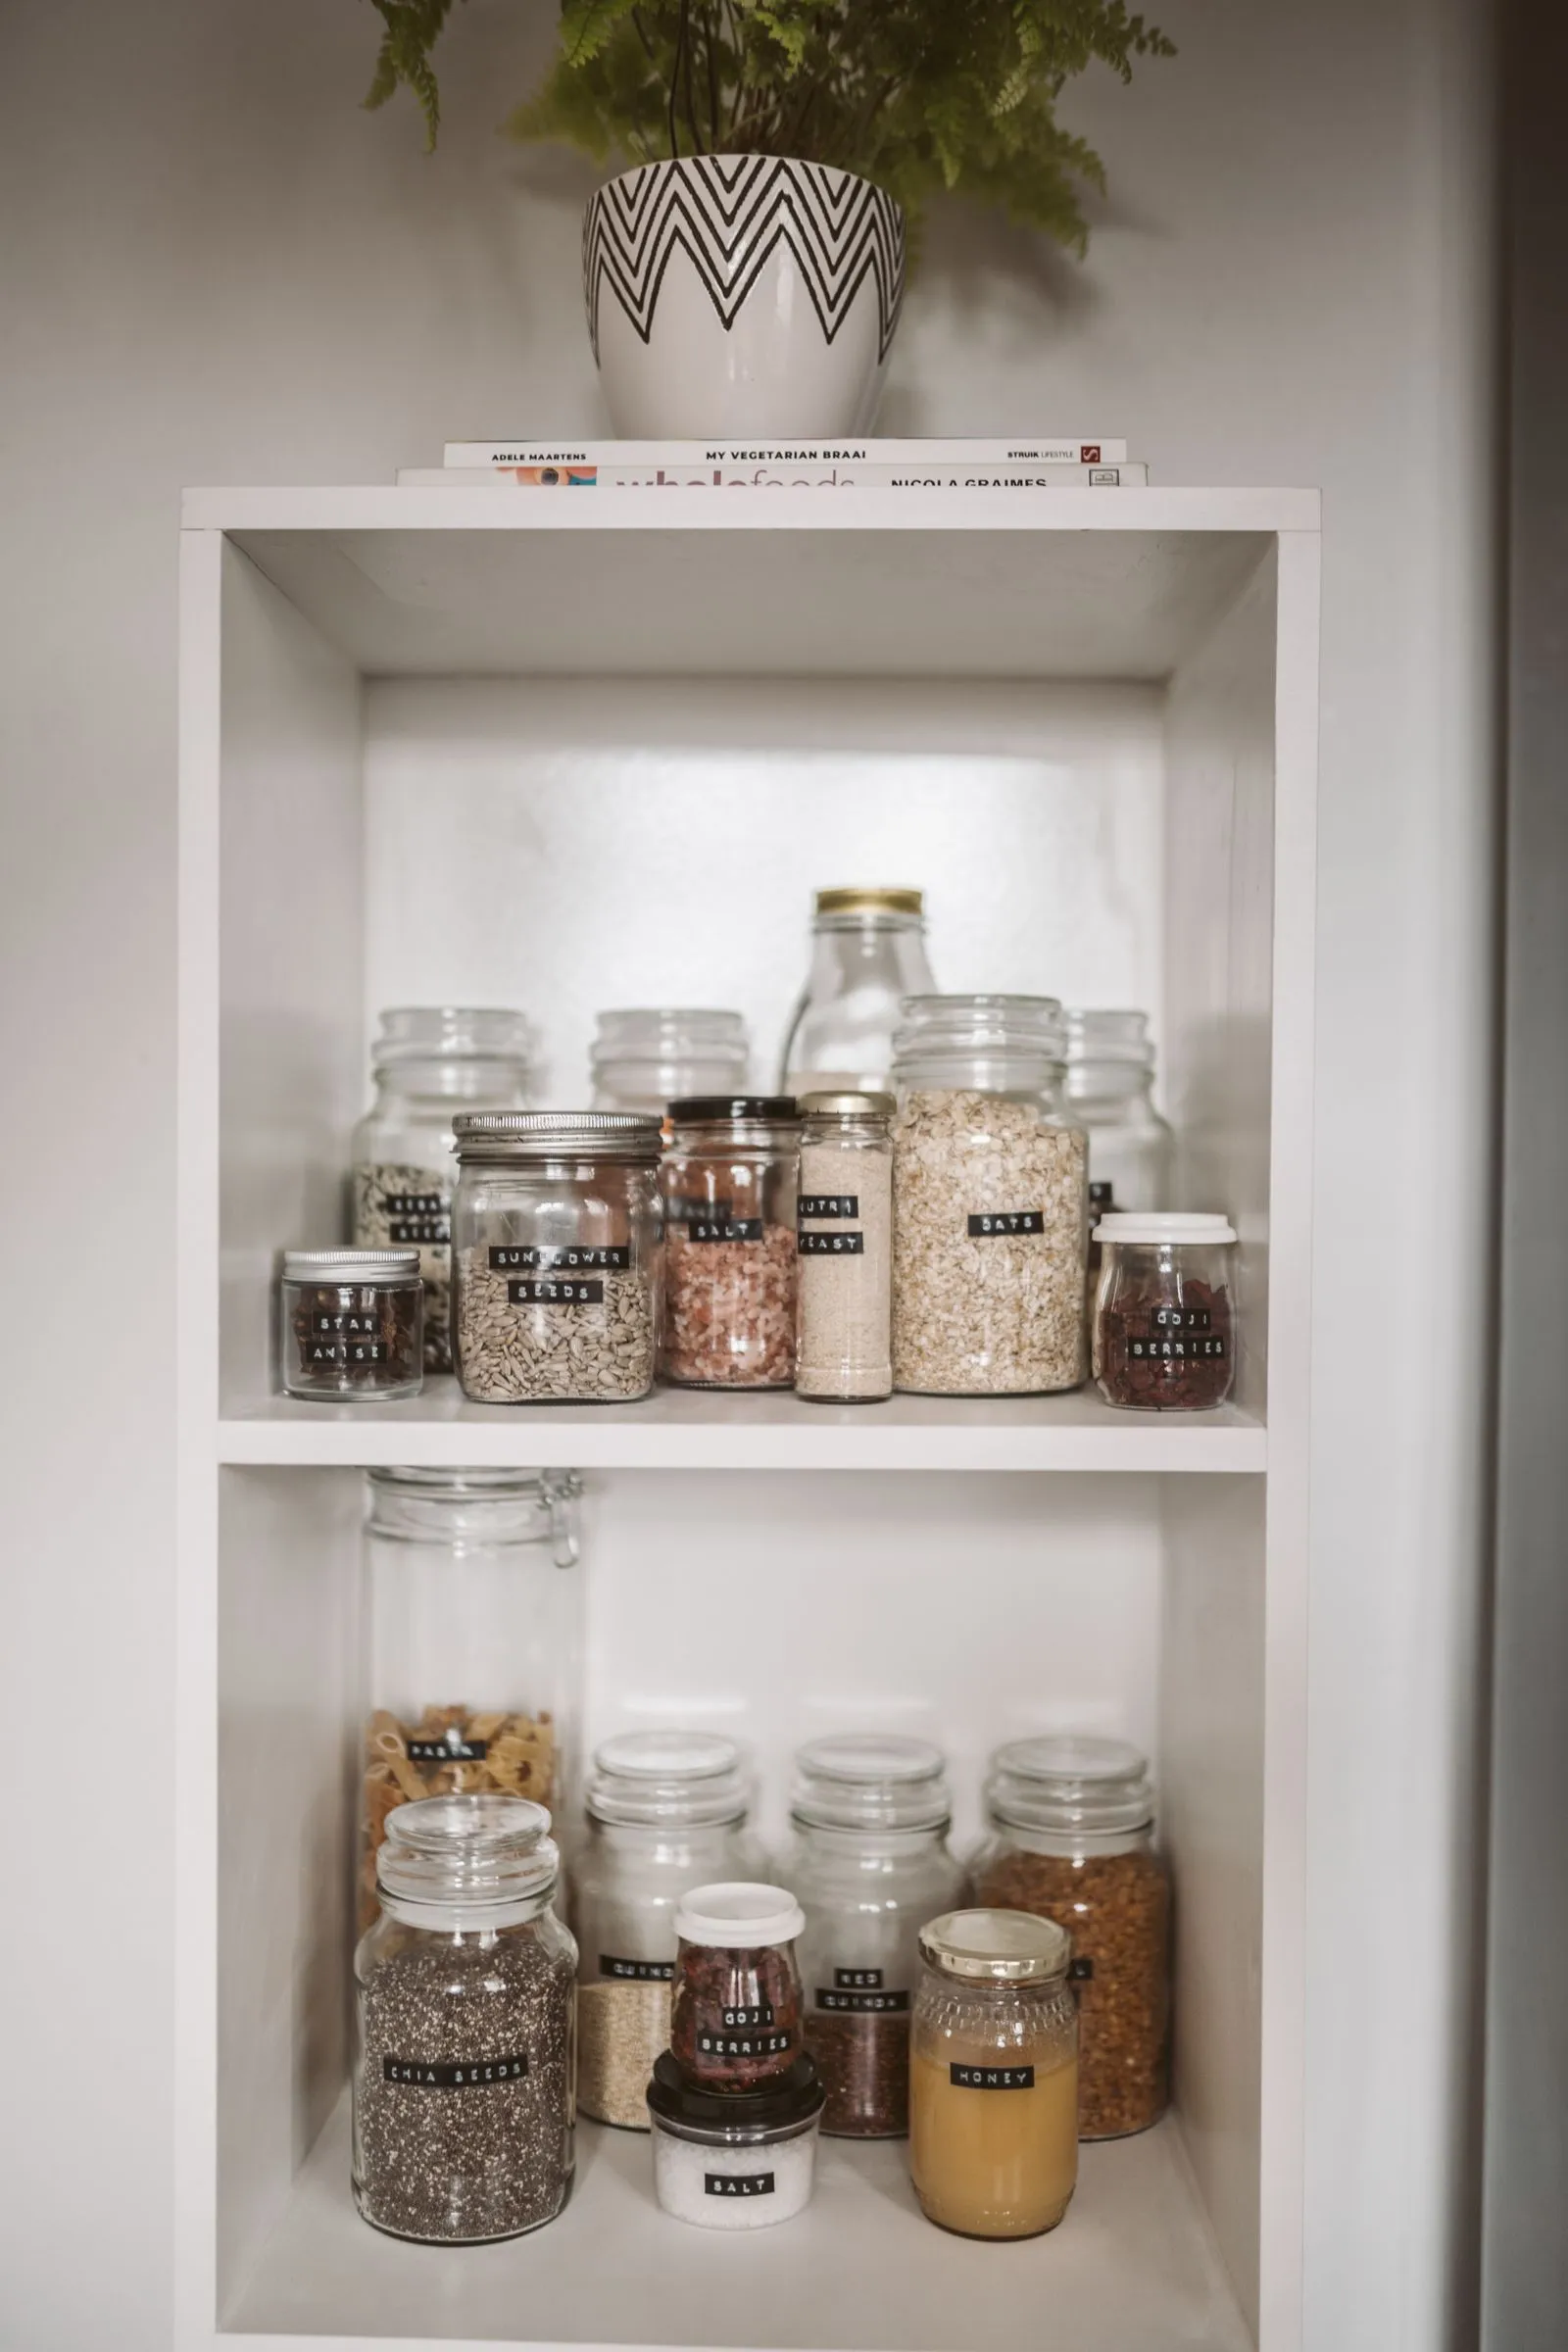
Small chalkboard labels or a printed label strip, roughly $8 to $12 for a set that covers a full pantry, work well stuck to the front edge of each shelf or rack. Label by category, not by brand, since brands change based on what’s on sale but the category stays the same. If your pantry runs several types of storage side by side, matching this labeling approach to the rest of your shelves, the way we lay out in our guide to pantry labeling systems, keeps the whole space legible at a glance instead of just the can shelf.
Handle the odd sizes separately
Not every can is a standard 3-inch soup can. Large 28-ounce tomato cans, tall 46-ounce juice cans, and short tuna or anchovy tins all break the tidy row system because they don’t sit flush against a standard rack step.
Give oversized cans their own flat shelf space rather than forcing them into a rack built for smaller cans, since a 28-ounce can wedged sideways into a rack slot just tips over and blocks the row behind it. Short cans like tuna do better in a shallow bin or a drawer-style organizer near eye level, since they’re easy to lose entirely on a deep standard-height shelf. Keep these exceptions to one dedicated zone so the main tiered rows stay uninterrupted.
Keep a running count so shopping trips don’t overstock
A stocked-up pantry runs into a second version of the same problem: too many cans of one thing bought because nobody could tell how many were already on the shelf. With cans visible in tiered rows, a glance tells you there are 6 cans of black beans left, not a guess.
A rough rule that works for most households: keep 2 to 4 of any single item as standing stock, restock when you’re down to 1 or 2, and resist buying a case of anything until the shelf actually needs it. Buying in bulk only saves money if the food gets eaten before the date on the can runs out.
The five-minute habit that keeps cans rotating
The system holds up because of one small habit, not because the rack does all the work by itself. Every time groceries come in, take an extra five minutes before anything goes on the shelf: check the date on anything you’re about to load, slide it to the back of its row, and confirm the front can in each row is still the oldest one there.
Do that every single time and the shelf never builds up a hidden back row again. The next time the pantry gets a real clean-out, there won’t be a mystery can with a date from two years ago waiting behind the soup. Every can will already be visible, sorted by how soon it needs to be used, and the oldest one will always be sitting right where your hand lands first.