Small Bathroom Storage Ideas That Are Renter-Friendly
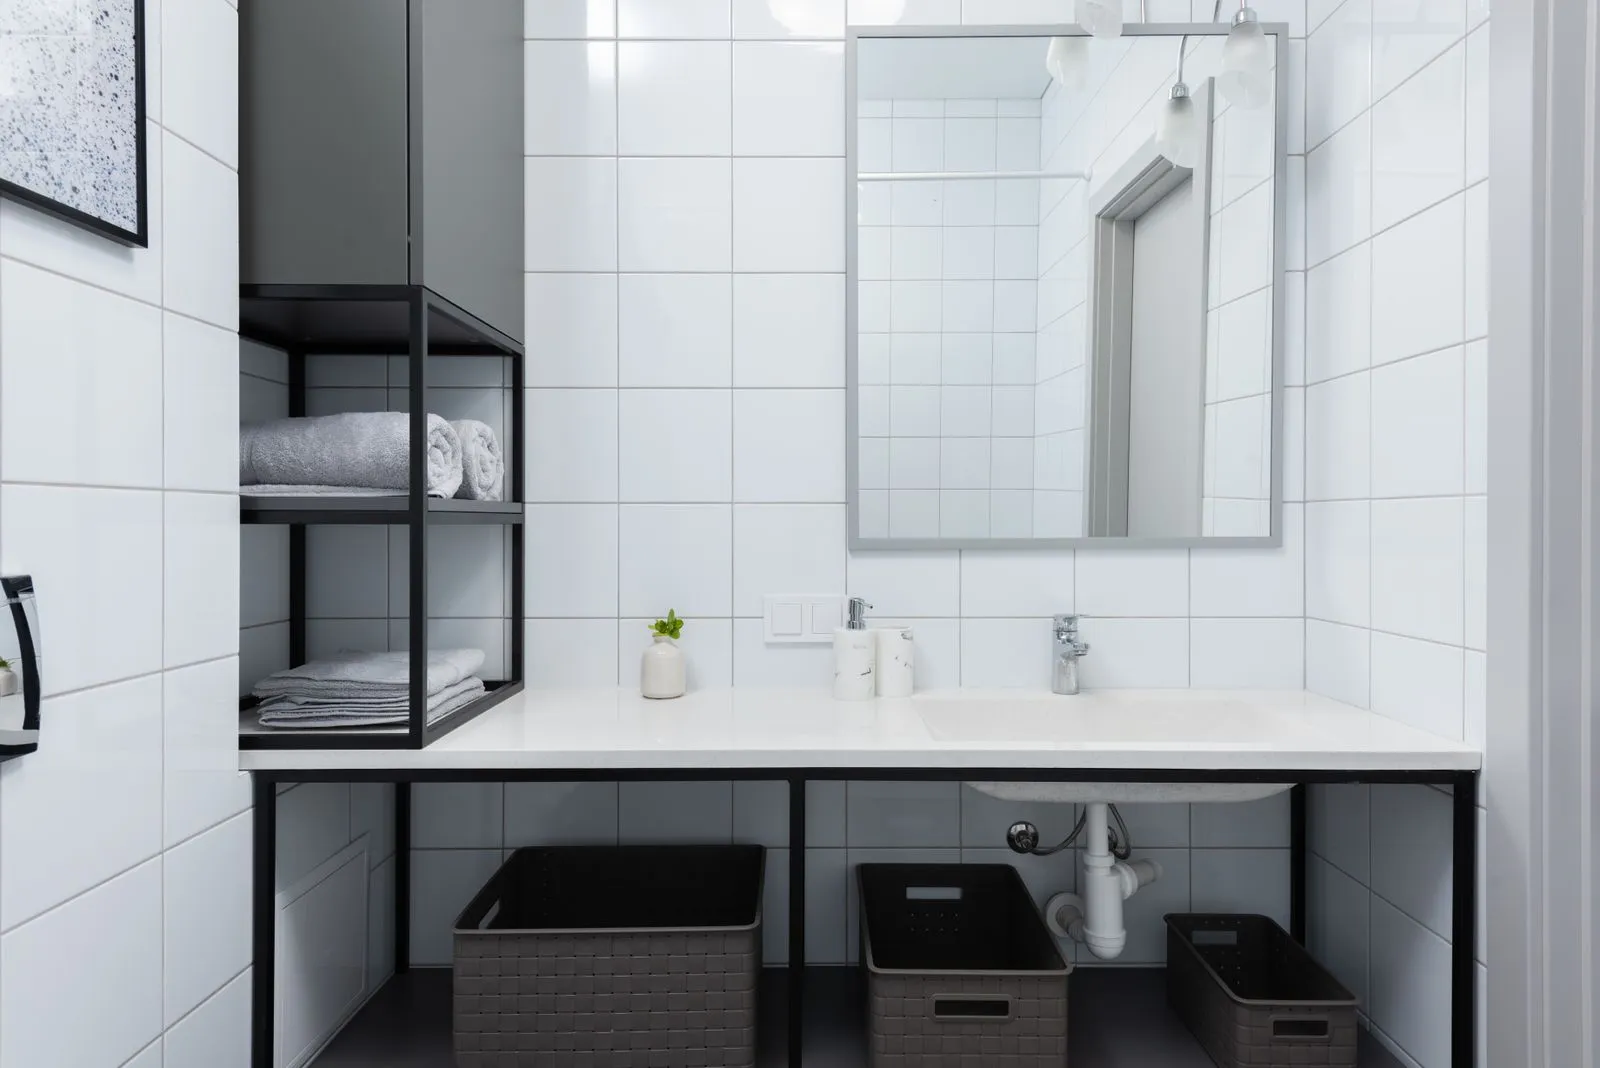
The whole bathroom is 5 by 8 feet. There is one cabinet under the sink, it is 20 inches wide, and the drain pipe eats the middle of it. Everything else lives on the counter, on the tub ledge, or in a plastic bin on the floor beside the toilet.
That is the standard American apartment bathroom, and the standard advice does not apply to it. You cannot add a linen closet, and you cannot drill into tile, because a drilled tile is a replaced tile and that comes out of your deposit. What you can do is use three surfaces the room already has and nobody uses: the wall above the toilet, the vertical corner of the shower, and the back of the door. Those three, plus a fixed rule about the counter, hold more than the cabinet you already have.
Measure three things before you buy anything
Bathroom storage fails on fit more than anything else. Three numbers prevent most of it.
The width of the wall above the toilet. Measure wall to wall, or wall to the edge of the vanity, at about chest height. In apartments this is usually 24 to 30 inches. Over-toilet units are commonly 22 to 26 inches wide, so a 24-inch alcove is tight.
The clearance in front of the toilet. Leave at least 21 inches of clear floor in front of the bowl. This is the number that kills the freestanding cabinet people buy first.
The swing of the door. Open it fully and mark where the edge stops. Nothing goes in that arc, and an over-the-door organizer has to be thin enough that the door still closes against the frame.
1. Over-the-toilet shelving, the single biggest gain
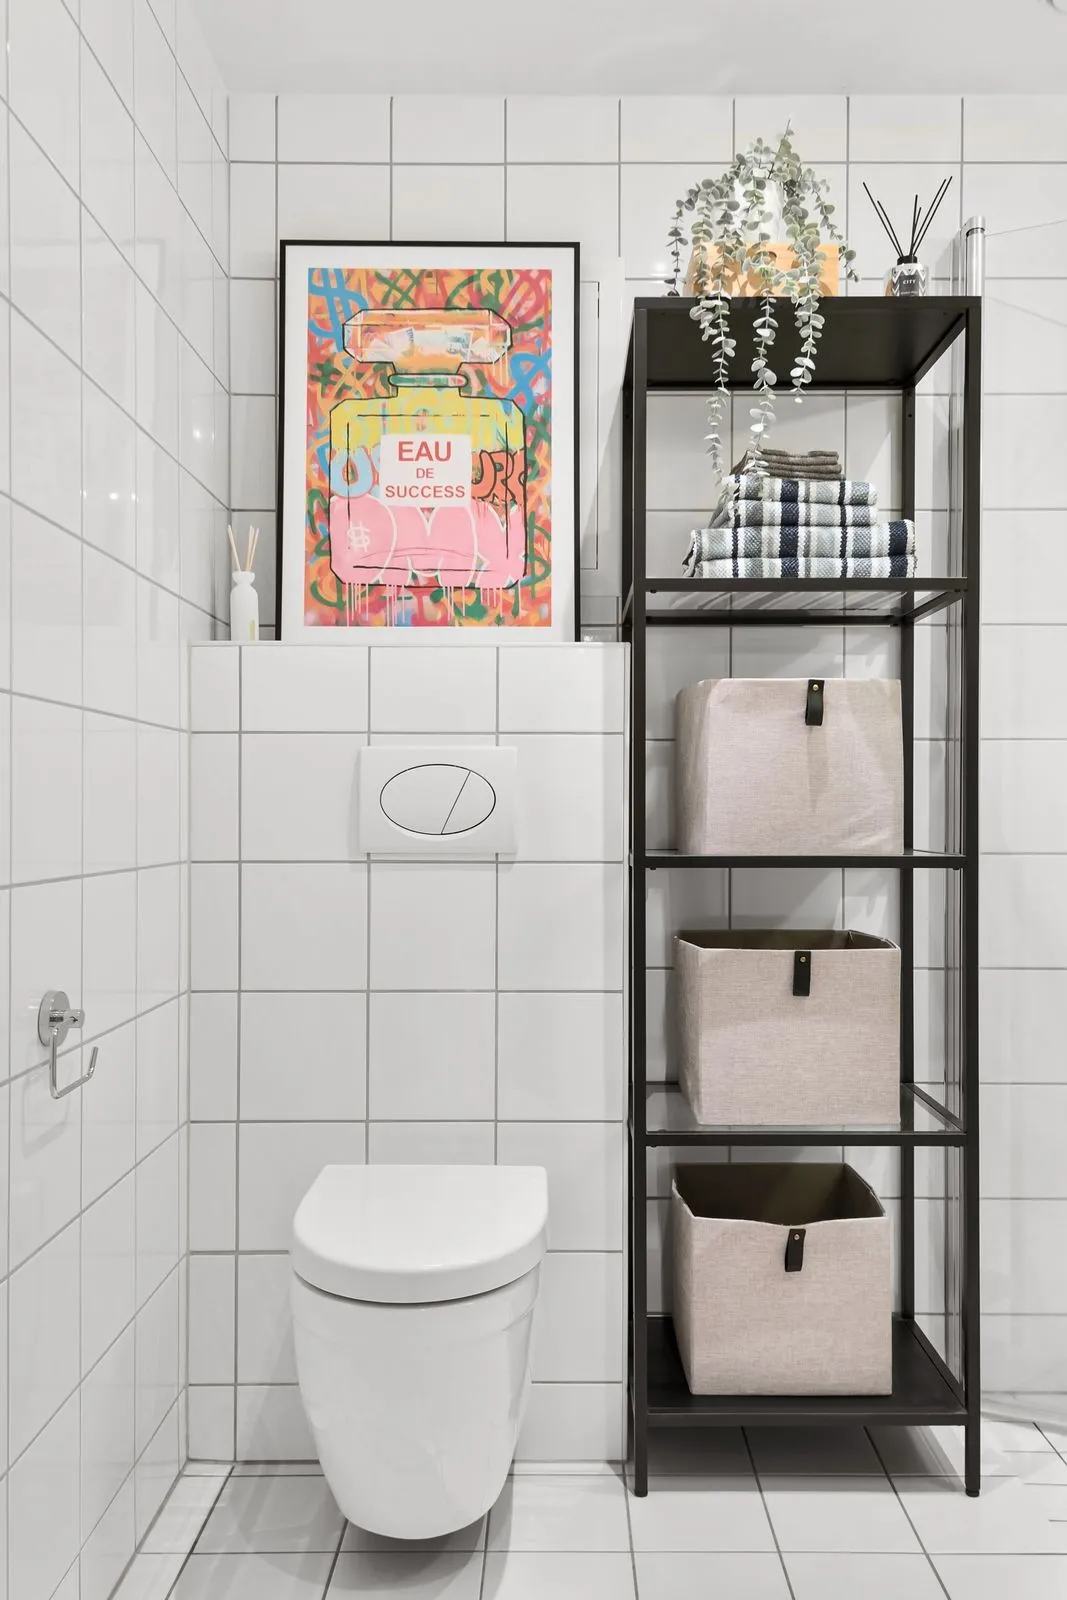
There is roughly 30 by 30 inches of blank wall above your toilet tank doing nothing, and it is the largest unused surface in the room.
Two ways to claim it without touching the wall. An over-the-toilet etagere straddles the tank on two legs that stand on the floor behind the bowl, giving you two or three shelves at 8 to 10 inches deep. A narrow freestanding unit, 12 to 14 inches wide, fits in the gap beside the bowl instead.
Depth is the thing to watch. A shelf deeper than about 10 inches puts weight over your head when you are sitting down and makes the room feel like a closet. Ten inches holds folded towels, spare rolls, and a basket, which is enough.
Load it heaviest on the bottom and daily items at eye level. Put small loose things in closed bins, since an open shelf above a toilet collects dust. And if the unit straddles the tank, check that you can still lift the tank lid with it in place.
2. A tension pole caddy in the shower corner
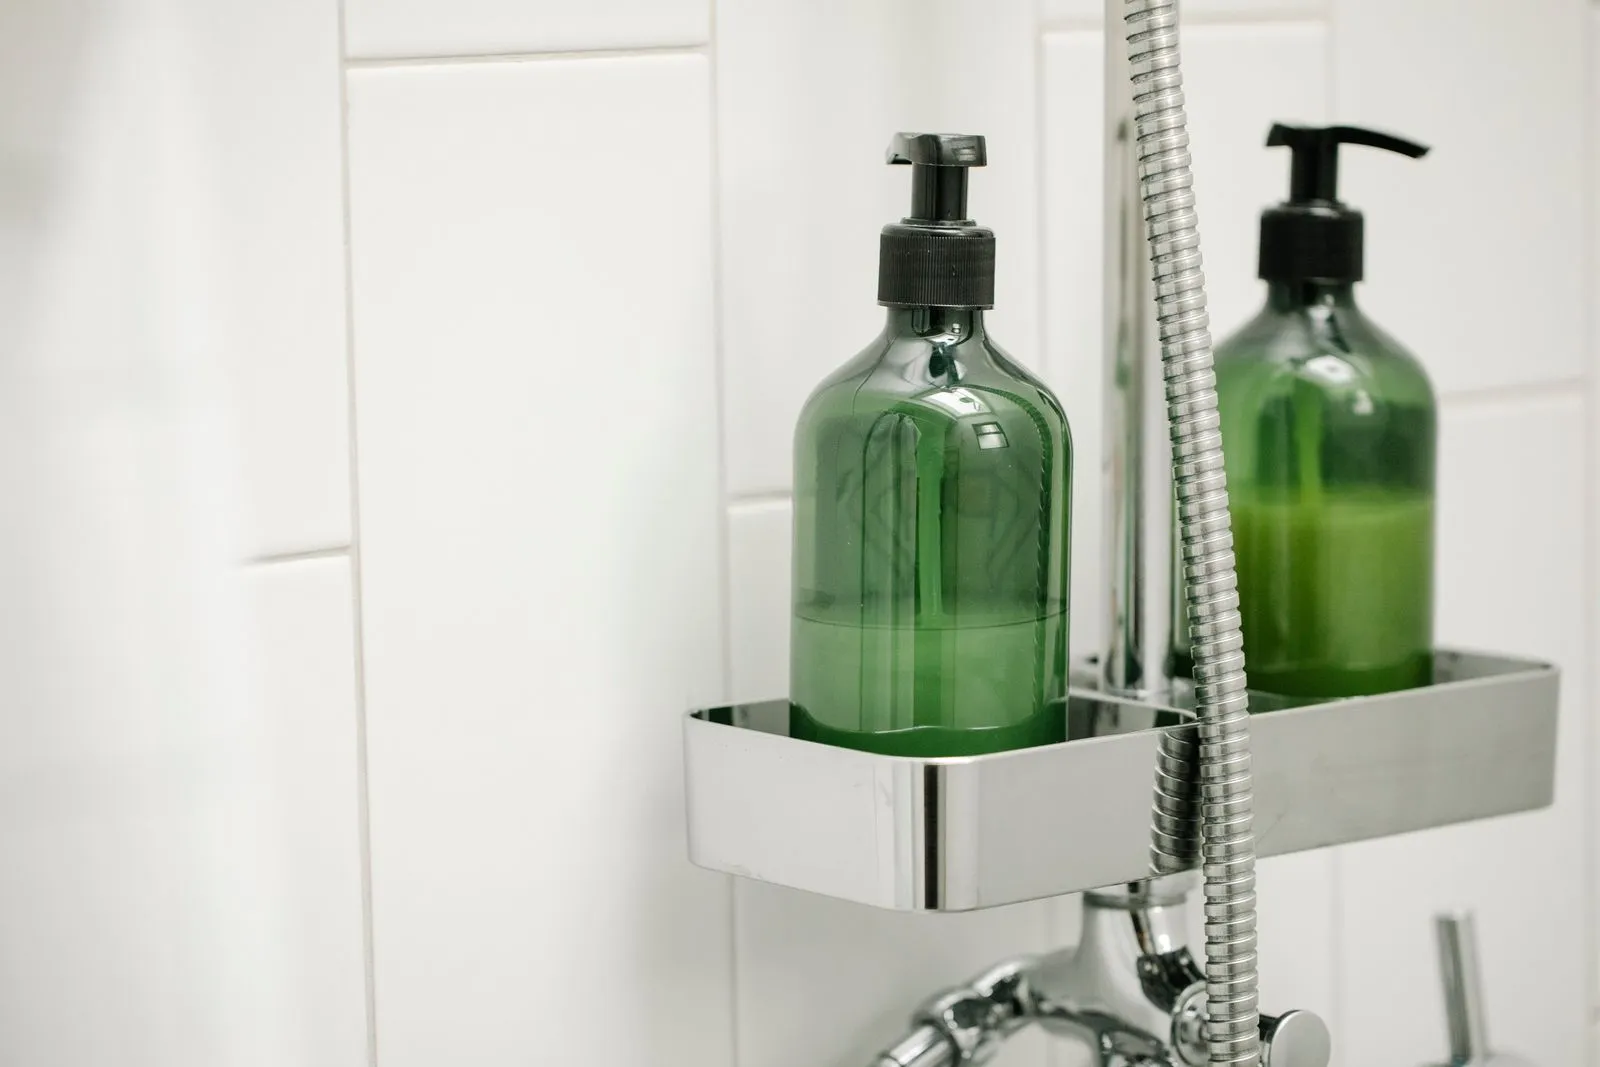
The corner of a tub or shower is dead vertical space about 6 feet tall. A tension pole caddy claims all of it with zero fasteners.
The pole braces from the tub deck or floor to the ceiling and holds by compression, the same principle as a tension rod. Three or four adjustable baskets ride on it, so every bottle currently balanced on the tub ledge gets a home.
Two details decide whether it stays up. Set the rubber foot on a flat, dry part of the tub deck, not on the sloped edge, because a foot on a slope walks sideways over a few weeks. And tension it firmly but stop when the ceiling starts to dimple, since apartment drywall ceilings are thin and a dent is a repair, not a scuff.
Check the tension monthly, since heat and humidity cycle the pole and a caddy that felt solid in March is looser by July. Keep the heavy bottles in the lowest basket. If the ceiling is textured or unusually high, hang a caddy on the showerhead arm instead.
3. Adhesive on tile, done so it actually holds
Tile is a better adhesive surface than painted drywall, which is the one advantage a bathroom gives you. Glazed ceramic is smooth and non-porous, exactly what an adhesive strip wants. What ruins the bond is what is on the tile. Prep in this order, every time.
- Wipe with rubbing alcohol. Bathroom tile carries a film of soap, hairspray, and conditioner that blocks adhesion and that no bathroom cleaner fully removes. Alcohol strips it and evaporates clean.
- Stay off the grout lines. A pad bridging a grout line touches tile only at the edges and it will peel. Center the strip on a single tile face.
- Wait an hour before loading it, and 24 hours before it gets wet. Sticking a hook inside a shower and then showering that evening is the most common way people lose one.
Plan for half the rated weight, and less than that in a shower. A hook rated for 5 pounds is a 2-pound hook once steam and heat are involved. Inside the wet zone, use only hooks labeled water-resistant, since standard indoor adhesive is not built for repeated condensation and will let go, usually at 6 a.m.
Keep adhesive for hook rails, a toothbrush holder off the counter, a small shower caddy, a squeegee hook. Not for glass, and not for anything above the toilet tank.
4. The back of the bathroom door
The inside face of the door is 24 to 30 inches wide and about 6 feet tall, and it is the only large surface in the room with nothing on it. An over-the-door hook bar handles towels and a robe. A slim pocket organizer, the kind sold for shoes, is better used here for hair tools, sunscreen, first-aid supplies, and the backup toiletries currently taking the good space under the sink.
Measure the door thickness first. Interior doors in US apartments are usually 1 3/8 inches, and an over-door hook sized wrong either rattles or will not seat. Then close the door with the organizer loaded and confirm it latches, because one 4 inches thick when full will hit the frame on a door with tight clearance. Add a felt pad where the hook contacts the door face, since two years of a loaded rack rubbing the same spot wears a visible mark.
5. Under the sink, where the space is already there
The cabinet under the sink is usually half wasted, because the drain pipe splits it and things get stacked around the pipe until nothing is reachable.
Two things fix most of it. A two-tier expandable shelf with a cutout or an offset leg fits around the P-trap and doubles the usable height. And a tension rod across the cabinet, about 6 inches below the top, becomes a rail for spray bottles hung by their trigger, which frees the entire cabinet floor.
Then contain the rest. Two or three open bins, roughly 6 by 9 inches, pull out like drawers so you can reach the back without unloading the front. Group by task: cleaning, hair and skin, refills. A full bin is the signal to stop buying. Keep nothing down there that a slow leak would ruin.
6. A counter policy, because the counter is the real problem
A small bathroom counter is 18 to 24 inches of usable surface, and it is the surface everyone defaults to. Storage upgrades fail when the counter has no rule.
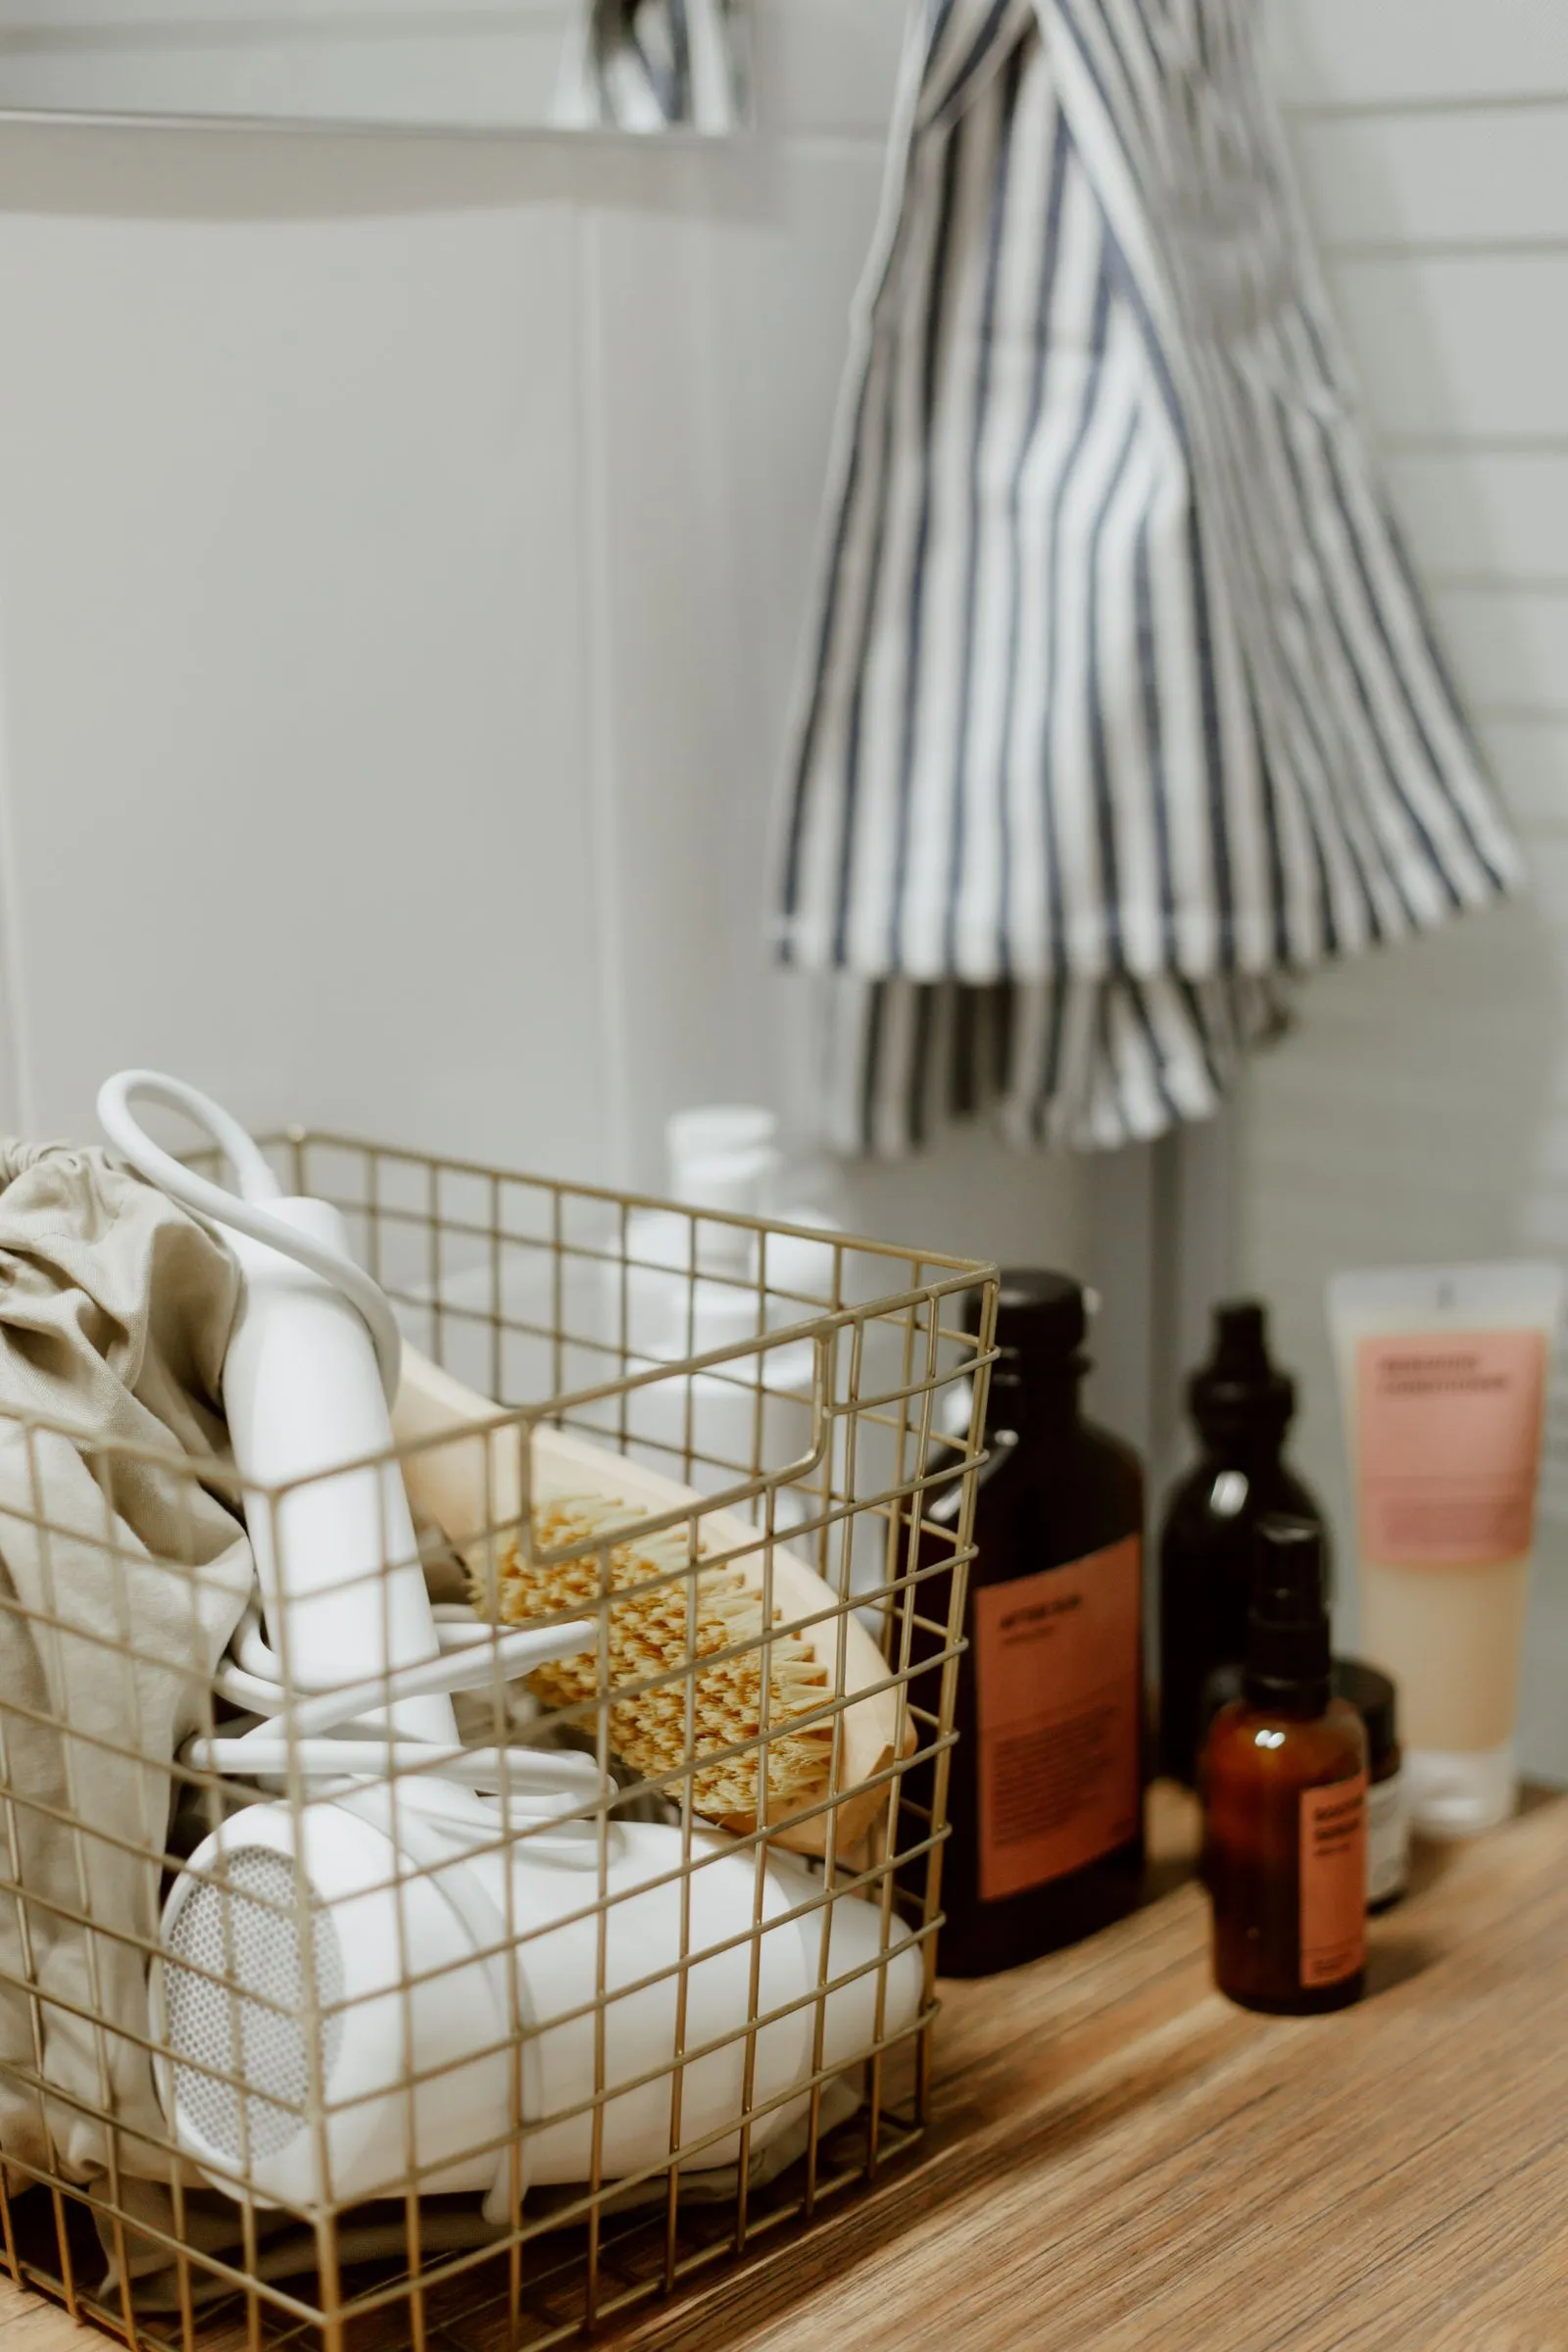
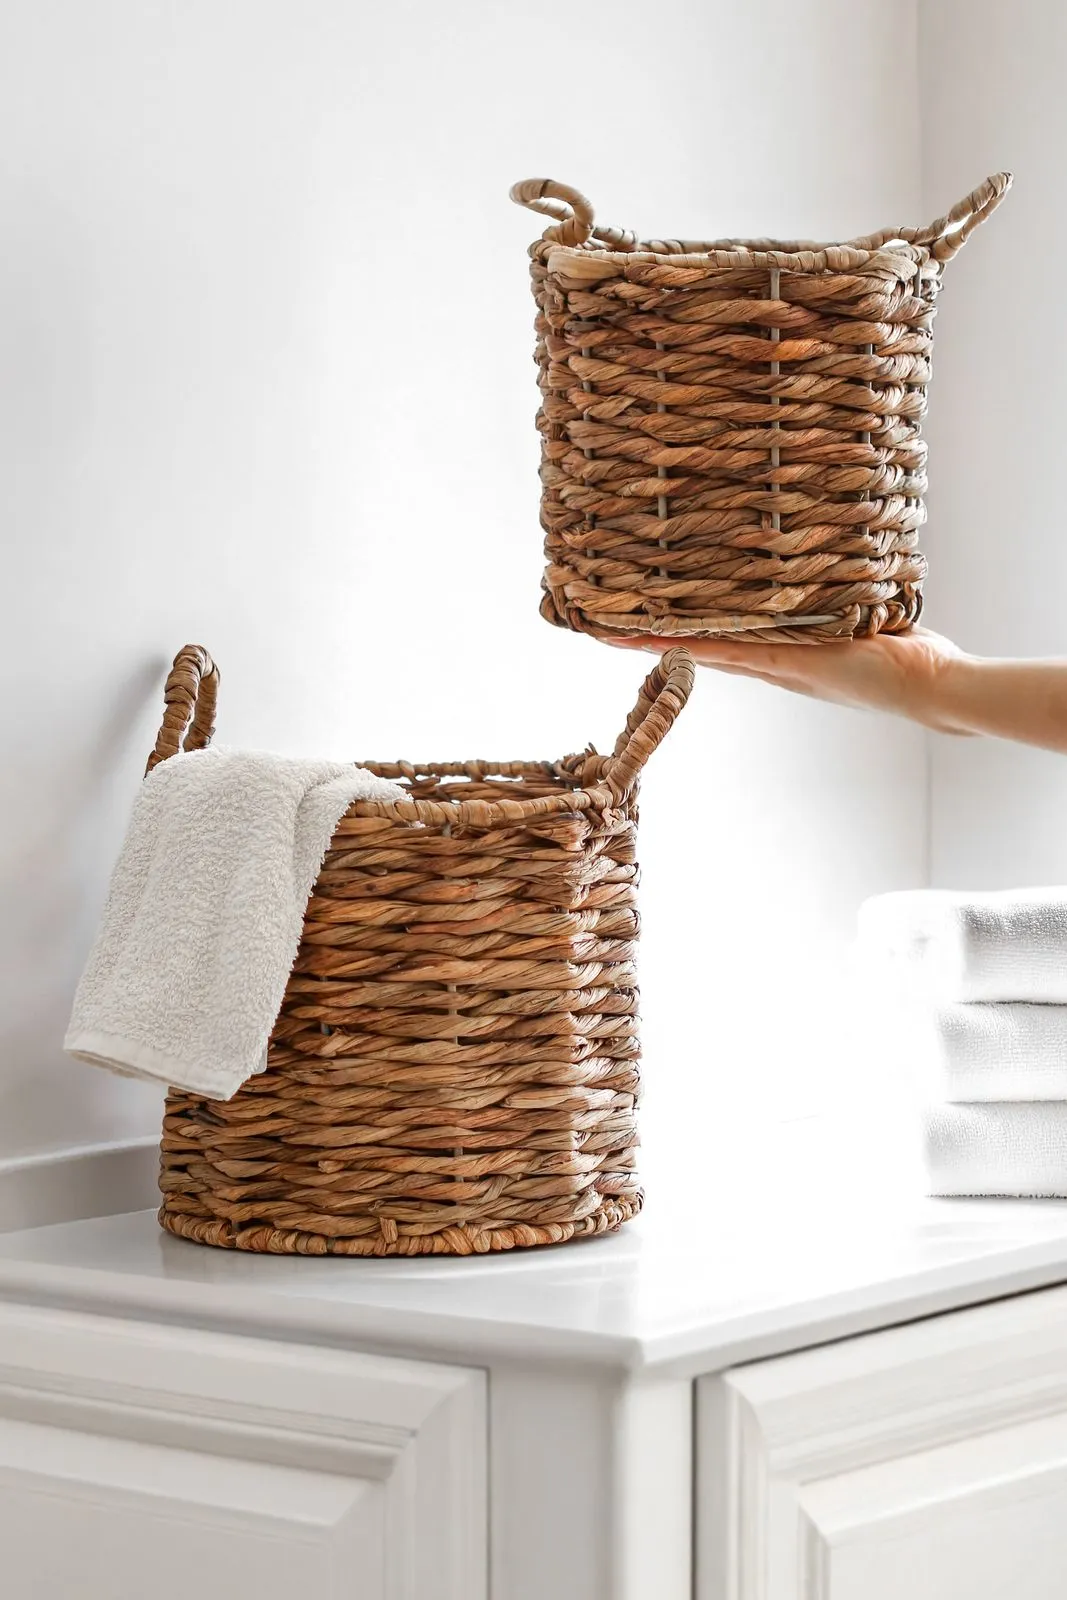
The rule that works: only daily items live on the counter, and they live in one tray roughly 6 by 12 inches. A soap pump, a toothbrush cup, and one or two things you touch every morning. Everything else goes to the shelf, the caddy, or the cabinet.
The tray sets a visible limit, so the eleventh item is obviously the eleventh item, and it lets you wipe the counter by lifting one object instead of eleven.
Mistakes that make a small bathroom worse
Drilling into tile. A cracked tile is a replacement, not a patch, and matching a discontinued apartment tile is not happening.
Buying the over-toilet unit before measuring. A 26-inch unit in a 24-inch alcove goes back to the store. Measure at the height the shelves will sit, since baseboard and trim change the number at the floor.
Loading adhesive too soon. An hour of cure time is not optional, and 24 hours before the first shower is the version that survives.
Storing backup stock in the bathroom. A twelve-pack of shampoo does not belong in a room this size.
Set it up in one afternoon
Empty the room first, including the cabinet, and throw out the expired products. Measure the three numbers. The over-toilet unit goes in first, since it is the largest piece and sets what else fits, then the tension caddy. Clean the tile with alcohol, mount the hooks, and leave them empty for an hour while you do the cabinet. Fit the under-sink shelf and rod. Set the counter tray last.
Live with it for two weeks before adding anything. The shelf that stays empty tells you the room did not need it, and the thing you keep setting on the counter tells you which spot is still missing.
The tension pole and the under-sink rod are the same trick applied twice, and there are more placements worth knowing in our guide to tension rod hacks for renters. If the adhesive side makes you nervous, the weight limits and clean-removal steps in damage-free wall storage for renters go deeper on the mounting.