Cleaning Supply Organization Ideas for the Under-Sink Cabinet
Cleaning day starts with a search instead of a spray. The glass cleaner is under the bathroom sink, the all-purpose spray is in the laundry closet, and the microfiber cloths are balled up in a kitchen drawer with the rubber bands. By the time everything is gathered, ten minutes are gone and the actual cleaning has not started.
That scattering happens gradually. A bottle gets used in the bathroom and stays there. A cloth ends up in whatever drawer was open. Nothing is wrong with any single item’s location, but the total system has no single home, so every cleaning session opens with a scavenger hunt. The fix is not more bottles or a bigger cabinet. It is one consolidated home, cut down to what you actually use, organized so the whole kit leaves the cabinet in one trip.
Pick one cabinet and bring everything to it
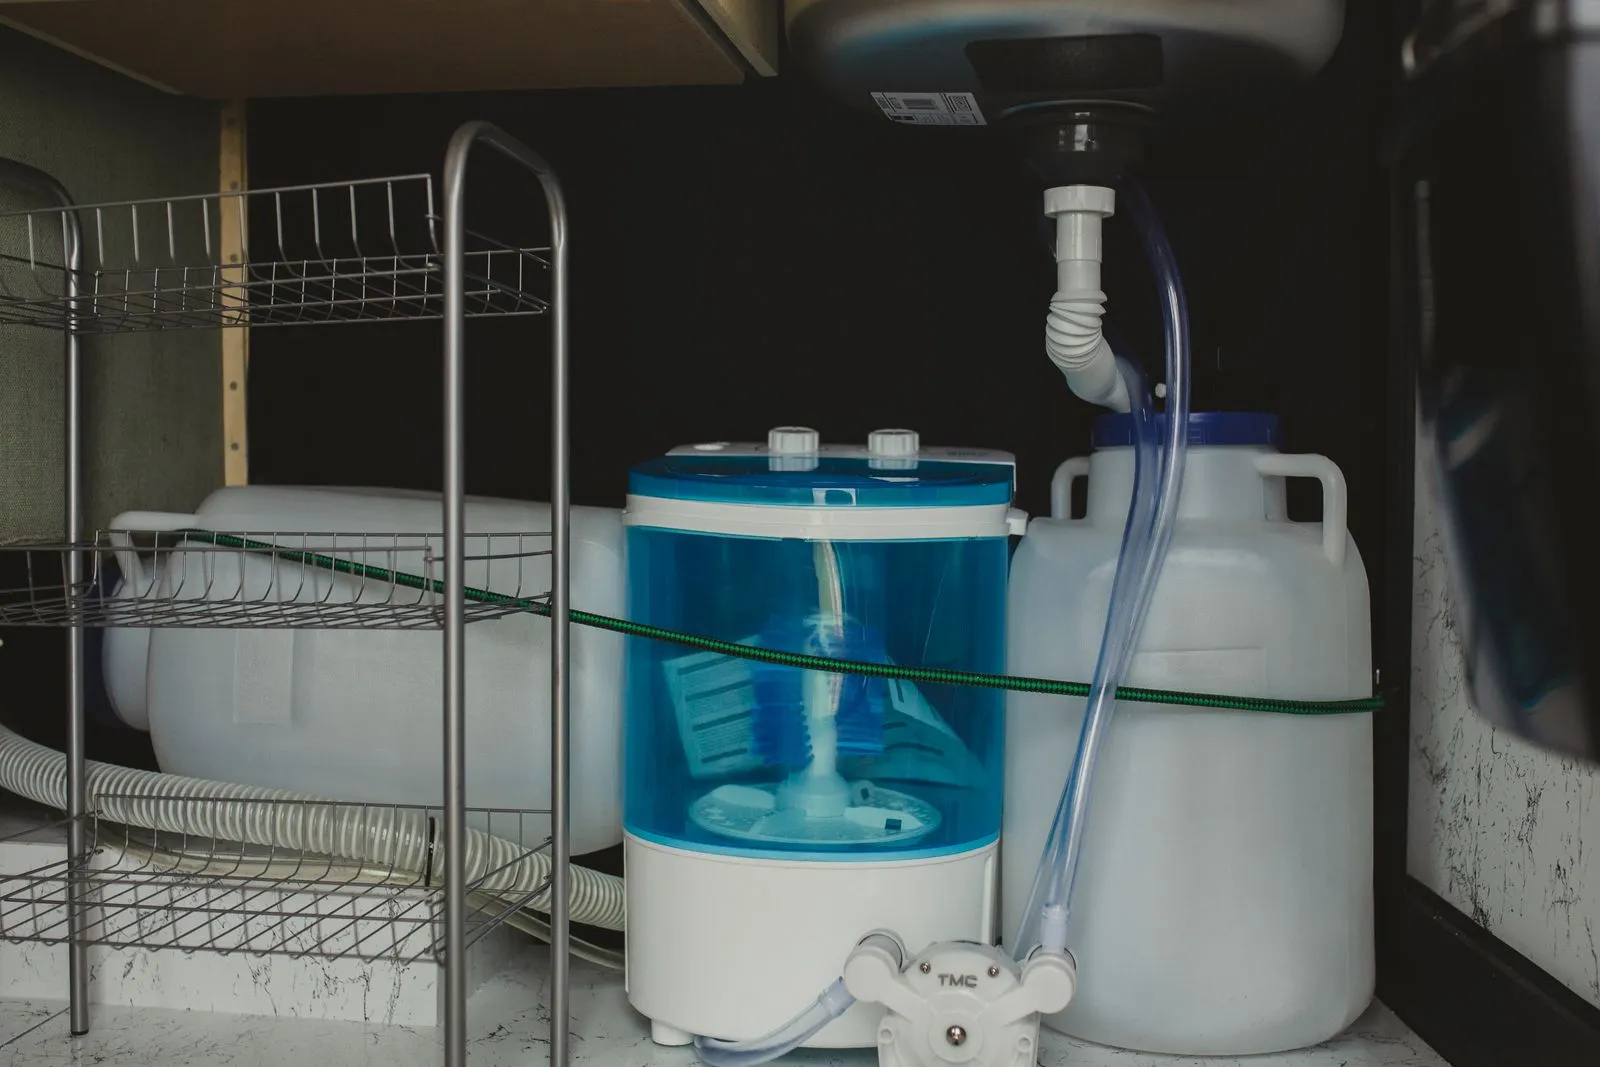
Before anything gets organized, it has to be gathered. Walk the house and pull every cleaning product, cloth, and sponge out of the bathroom cabinets, the laundry closet, the hall closet, and any kitchen drawer that has become an accidental supply drop. Bring all of it to the kitchen under-sink cabinet, since that is usually the largest and most central option, close to the sink and to trash and recycling.
A standard kitchen sink base runs 24 to 36 inches wide and about 20 inches deep, which is enough room for daily supplies plus backstock if the space is used deliberately instead of stacked at random. If your under-sink cabinet has heavy plumbing in the way, a nearby lower cabinet or a slim rolling cart next to the sink works as the same single home. The point is not which cabinet. The point is that there is exactly one, and everyone in the house knows where it is.
Cull before anything goes back in
Gathering everything in one place makes the excess obvious in a way it never was when it was spread across four rooms. Before you organize a single item, get rid of what should not go back.
Line up every bottle and check three things. First, duplicates: most households end up with two or three half-empty bottles of the same all-purpose spray, bought because the old one could not be found. Consolidate any that are the same formula into one bottle and recycle the rest. Second, expiration: bleach-based cleaners lose potency after about six months open, and anything without a date that smells off or has separated should go. Third, condition: cloths with holes, sponges that have gone slimy or smell sour no matter how many times they are rinsed, and scrub brushes with bent or missing bristles are done. A sour sponge does not get cleaner with use.
Most people find they are storing three or four products for jobs one multi-surface cleaner and one disinfecting spray actually cover. Cutting the lineup down to what you reach for weekly is what makes the caddy in the next step actually fit.
Build one grab-and-go caddy
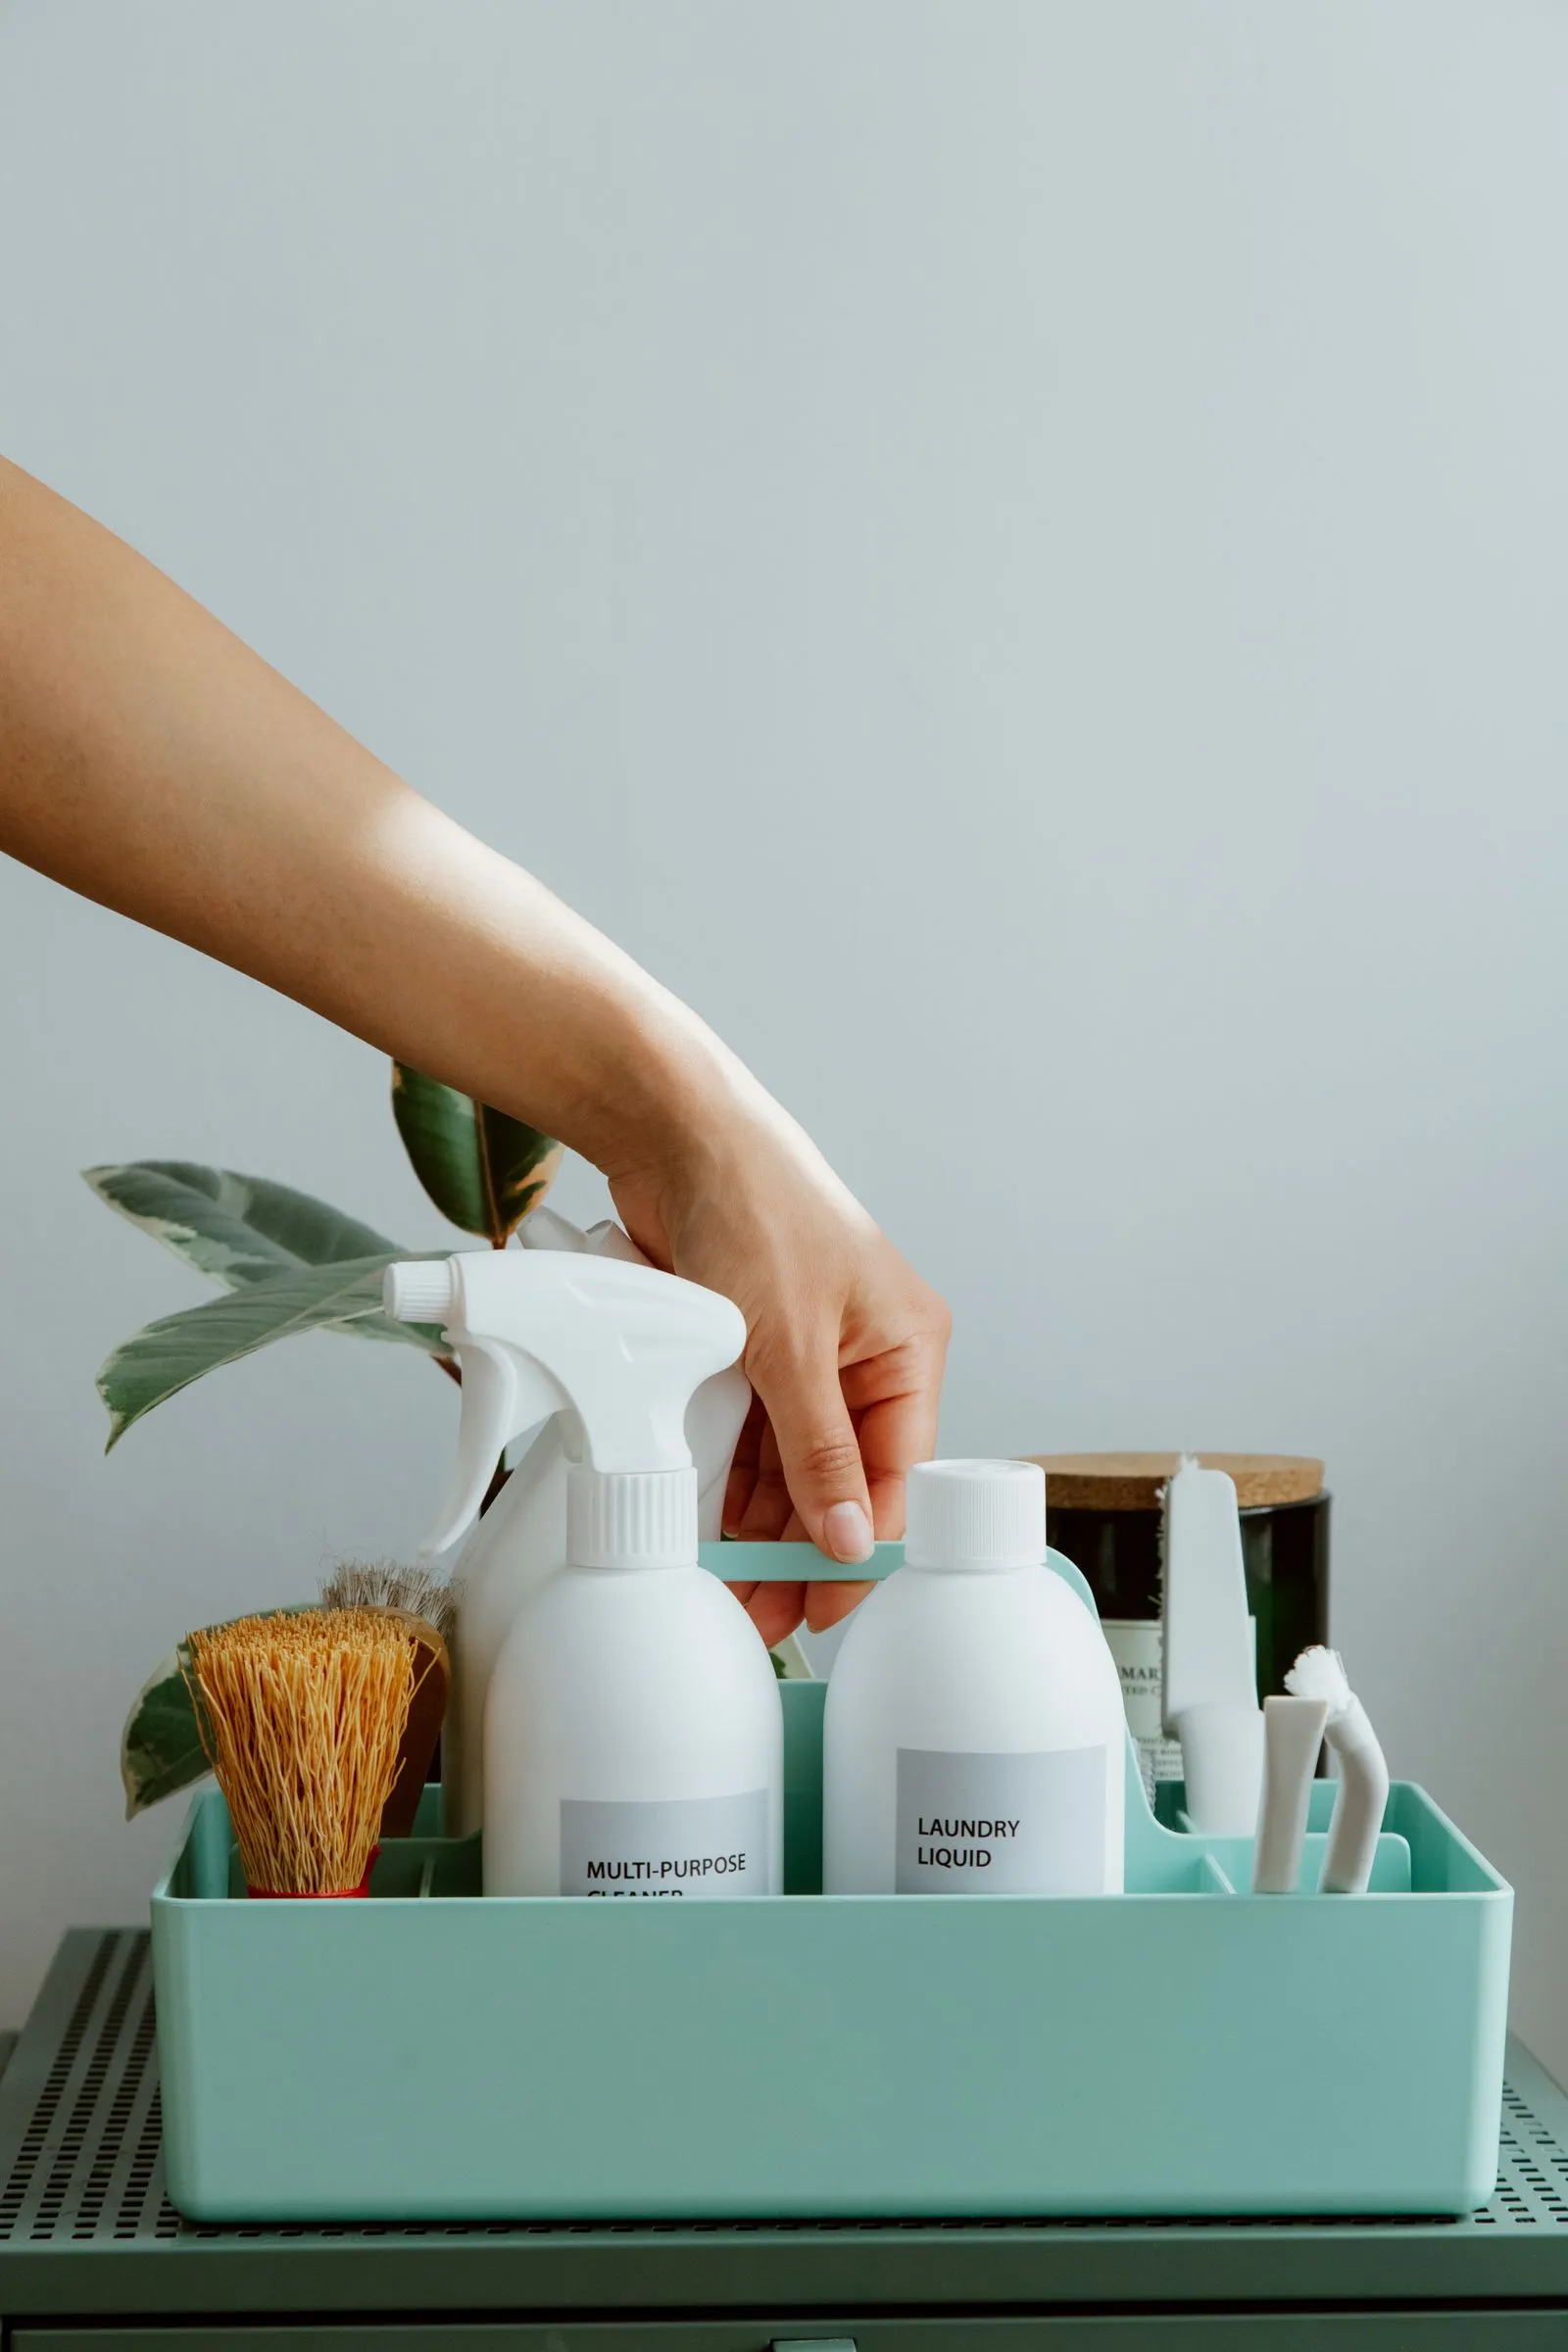
The single biggest change in a cleaning routine is having one container that holds the daily lineup and nothing else. A plastic tote caddy with a center handle, roughly 12 inches long by 9 inches wide, is the standard size and it fits the products most people actually use in a normal room-to-room cleaning pass.
Limit the caddy to four or five core products, no more. A realistic lineup: an all-purpose spray, a glass cleaner, a disinfecting spray or wipes, one microfiber cloth, and a scrub sponge. Anything beyond that turns the caddy into another junk drawer with a handle, and a caddy you cannot lift one-handed defeats the purpose. If a job needs a specialty product, like an oven cleaner used twice a year, that stays in backstock and comes out only for that job.
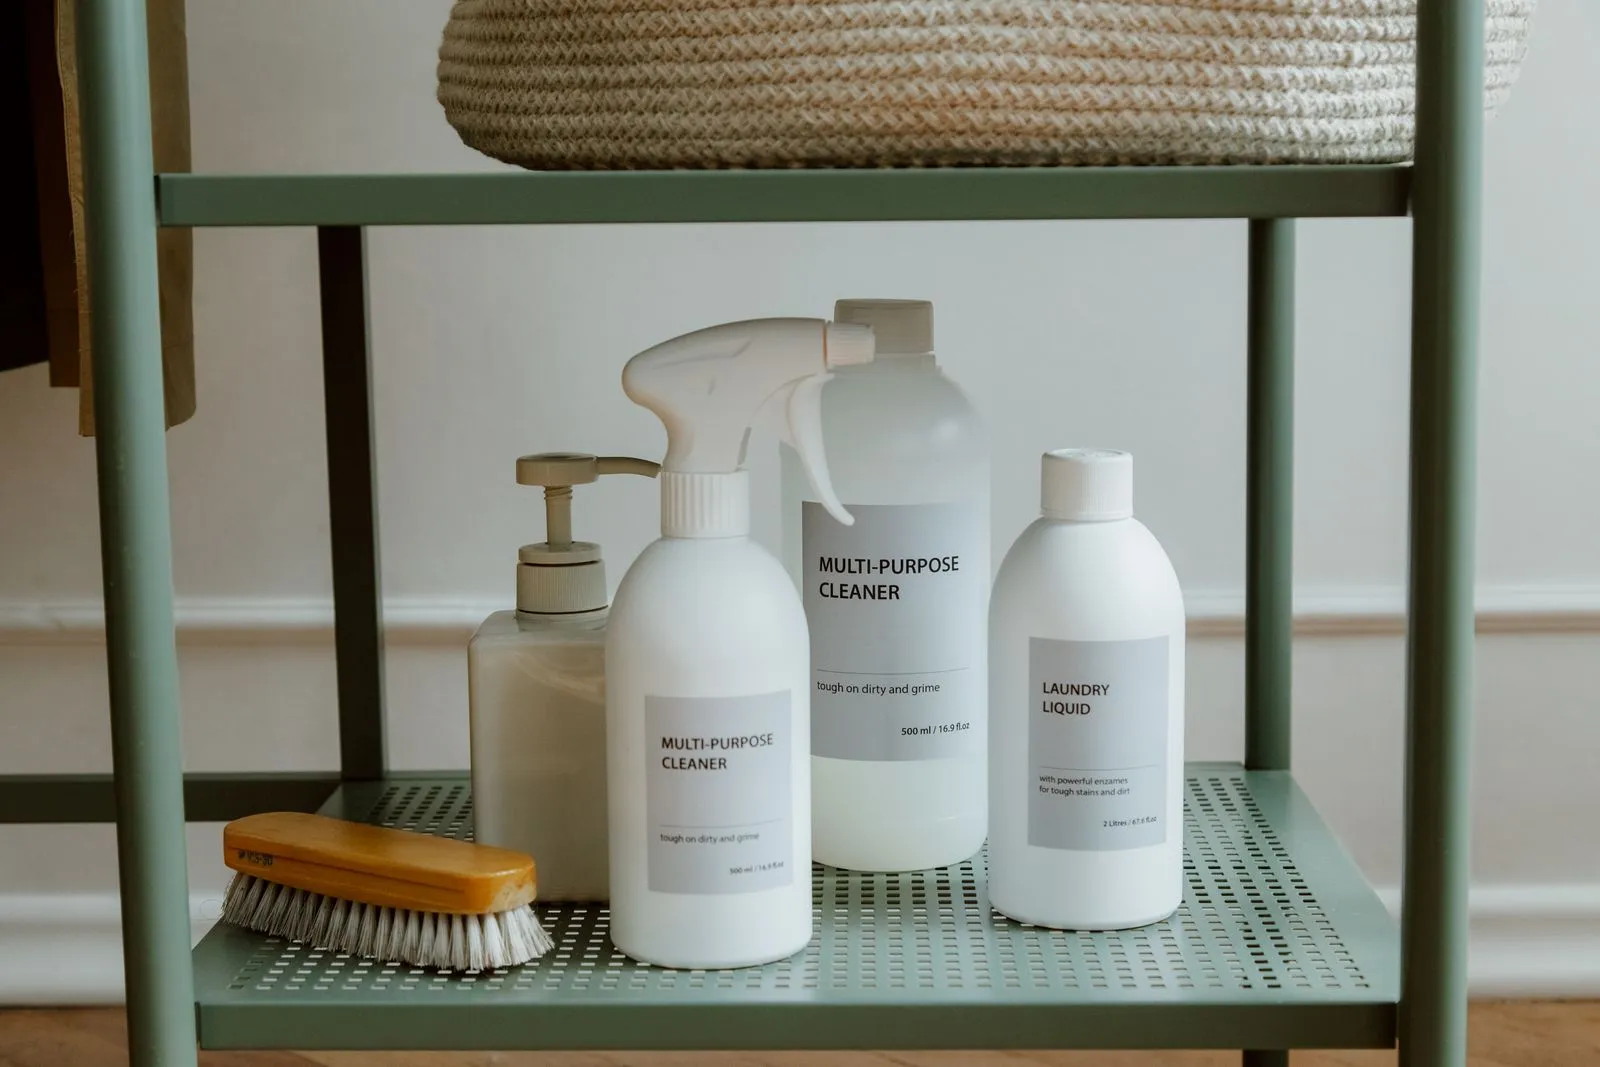
Load the caddy so the tallest bottles sit in the center where the cabinet ceiling is highest and the handle has clearance. On cleaning day, the entire routine starts with lifting one tote out of the cabinet, not gathering five separate items from five separate spots.
Zone the cabinet front to back
Once the caddy exists, the rest of the cabinet organizes around it. Split the space into three zones instead of one undifferentiated pile.
Front, ground level: this is the caddy’s parking spot. It should slide in and out without anything blocking the door swing, since a caddy you have to dig for defeats the entire system.
Back or side, standing height: refills and backstock live here. Full bottles waiting to replace an empty one, the seasonal or specialty cleaners, and extra sponges and cloths. These get touched once a month, not once a day, so they can sit deeper in the cabinet.
A dedicated airtight bin for dishwasher pods: pods are worth pulling out of their cardboard box and into a small sealed plastic bin, about 6 to 8 inches square. The box goes soft and tears under the sink’s humidity, and loose pods rolling around the cabinet floor are a hazard if there is a toddler in the house. An airtight bin solves both problems and takes up less room than the box did.
Keep the caddy zone clear of everything else. The moment a stray bottle gets parked in front of the caddy because there was no other spot, the whole system starts sliding back toward the pile it replaced.
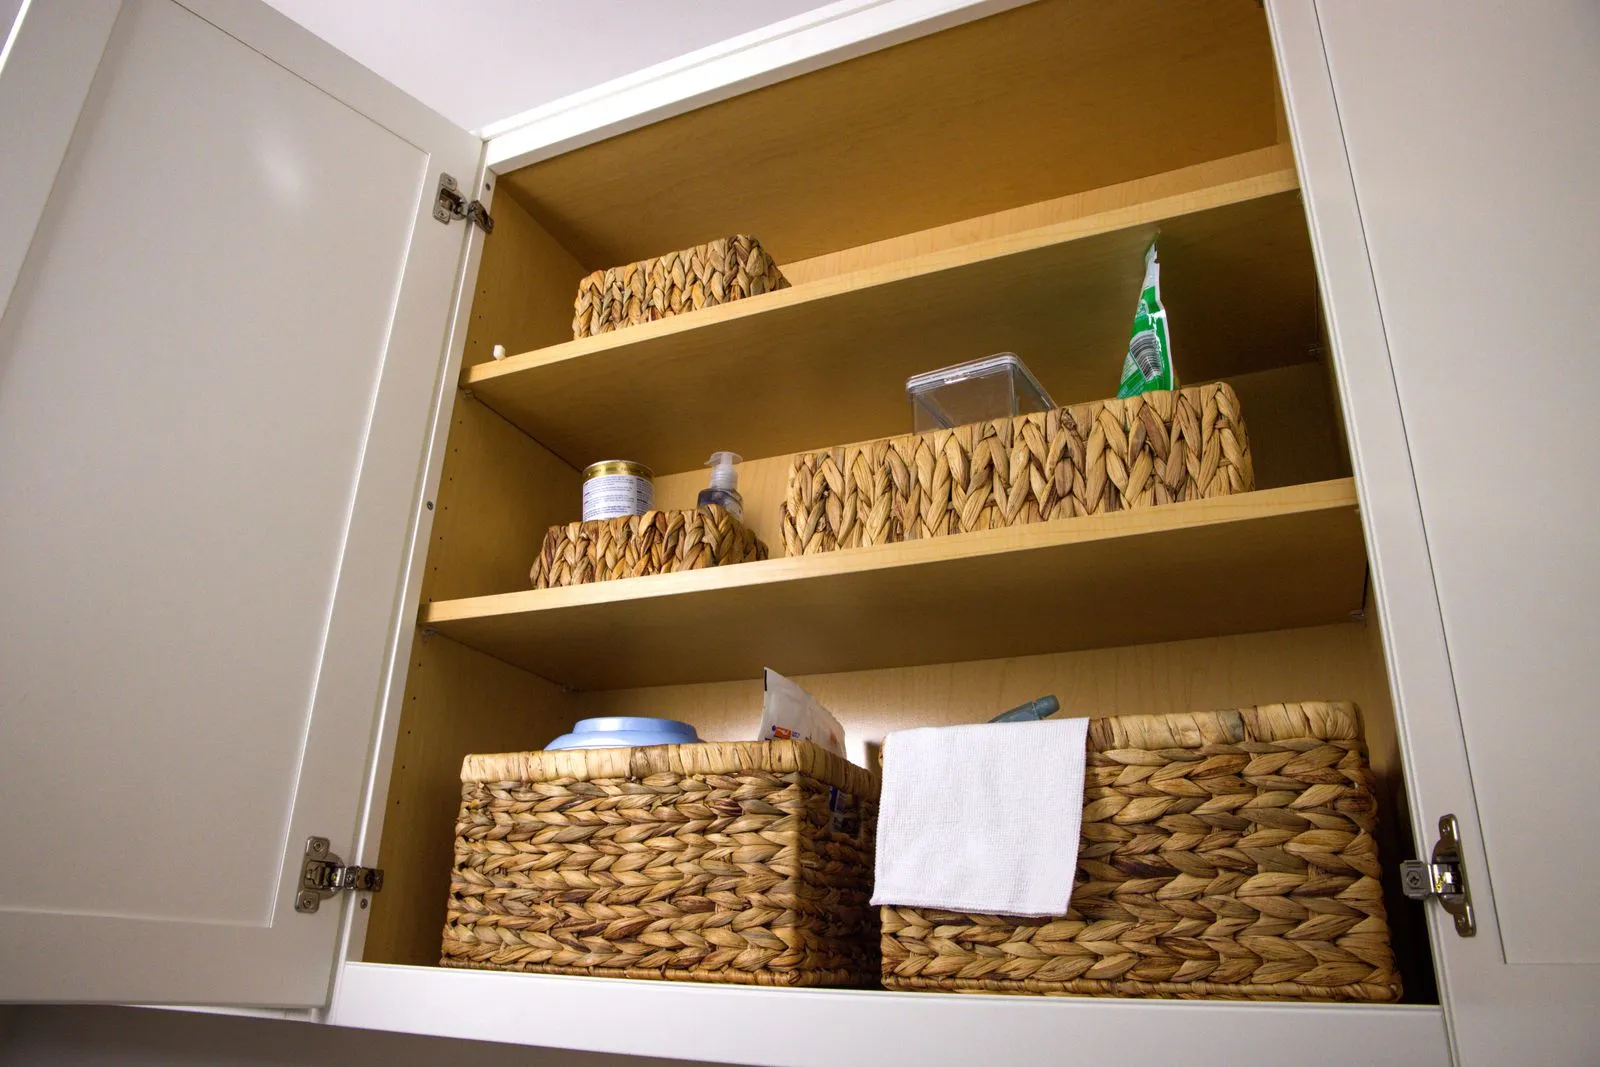
Woven or plastic bins work for either zone as long as each one only ever holds one category: refill bottles in one, spare cloths and sponges in another. A bin with mixed categories turns back into a pile the first time someone is in a hurry.
Store cloths and sponges where they can dry
Wet cloths and sponges are the one item that cannot just go back in a bin. Stored damp in a closed cabinet, they mildew within a couple of days and the smell spreads to everything nearby.
A small suction or over-the-door hook rack mounted on the inside of the cabinet door solves this cheaply, usually 5 to 10 dollars. Hang cloths and the scrub brush there after each use so they dry in the air instead of folded wet inside the caddy. Sponges do best in a small vented holder rather than a closed bin, for the same reason.
Only move a cloth or sponge back into the caddy once it is fully dry, usually by the next day. This one habit does more to keep the cabinet from smelling than any product choice does.
One safety line worth following
If there are toddlers or pets in the house, put a child safety lock on the cabinet door, since sprays and pods are exactly what a curious two-year-old goes for first. And keep cleaning chemicals out of any cabinet that also holds food storage containers or pet bowls, even briefly during a reorganization, since a leaking bottle can contaminate what sits next to it.
The five-minute reset that keeps it working
A system stays organized because of a habit, not because of the containers. After the cleaning pass, take five minutes to reset: wipe down the caddy itself since it collects drips, hang the cloth to dry, check whether any bottle in the caddy is under a quarter full and swap it for a full one from backstock, and confirm nothing got left out on the counter or the cabinet floor.
Do that reset every time and the caddy is always ready to grab, the backstock zone tells you at a glance what needs replacing on the next shopping trip, and the scattering that started this whole problem never gets the chance to restart. The next time cleaning day comes around, the routine starts with lifting one tote out of one cabinet, not searching three rooms for what should have been in one place all along.
If the cabinet itself still fights you — pipes in the middle, dead air above the bottles — the bin and tension-rod layouts in our guide to under-sink kitchen cabinet organization solve the geometry so the caddy system above has a clean space to live in.