Renter-Friendly Cord and Cable Management Ideas
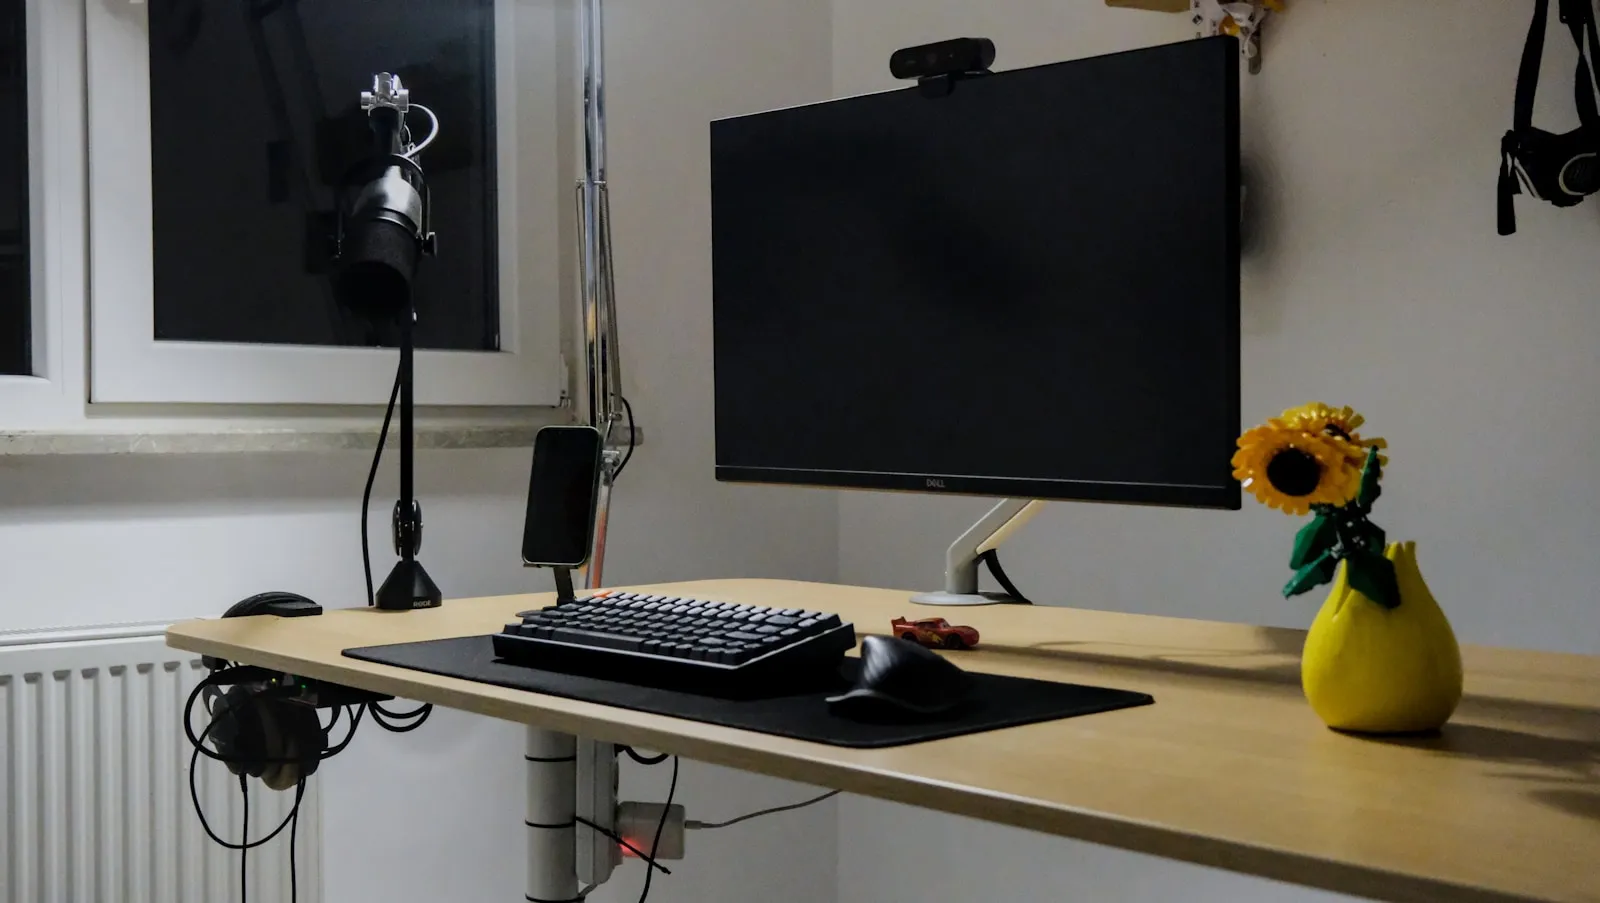
Reach behind the desk to unplug a charger and your hand comes back gray. That’s not dirt from the floor, it’s months of dust that settled into a nest of monitor cables, a phone charger, and a power strip cord, all twisted together into something you can’t pull apart without unplugging half your setup first. The same thing happens behind the TV stand: a black mass of HDMI and power cords nobody has looked at since move-in day, quietly collecting a felt-like coating that a vacuum nozzle can’t reach.
None of that is a drilling problem. It’s a routing problem. Every cord is doing exactly what gravity and slack tell it to do, which is pile up in the lowest, least-visible spot it can find. Adhesive clips and fabric sleeves fix that without a single screw, and they come off clean when the lease ends. The system below takes about 45 minutes and an hour’s worth of supplies you can find for under 20 dollars.
Unplug everything and sort before you stick anything down
Before a single clip goes on the wall or desk, pull every cord loose and lay them out on the floor. This feels like it makes the mess worse for five minutes, but it’s the only way to see what you’re actually dealing with: how many cords there are, which ones are the same length, and which ones are so worn or so rarely used that they shouldn’t go back at all.
Coil each cord and set it next to the device it belongs to. A typical desk setup runs 4 to 7 cords: monitor power, monitor-to-computer, keyboard, mouse, a phone charger, and the power strip’s own cord to the wall. A TV stand setup usually runs 3 to 5. Anything with a frayed jacket or a connector that doesn’t seat firmly anymore gets replaced now, not zip-tied back into the bundle.
Anchor the desktop cords with adhesive clips
Adhesive cable clips are small plastic or silicone loops with a sticky pad on the back, usually sold in packs of 10 to 20 for 8 to 12 dollars. They hold a single cord in place along any hard, clean surface: the underside of a desk, the back edge of a monitor stand, the inside of a desk leg.
Wipe the mounting spot with rubbing alcohol first. Dust and desk polish are the two things that make adhesive fail early, and a 30-second wipe roughly doubles how long the clip holds. Press each clip firmly for 10 full seconds, not a quick tap, since the adhesive needs sustained pressure to bond. Space clips every 6 to 8 inches along the cord’s path so it can’t sag into a loop that catches dust or gets kicked by a chair.
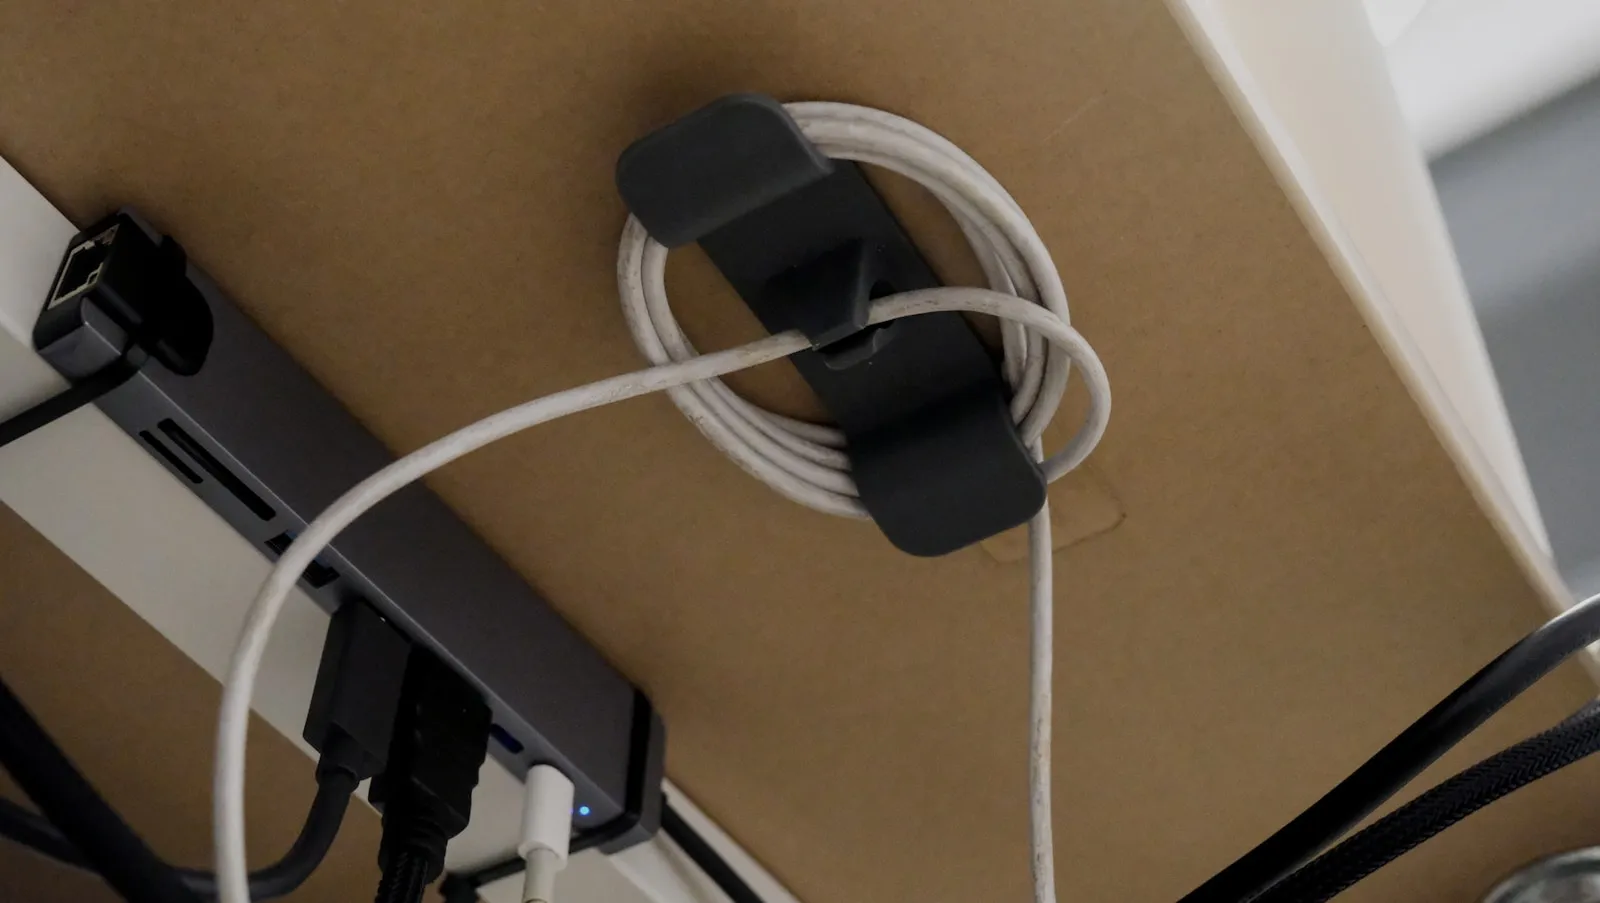
Route each cord along the shortest straight line from the device to the outlet, running along a desk leg rather than diagonally across open space. A cord anchored flat against a surface collects far less dust than one hanging loose in the air.
Bundle the vertical drops with a cable sleeve
The stretch of cord that runs from the desktop down to a floor outlet is the part that turns into a dust magnet fastest, since it hangs in open air the whole way down. A fabric or neoprene cable sleeve, essentially a zippered tube 1 to 2 inches in diameter, gathers 3 to 6 loose cords into one column that reads as a single cable instead of a hanging tangle.
Standard sleeve lengths run 40, 60, and 100 inches; measure the actual drop before ordering, since most desk setups need the 40-inch size. Slide every cord that runs to the floor into one sleeve, zip it closed, and use one or two more adhesive clips to tack the sleeve to the desk near the top and bottom so it hangs straight instead of swinging. A closed sleeve has a fraction of the surface area a loose cord bundle does, which is why it stays cleaner for months longer.
Mount the power strip off the floor
A power strip sitting on the floor behind a desk does two things badly: it collects dust in every socket gap, and it becomes the exact spot every loose cord eventually gets kicked toward. Adhesive-backed strips or a small adhesive mounting bracket can hold a power strip to the underside of the desk or the back of a nearby leg, provided the strip weighs under the clip’s rated limit, usually 2 to 3 pounds for the strongest consumer adhesive strips.
Check the strip’s weight before mounting; a loaded 6-outlet strip with plugs in it often runs close to that ceiling. If it’s too heavy for adhesive alone, a slim non-adhesive cord tray that rests on two desk-leg brackets holds the same weight and still lifts the strip off the floor where the dust lives.
Tame the tangle behind the TV stand
The TV stand version of this problem is usually worse because there’s more slack: cable and streaming box cords are often twice as long as they need to be, since they’re made to reach any outlet configuration. Adhesive cord clips work the same way here, run along the back inside edge of the stand or up the back of a wall-mount arm, but the bigger win is cutting the slack first.
Unplug each cord, hold it against its actual path, and loosely coil the extra length with a velcro tie about 4 inches from the plug end, rather than letting 3 feet of slack pool on the shelf. Then run the shortened cords through one sleeve or under a run of adhesive clips along the stand’s back panel, grouped by device so a single cord is easy to trace later without guessing.
Corral spare cords and chargers in a small bin
Not every cord lives permanently connected. Spare phone chargers, an extra HDMI cable, and a travel laptop brick need a home too, and that home should not be the same drawer as batteries and loose screws. A small open wire or fabric bin, roughly 8 by 6 inches, set in a desk drawer or on a low shelf, keeps loose cords coiled and visible instead of tangled into a knot.
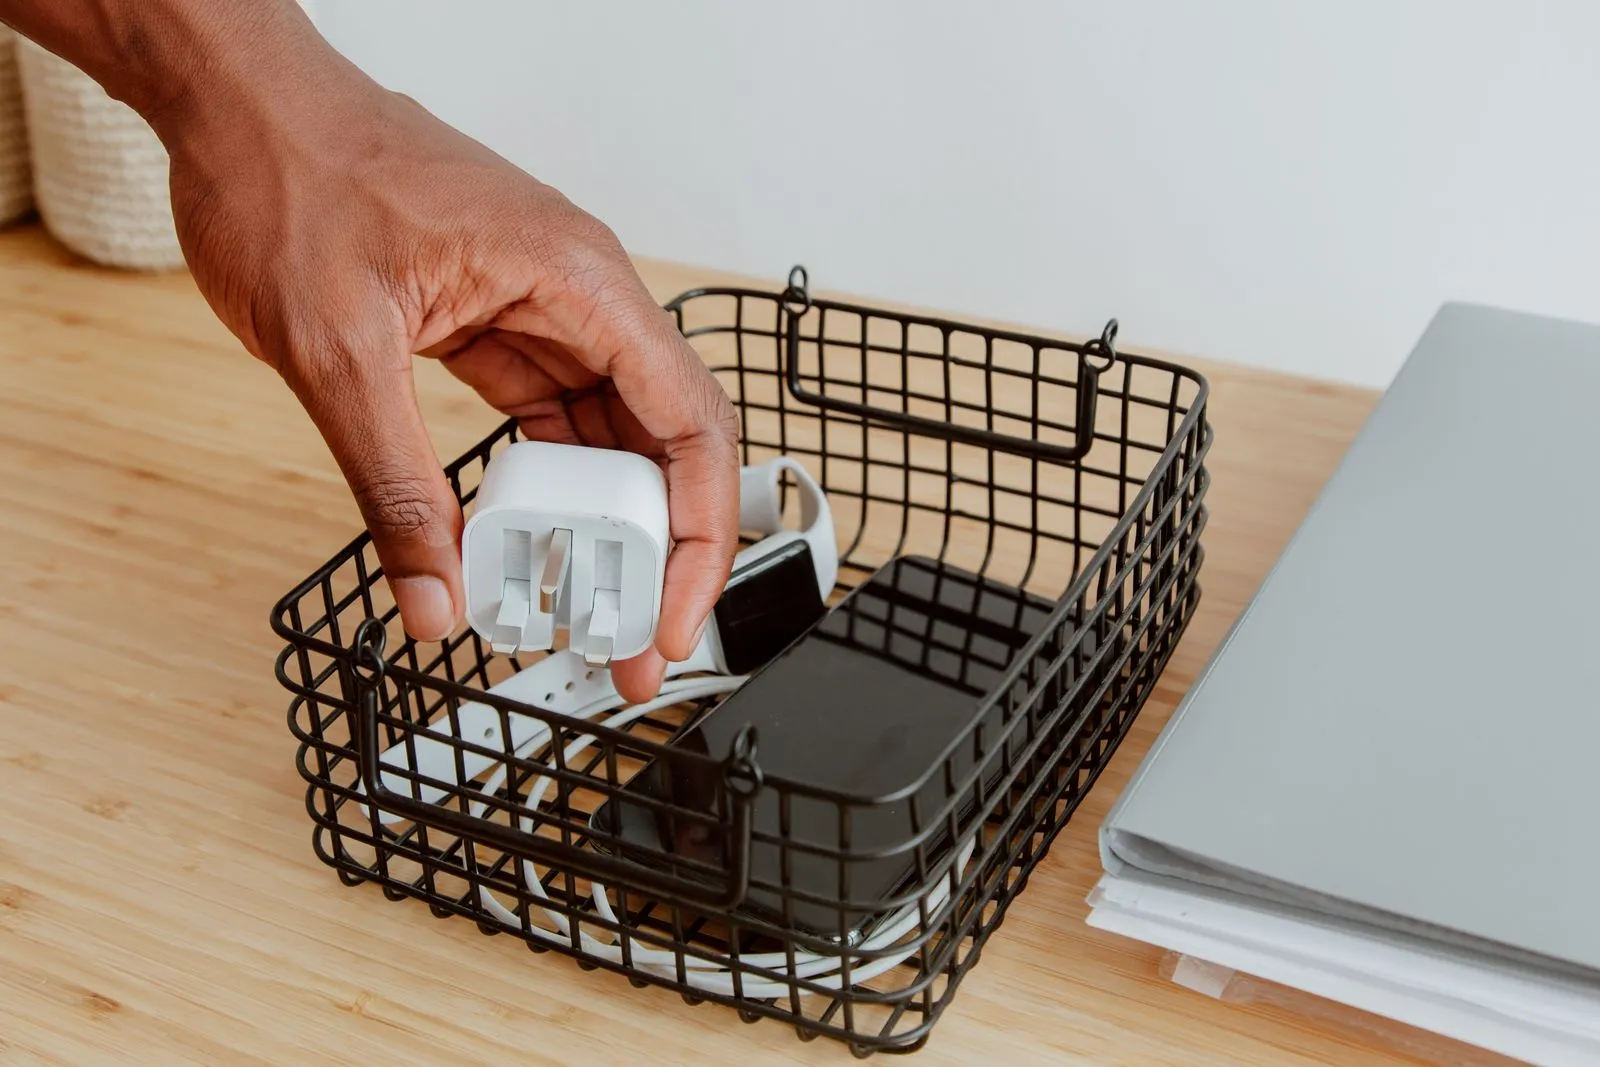
Coil each spare cord with the over-under method, alternating the direction of each loop, which keeps a cord from kinking into a stiff twist that fights you the next time you unroll it. A short strip of painter’s tape wrapped around each coil holds it shut and gives you a spot to write which device it belongs to, so backstock stays sorted the same way the desk is.
The two-minute reset that keeps it dust-free
The whole point of clips and sleeves is that the system holds itself in place without daily attention, but it still needs a quick check-in. Once a week, run a microfiber cloth along any sleeve or clipped cord run; a sealed sleeve wipes clean in about 20 seconds since dust sits on the surface instead of settling into gaps between loose cords. Once a month, glance underneath for any clip that’s started to peel, since a failed clip drops its cord back onto the floor where the whole cycle restarts.
That two-minute habit is what separates a system that lasts the whole lease from one that slides back into a tangle by month three. And because every clip and sleeve is adhesive or hook-based, pulling the setup down at move-out takes the same time it took to put up: peel the clips off slowly to avoid pulling paint, unzip the sleeves, and the wall behind the desk looks exactly like it did the day you moved in. If bare walls are the bigger fight elsewhere in the apartment, the same category of adhesive hardware covered in our guide to damage-free wall storage handles hooks and rails the same way this guide handles cords: real hold, zero holes, and a clean release when it’s time to go.