Artificial Christmas Tree Storage Ideas for Small Homes
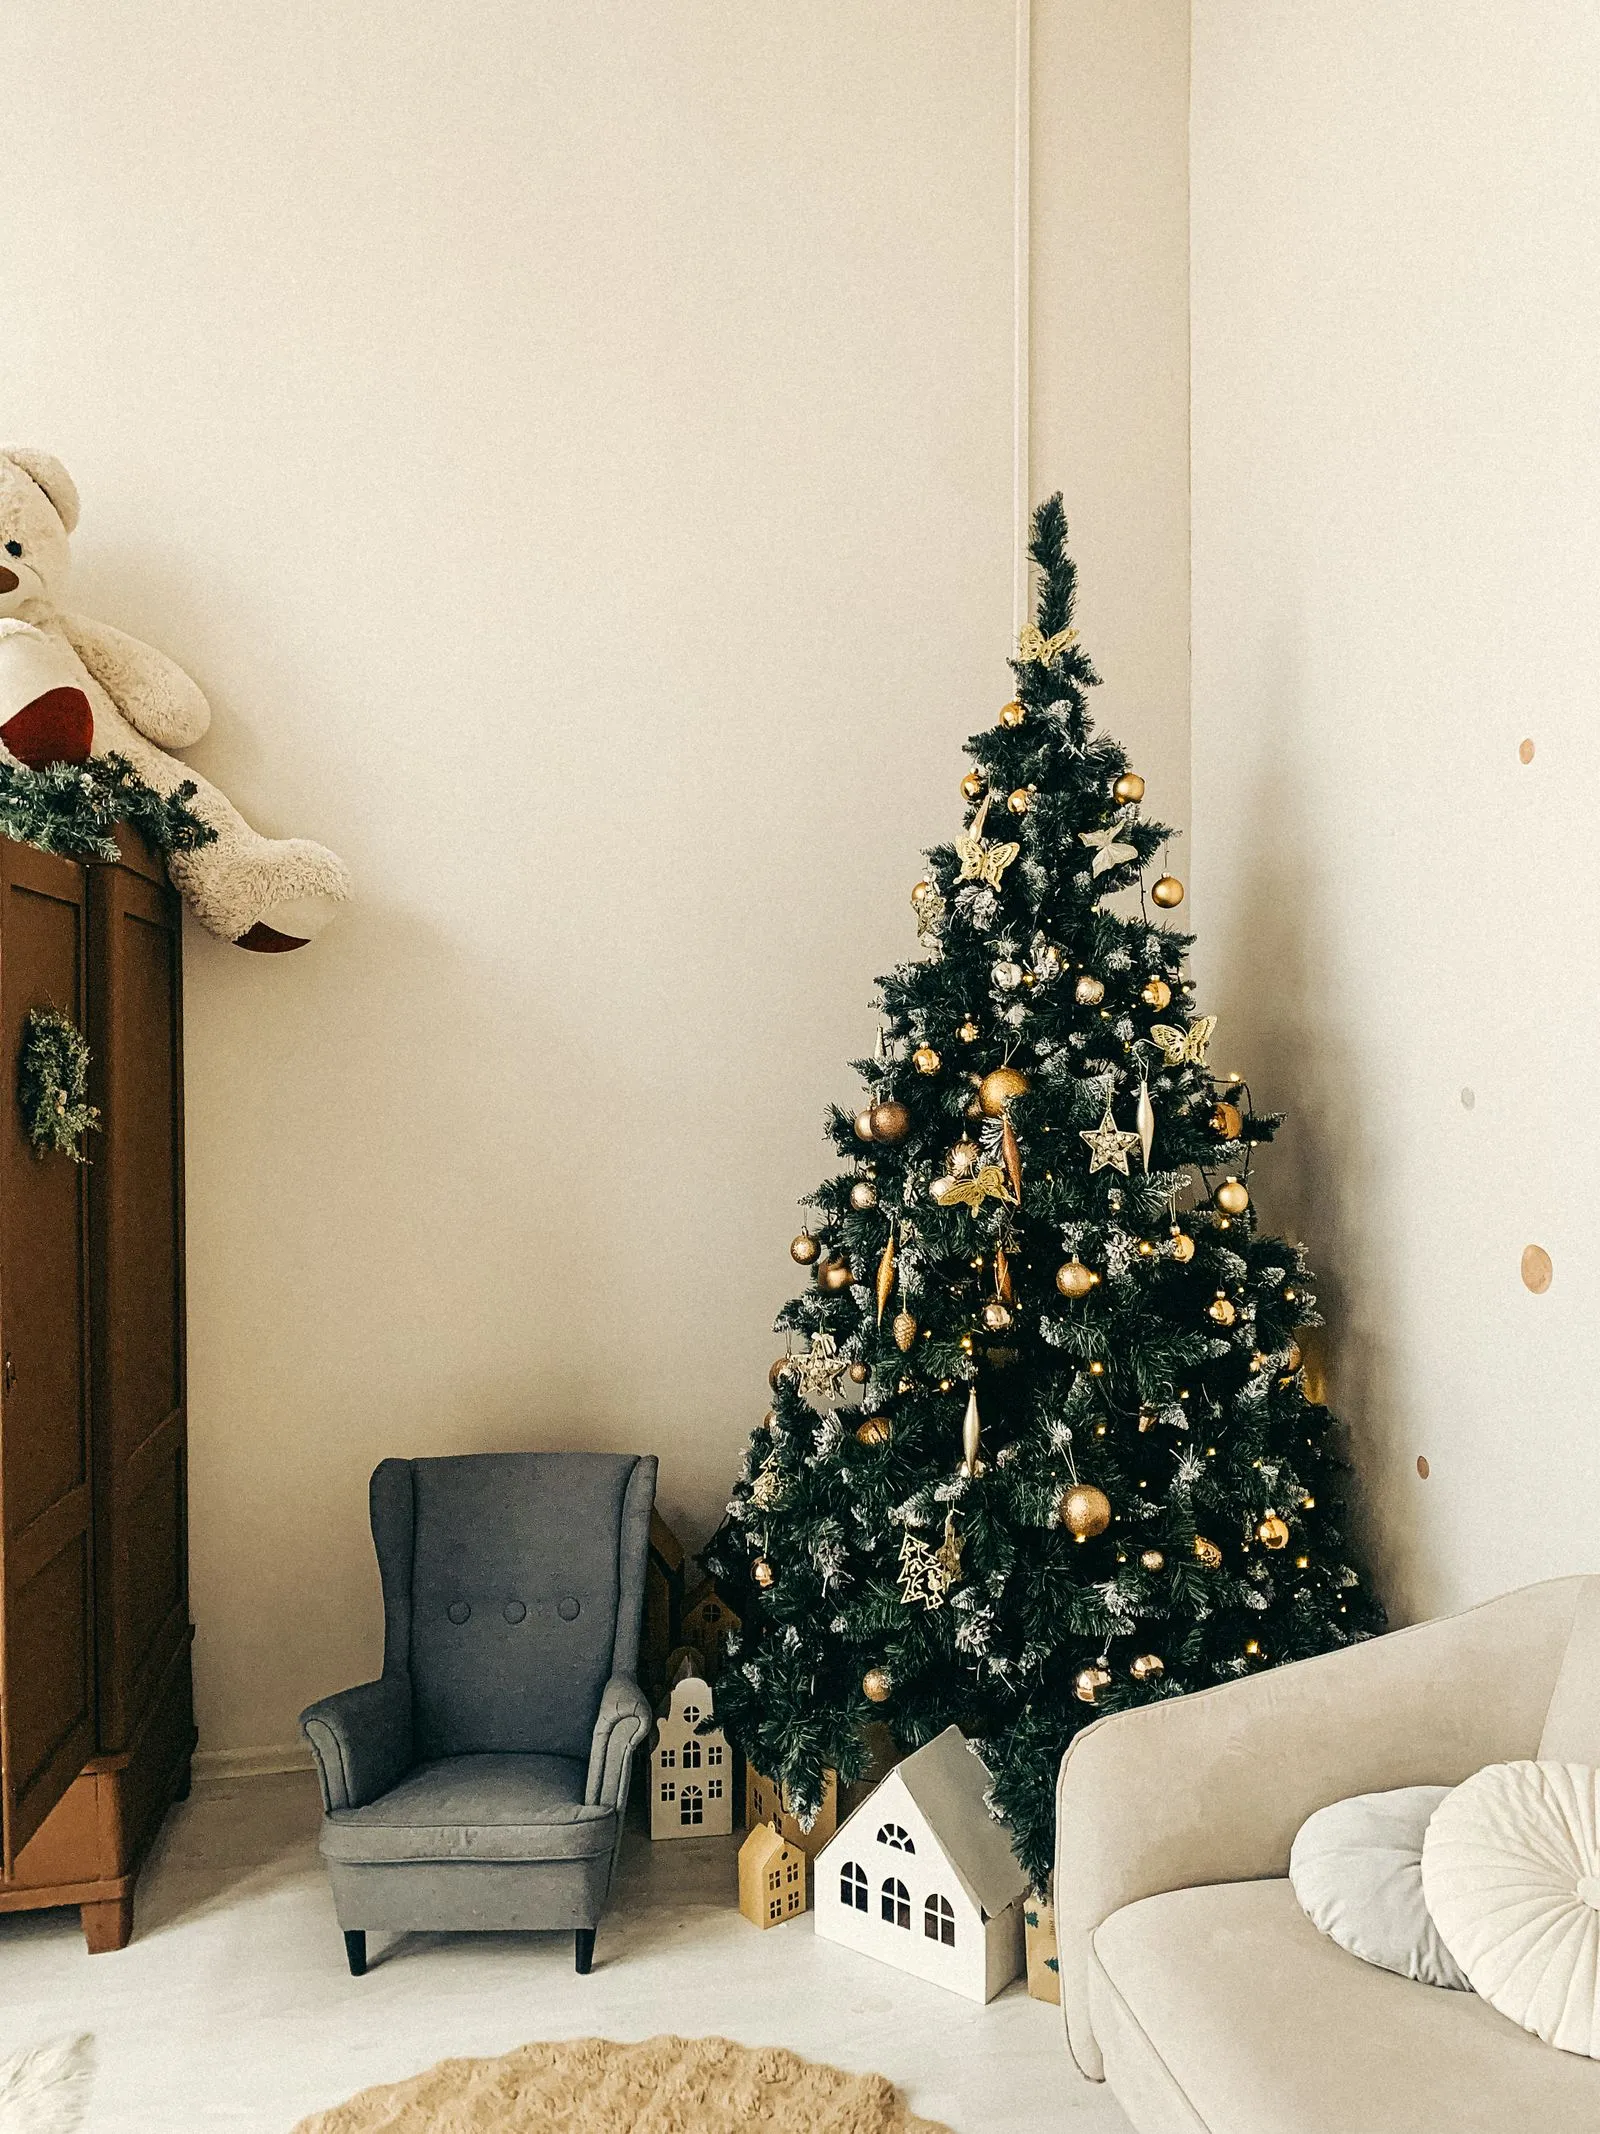
The original tree box lasted two seasons. By the third January, the corners were soft, one flap had torn clean off, and lifting it off the closet shelf meant catching a shower of cardboard dust and stray needles. That box was never sized for anything except the trip home from the store. It was not built to be hauled up and down twice a year, and it was not built to survive living in a closet that already has half the household’s coats in it. A crumbling box that eats half the closet is not a storage system, it’s a problem waiting for December to expose it.

Relabeling the same worn-out box year after year, the way this one has been, is the tell that the container needs replacing, not another strip of tape.
A 7-foot artificial tree does not need to disappear into a box shaped like a coffin. It needs to come apart the way it was designed to, get packed the way its branches actually bend, and land somewhere that does not compete with everything else stored in that closet. Here’s how to get a full-size tree down to something you can carry with one hand and tuck into a corner instead of surrendering a third of your closet to it.
Take the tree apart by section, not by branch
Most artificial trees are built in two, three, or four stackable sections, each with its own metal pole and a hub of branches that fold flat against it. The mistake that makes storage miserable is trying to fold every individual branch tip down before boxing the whole thing as one unit. That’s what the original cardboard box assumed, and it’s why the box needed to be enormous.
Instead, separate the tree at its built-in section joints first. A 7-footer typically splits into three pieces, each roughly 28 to 32 inches long once the branches are folded up against the central pole. Set each section down individually and fold its branches flat, tip toward trunk, working from the bottom of that section up. Folded this way, a section that looked three feet wide standing up compresses to under a foot in diameter. Three compact cylinders store far more efficiently than one tree-shaped mass, and they’re what tree storage bags are actually sized around.
Match the bag to how you store, not just what’s on sale
Once the tree is in sections, the bag you pick determines whether storage stays easy or turns into the same wrestling match as the old box. Three shapes cover most situations.
Rolling duffel bags have a wheeled base and a telescoping handle, built for trees stored upright in a closet or against a wall. They’re the best fit if the tree needs to travel down a hallway or up a step to reach its storage spot, since you’re pulling it like luggage instead of lifting dead weight. Rolling bags run 50 to 65 inches long for a 7-to-9-foot tree, standing on end.
Sectioned duffels are three separate zippered bags, one per tree section, each with its own carry handles. They’re the better choice for a closet shelf or under-bed storage, since three duffels 30 inches long lay flat and stack, where one 5-foot rolling bag won’t fit standing up in either spot.
Upright bags are a single tall zippered cylinder that holds the whole assembled-but-folded tree standing up, cinched at the base. They save the most floor footprint for a closet corner but need enough vertical clearance to stand at nearly the tree’s full folded height, so measure the closet before buying one.

For most apartments, sectioned duffels are the safest default: they fit closet shelves, slide under a bed frame with 7 to 9 inches of clearance, and don’t demand a specific patch of vertical wall space the way an upright bag or a rolling bag does.
Protect the hinged branches during compression
The branch hinges are the part of an artificial tree that actually breaks, and they break from being crushed the wrong direction, not from age. Each branch tip usually pivots on a small metal or plastic hinge where it meets the pole. Folding it toward the trunk, the direction it’s designed to move, is safe indefinitely. Bending it sideways or forcing a folded section into a bag that’s too narrow puts sideways pressure on that hinge, and a hinge that cracks means a bare gap in the tree next December.
Before zipping any bag closed, run a hand down each folded section and check that every branch tip sits flat against the pole with nothing splayed out or twisted. A branch caught at an angle when the zipper closes takes the full pressure of the bag being compressed, rolled, or set on a shelf above it. Thirty seconds of checking here is what separates a tree that looks the same every year from one that’s visibly thinner by its fifth Christmas.
Give the bag a spot that isn’t prime closet real estate
The reason the old box ate half the closet wasn’t really its size, it was where it sat: dead center, at eye level, blocking everything behind it. A compressed tree bag doesn’t need that spot.
A closet corner, floor to about 40 inches up, is usually wasted space anyway since it sits behind whatever hangs on the rod. Three sectioned duffels stood on end or laid flat in that corner take up a footprint smaller than a case of water, leaving the rest of the closet floor clear. If closet space is tighter than that, the under-bed route works nearly as well: a bed frame with 7 or more inches of clearance fits a flattened sectioned duffel with room to spare, and a set of furniture risers can buy that clearance if the frame currently sits low. Either spot beats the tree taking up a shelf that could hold ornament bins instead — see our guide to holiday decor storage for ornaments and lights for how those bins should be organized once the tree is out of the way.
Label sections so setup next year takes minutes, not an hour
A tree that comes apart into three unlabeled sections turns into a puzzle the next time it goes up, especially if more than one household member does the unpacking. Before the first bag goes into storage, tag each section: bottom, middle, top, written on a strip of masking tape or a luggage tag threaded through the zipper pull. Note the plug or light-string connection points too, if the tree is prelit, since matching the right cord ends in the dark behind a couch is worse than any part of taking the tree down.
That five-second label is what turns next year’s setup from “which pole goes where” into “bottom, then middle, then top,” done before the coffee finishes brewing.
The pack-up habit that keeps the bag from becoming the next crumbling box
The cardboard box failed because nobody ever checked on it between Decembers. It sat compressed under other bins, took on shape from whatever got stacked on top, and slowly lost its structure. A fabric bag survives that treatment far better, but only if it gets treated as a container, not a shelf.
When the tree comes down each January, take thirty seconds to fold the sections properly instead of jamming them in loose, zip the bag fully so nothing snags, and set it in its corner rather than under a stack of heavier bins. If the closet situation is generally tight, our rundown of small-space holiday storage for renters covers how to fit an entire season’s decor, tree included, without any of it competing for the same six inches of shelf. Do that each year and the tree bag stays as flat and manageable as the day it was packed, which is the one thing the old cardboard box never managed even once.